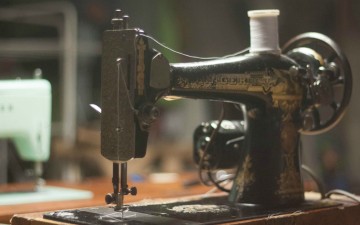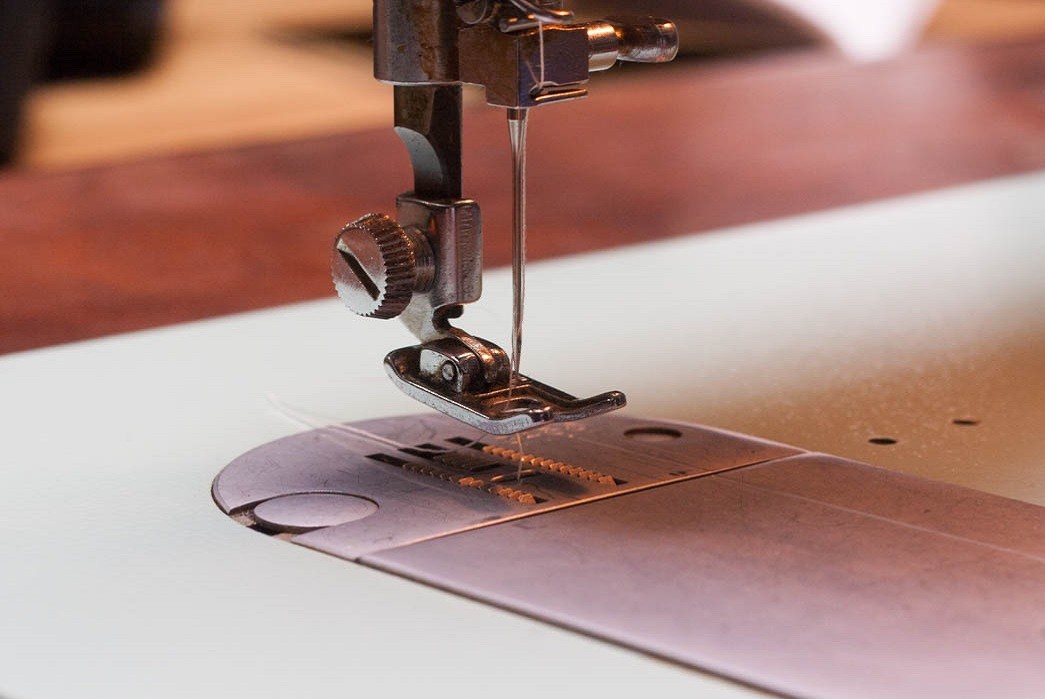
Now that you have bought your first sewing machine, you are almost ready to get started on some projects. Before that happens, you are going to need to know the basics of how to actually use the machine. This guide will give you the basics of what you need to buy, and how to run a straight stitch.
What to Buy

Needles
The options available for needles can be daunting when starting out, but for most denim, a 90/14 sized needle will work well for most tasks. For heavier materials it wouldn’t hurt to go up to a 110/18 size. Schmetz makes great needles. Cheap needles aren’t worth bothering with, they have the irritating tendency to dull and snap.
Thread
Buy thread as needed. For hemming and repairing seams, try to match the existing thread as much as possible. For stand alone projects, you can match or contrast the thread to the fabric, and the weight of the thread generally goes along with the weight of the material. For button holes and buttons, there is specific, heavy thread. For composition, more polyester will equal more strength, more cotton will equal more heritage points. Gutterman is very easy to find and comes in a wide range of colors, weights, and compositions.
Scissors
The minimum you will need is an ~8 inch pair of shears. Fiskars is a good budget option, Gingher makes fantastic scissors, although they are quite expensive. Thread clippers are nice to have around, but not essential.
Oil
You can find sewing machine specific oil at sewing and fabric stores. There aren’t many options in terms of what to buy here, I would just go with the cheapest option.
An Iron
As you get into sewing, you will find that always having an iron close at hand is essential. You will need to press seams before, during, and after working on them. I find that unless you are willing to drop a tonne of money on an industrial iron/ pressing setup, it’s best to go for whatever is cheapest, as the consumer level irons all tend to wear out at the same rate.
Chalk
In this case forget the cheap stuff, it’s more of an inconvenience to work with than what it saves you, as it doesn’t always mark well, and tends to crumble. Clover makes chalk that is easy to apply and remove.
A Ruler
I really like to use something that is in both metric and imperial, transparent, and with fractions up to 1/16th of an inch. This will let you adjust measurements pretty precisely, and to see the entire piece you are marking.
Like this? Read these:
First Stitches

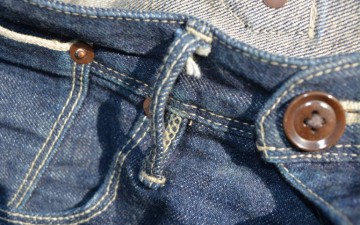
The tension on the leftmost stitch is too tight (you can tell by the bobbin thread poking up through the stitching). Compare this to the two lines of stitching with the correct tension.
Now that you have pretty much everything you will need to get started, it’s on to the fun part. Find some scraps of denim (thrift store jeans are great for this, you get about a yard of fabric for like $3) and go wild.
There are a few factors to take into account while setting up with a new fabric. The weight, how many layers you are sewing through, thread tension, stitch count, and thread weight/gauge. All of these are interrelated, which may seem complicated at first, however, after a little bit of practice, everything will make sense. A little bit of knowledge and a whole lot of trial and error is the best way to get through this.
The first thing you want to adjust is tension. For most beginners, stitch tension can be really difficult to get right. Tension is also integral to the strength of the stitch, and a stitch with improper tension just doesn’t look great. To make matters more difficult, some machines have screws near the bobbin that adjust the tension in addition to the usual stitch tension knob.
There is a trick to getting it right that will save a great deal of frustration later on though. You see the little loops formed on a stitch with improper tension? The location of these loops relative to the fabric will tell you how to adjust the tension. If the loops form above the fabric, lower the tension. If they form below, raise the tension. Simple. Those screws near the bobbin will make things a little more complicated, but the ideas on raising or lowering tension based on where the loops form remains the same.
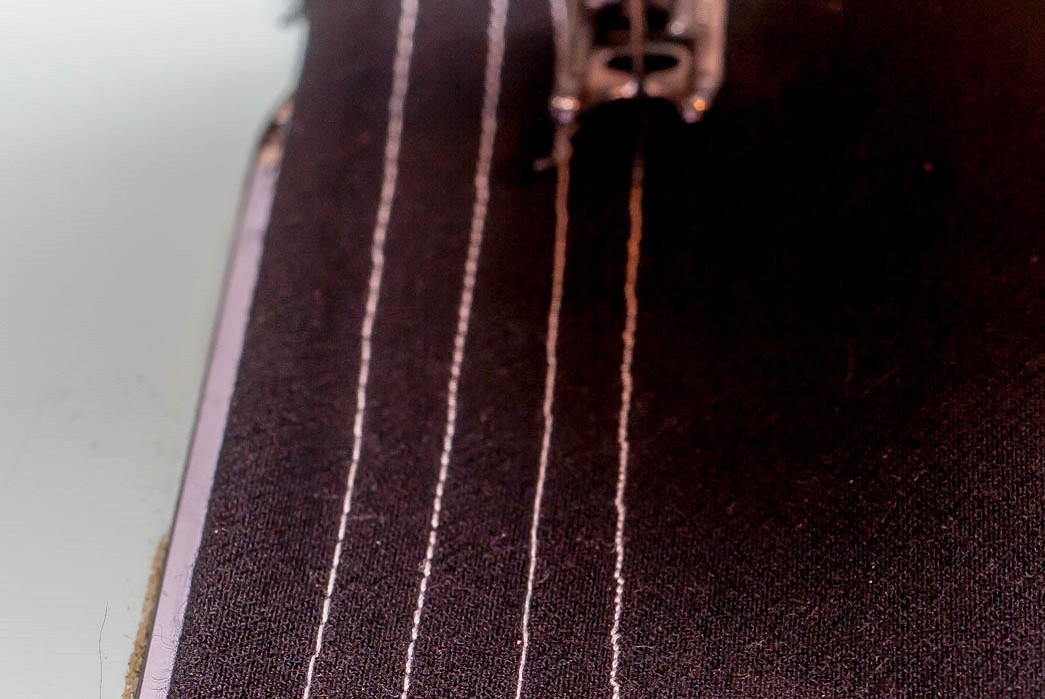
The line of stitching on the far right was done with the correct tension, but far too many stitches per inch. Compare it at 20 spi to the first line at 6 spi, and the next one at 10 spi. It is important to choose the appropriate amount of stitches per inch for the material you are using.
To calibrate the stitch count, take a scrap piece of fabric, fold it in half, and sew some lines on it. The stitch count you will be able to use is most closely related to the weight of your fabric and thread. The heavier the material and the thread, the lower stitch count you will be able to use. You can play around a bit and use a lighter thread on a heavier fabric to get more stitches per inch, or a heavier thread on lighter fabric will get less stitches per inch than light thread, but this can be used as an interesting design element. If you see that stitches are forming diagonally instead of straight, the stitch count is too high. Experimenting with these will give you a range to work in, and you can select one that works aesthetically from there.
The amount of pressure on the presser foot will need to be adjusted from fabric to fabric. This can be adjusted by turning the knob on the top of your machine, directly above the foot. The presser foot helps to keep the fabric in place while it is being stitched. More fabric will need less pressure, less fabric will need more pressure. Additionally, stretchier fabric won’t need as much pressure as non stretch fabrics, since too much pressure can cause a bit of puckering at the seams.
With all of this in mind, take a few minutes and some scrap fabric, and play around with your machine. Try and see what works and what doesn’t, and just generally try to get familiar with the relationships between fabric, thread, stitch count, and tension. Knowing how to work your sewing machine well will make altering, repairing, and making clothes much easier.