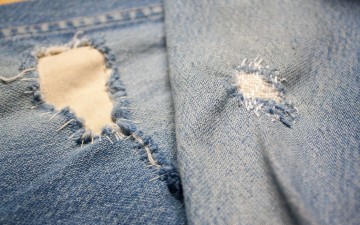
When temperatures plunge well below the freezing point, few pieces of clothing are as useful as a down-filled parka (coupled with your heaviest weight denim, of course). Parkas might look a little different than they did a couple centuries ago, but through every evolution they’ve always served to protect the wearer from the cold.
This past winter, we met Canadian heritage brand Kluane Mountaineering and had the chance to get to know their history, collection of down-filled garments, and how they’ve made their wares the same way for over 45 years. I was fascinated by the bespoke nature of their service and their classic parka jackets. Just like a pair of jeans or a welted shoe, making a down-filled parka presents an array of technical challenges for the maker including not just fit and construction, but also the weight, durability, and layers of materials used.
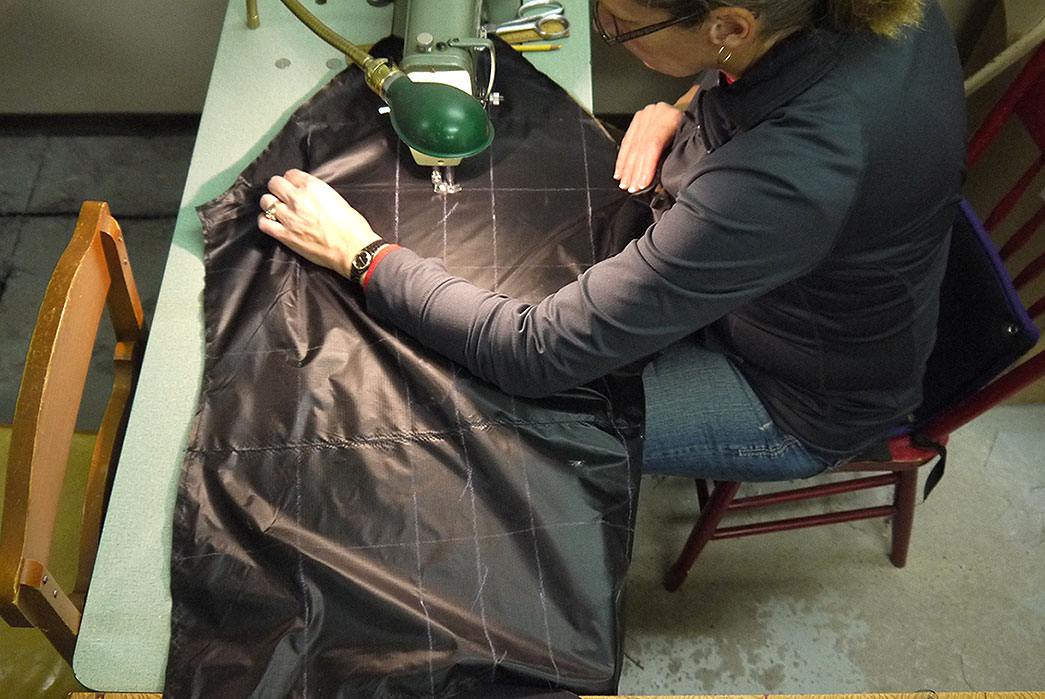
So what better way to sate our curiosity than placing an order and watching Kluane do their thing? Read on for a step-by-step recording of Betty, Kluane’s owner and head seamstress, make a custom down-filled parka by hand.
How to Make a Down Parka Jacket
1. Jacket Style, Materials, Measurements
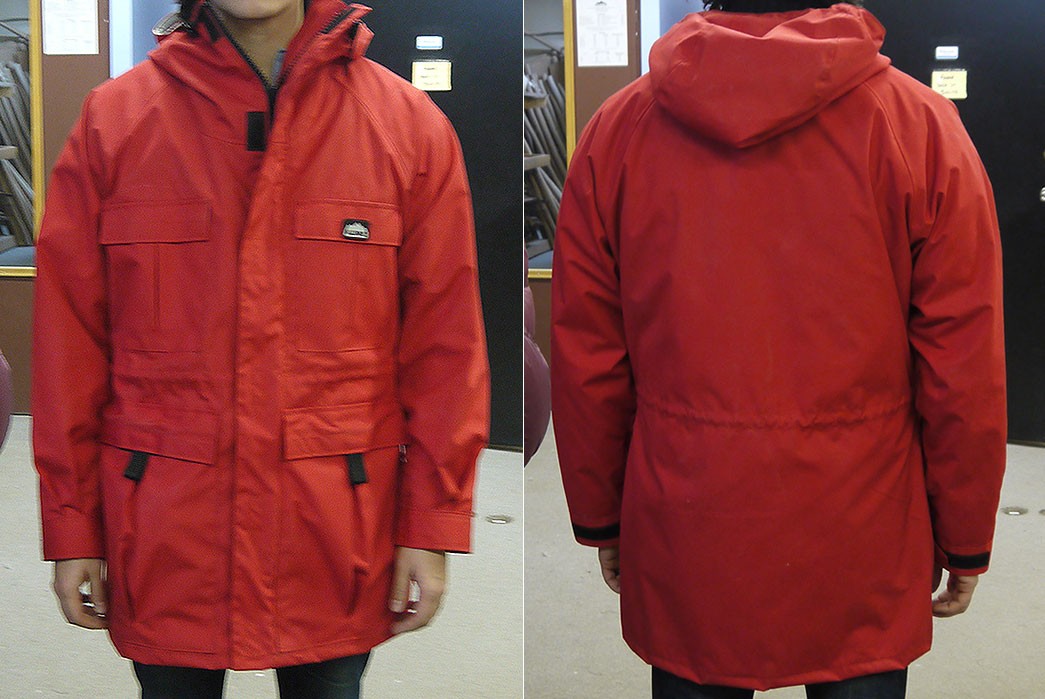
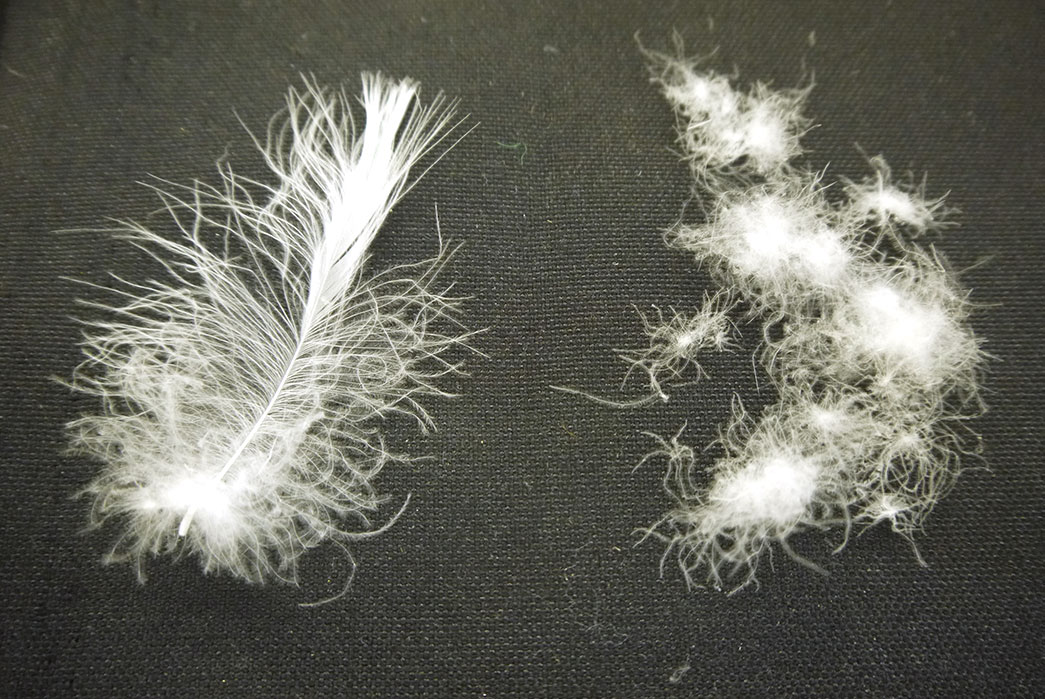
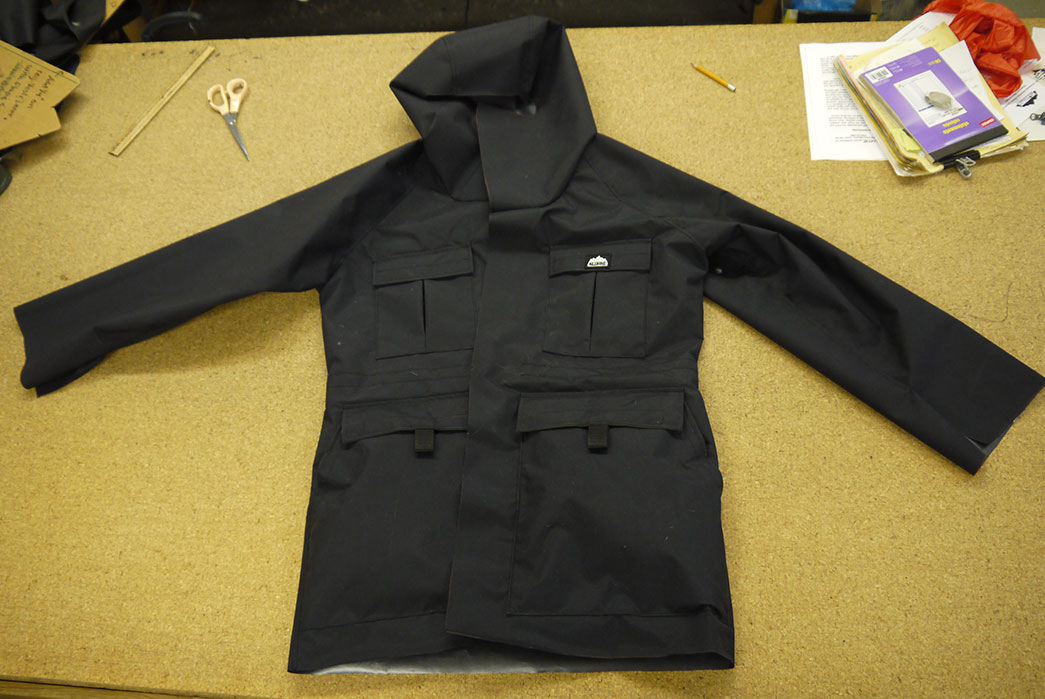
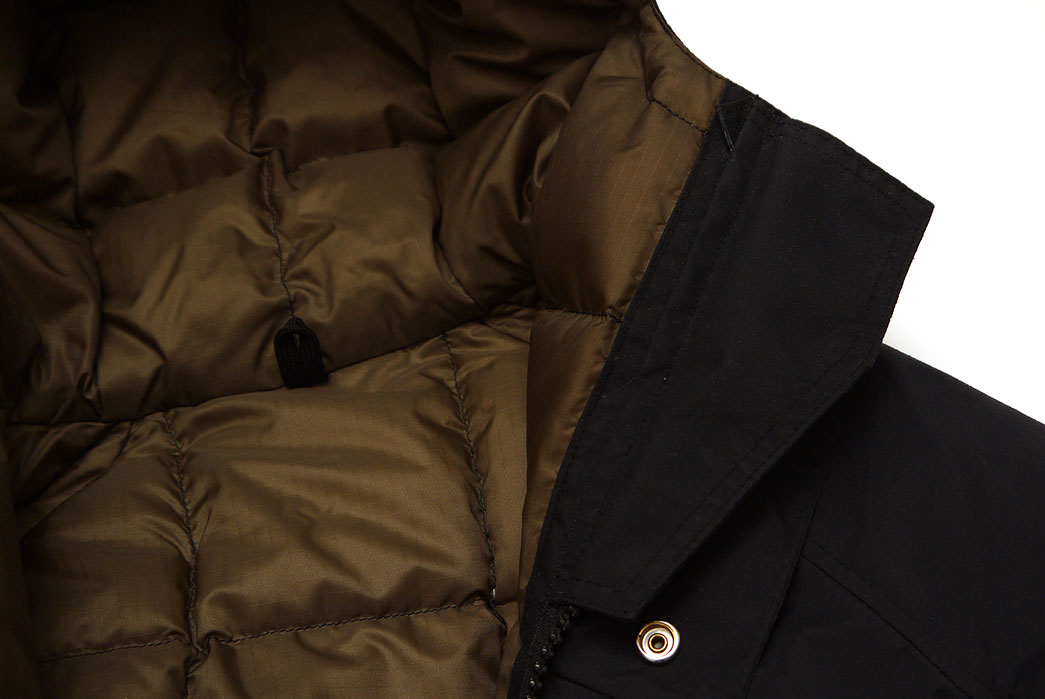
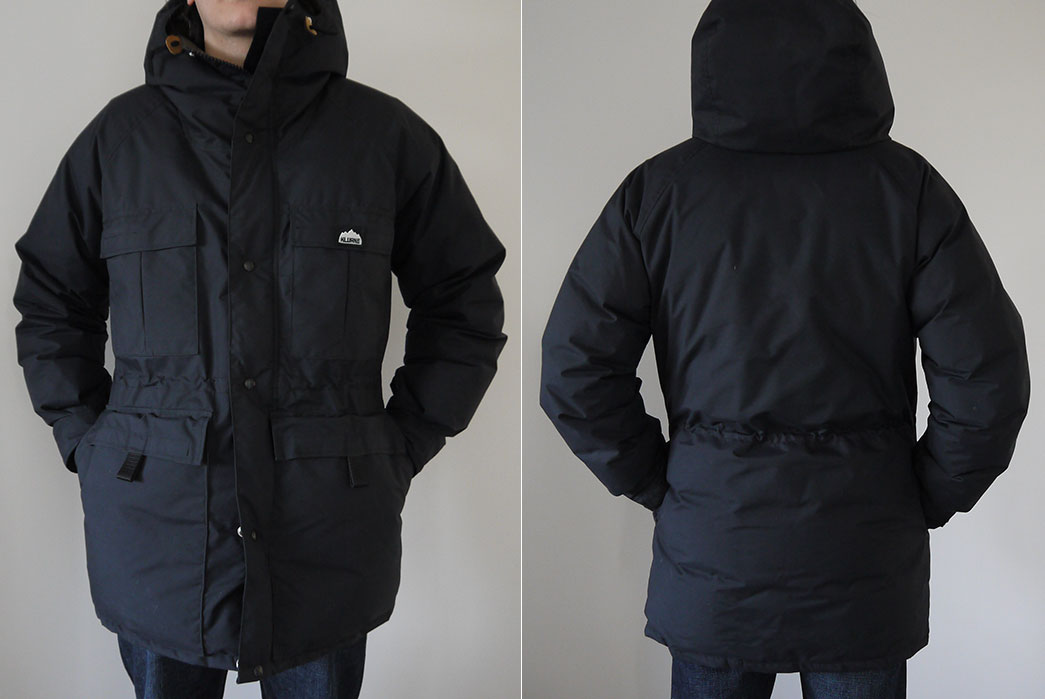
Kluane’s typical parka is made up of two down-filled jackets, the “Inner” and “Outer”. The Inner is somewhere between a sweater and hoodless jacket while the Outer serves as a shell and the actual parka. I liked the mountain wear aesthetic and functionality of the Baffin parka (pictured above) so I elected to combine this model with a slightly modified version of the Inner, the hybrid of which would still offer a ton of warmth at 850 down fill.
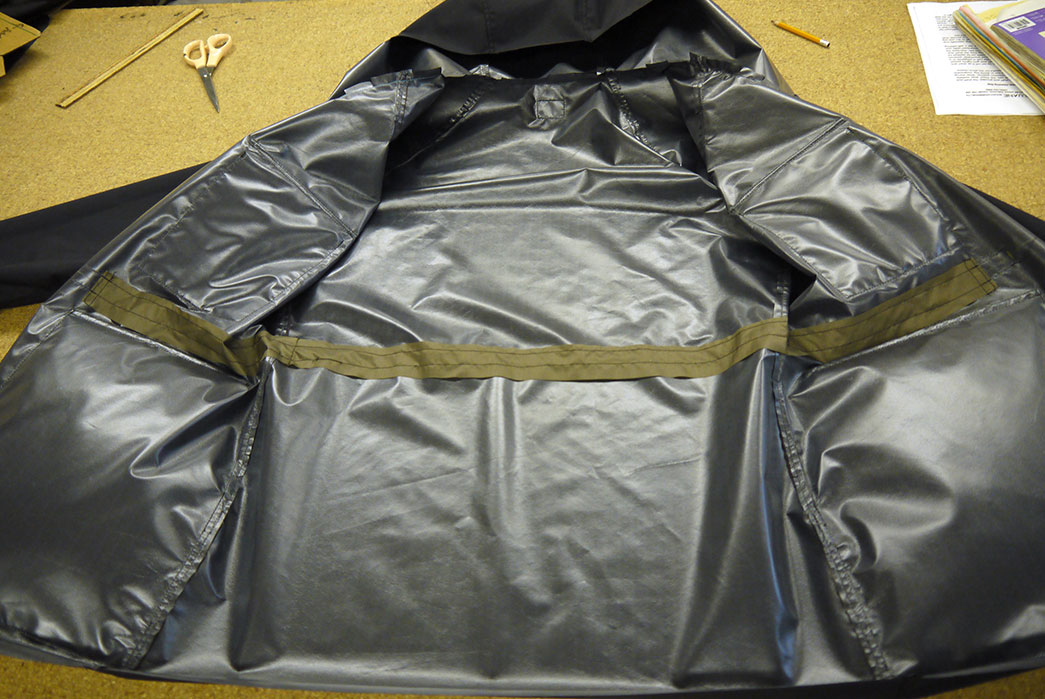
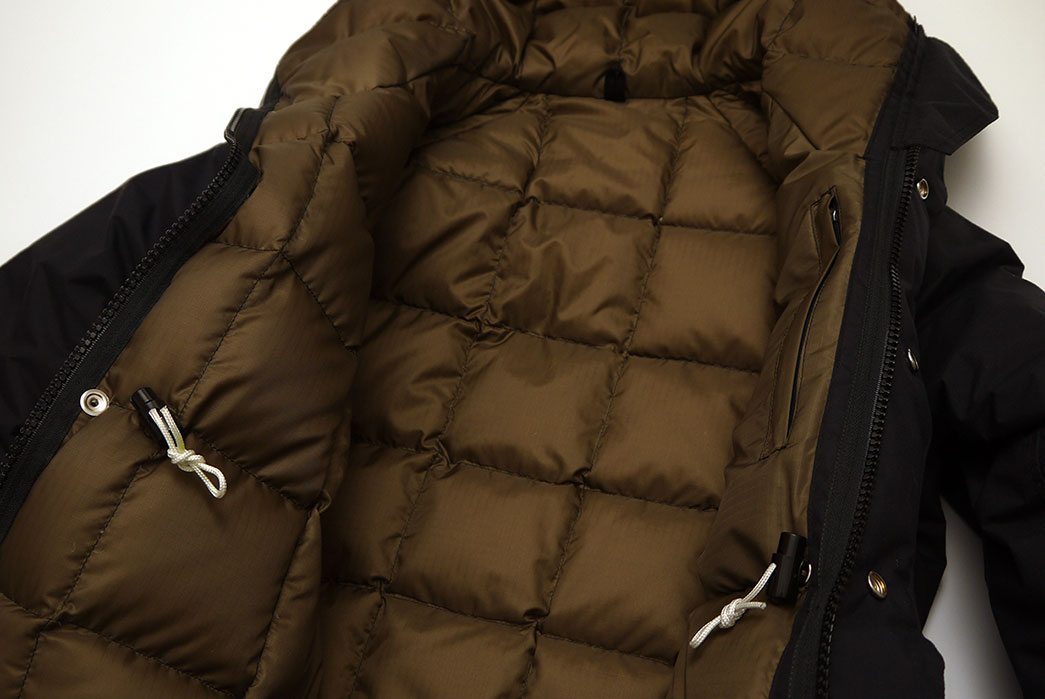
We were then off to measurements which was all fairly standard with an extra inch being added in the sleeve. Subtle, smart customizations were made too. Betty suggested she down-fill the two-way hand pockets since they double up as warmers (more on this later) and that extra insulation be added to the cuff. Makes sense to me!
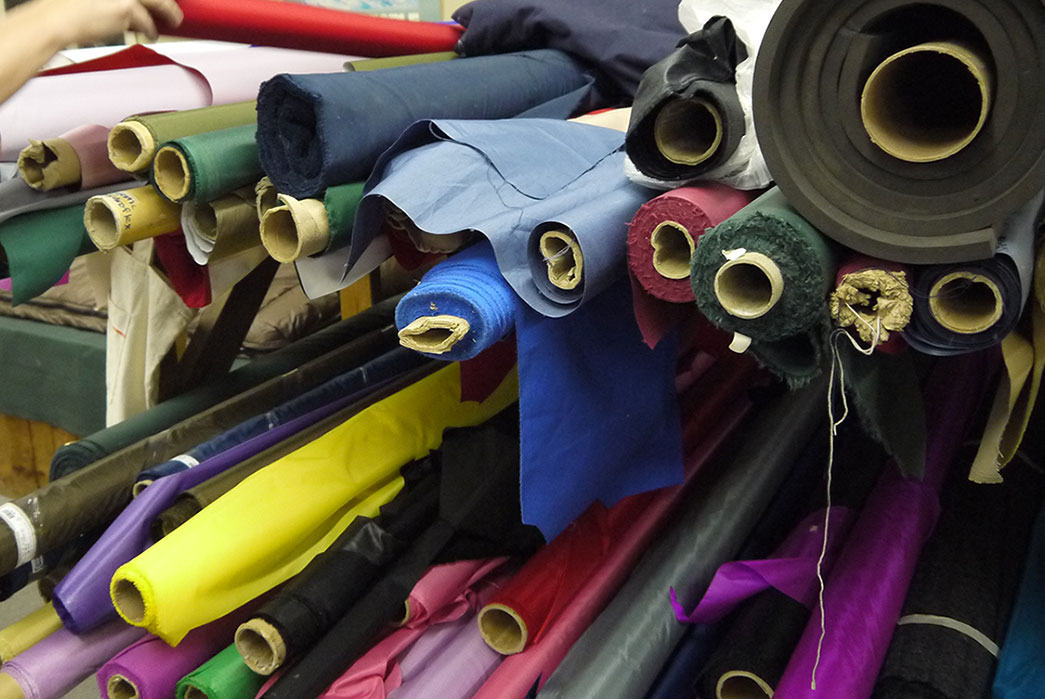
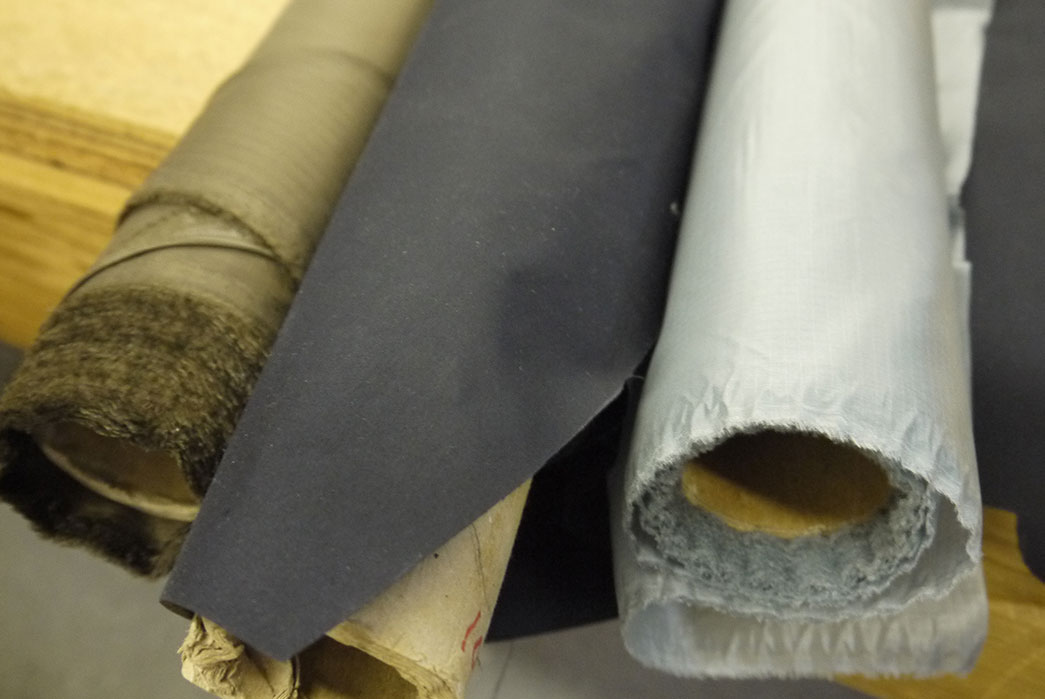
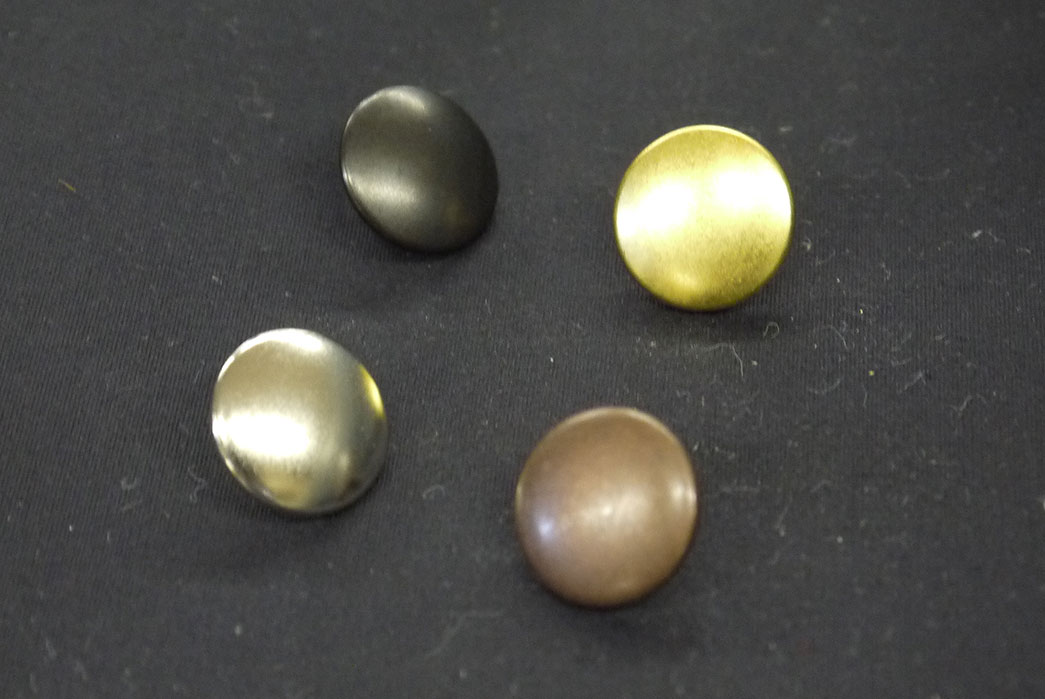
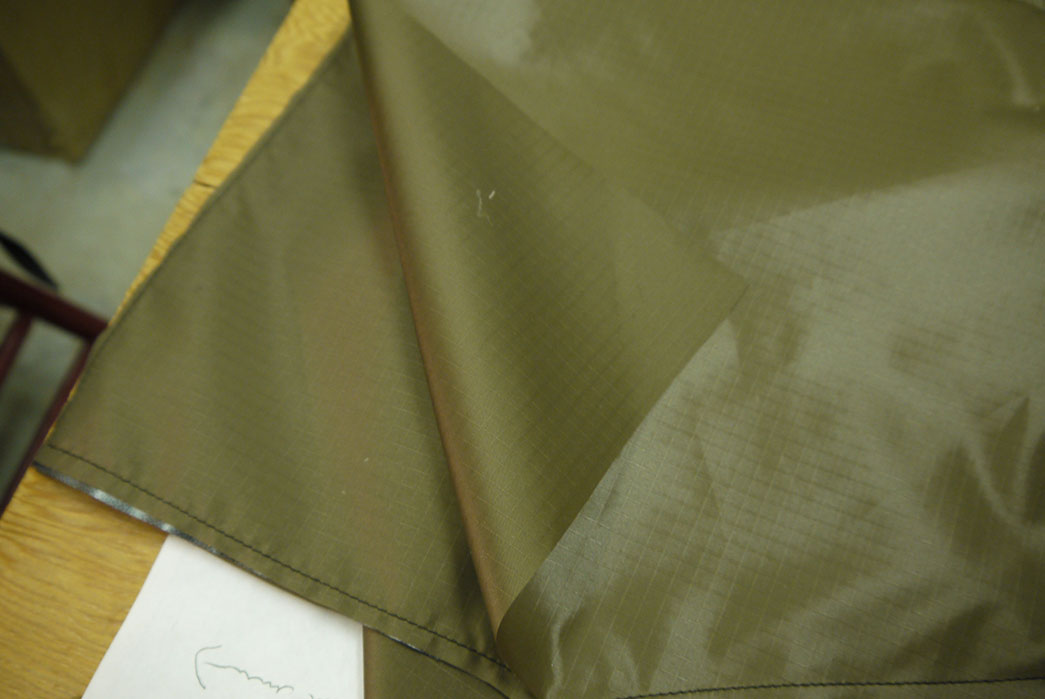
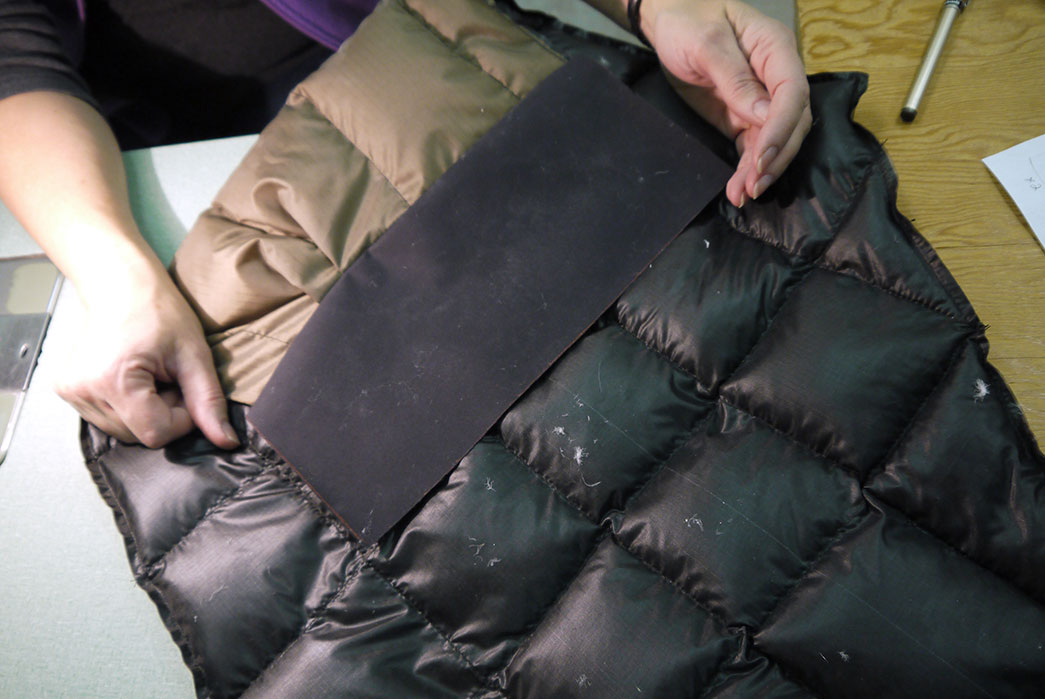
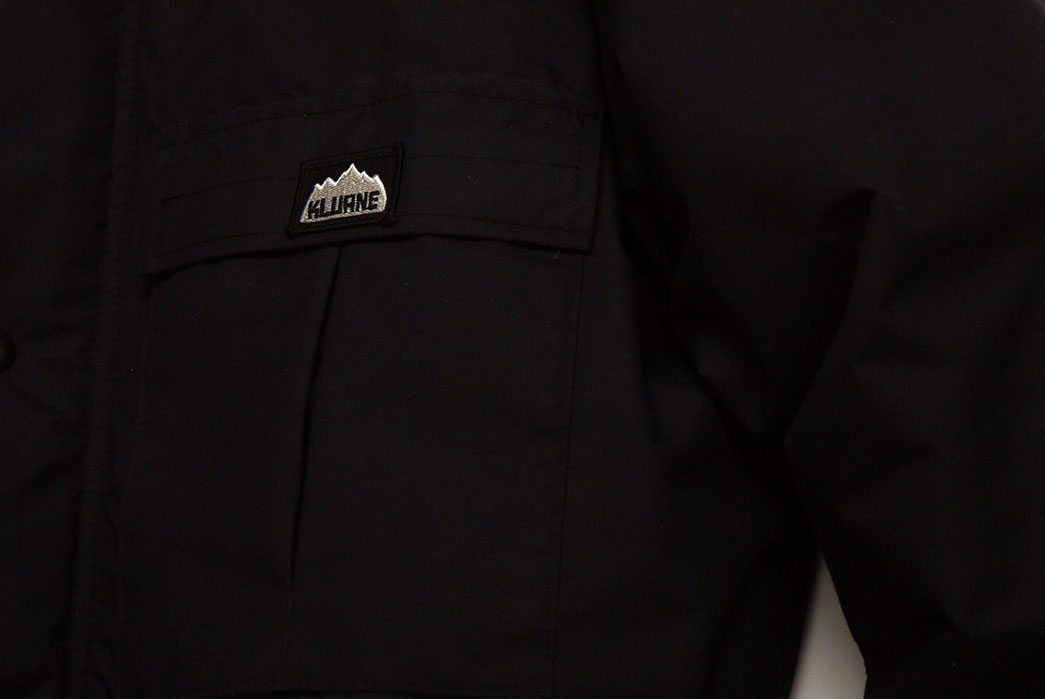
Kluane has dozens of fabric bolts in nearly every color imaginable and as tempted as I was to pay homage to my Chicago Bulls Starter jacket from my 90’s childhood, I opted to go with a black/brown combination. Specifically, we used a black, waterproof Hydroflex nylon for the exterior, a 1.9oz. ripstop for the interior liner, and a 1oz. black ripstop nylon as an unseen liner (not pictured and interestingly, Monitaly introduced this fabric to Kluane during their collaborative years). Finally, the parka would be finished with matte black buttons, a YKK Strong #10 2-way zipper, and a couple of tabs.
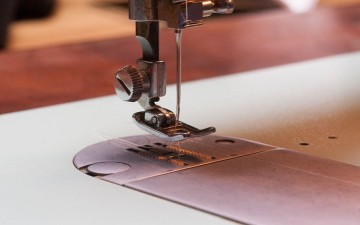
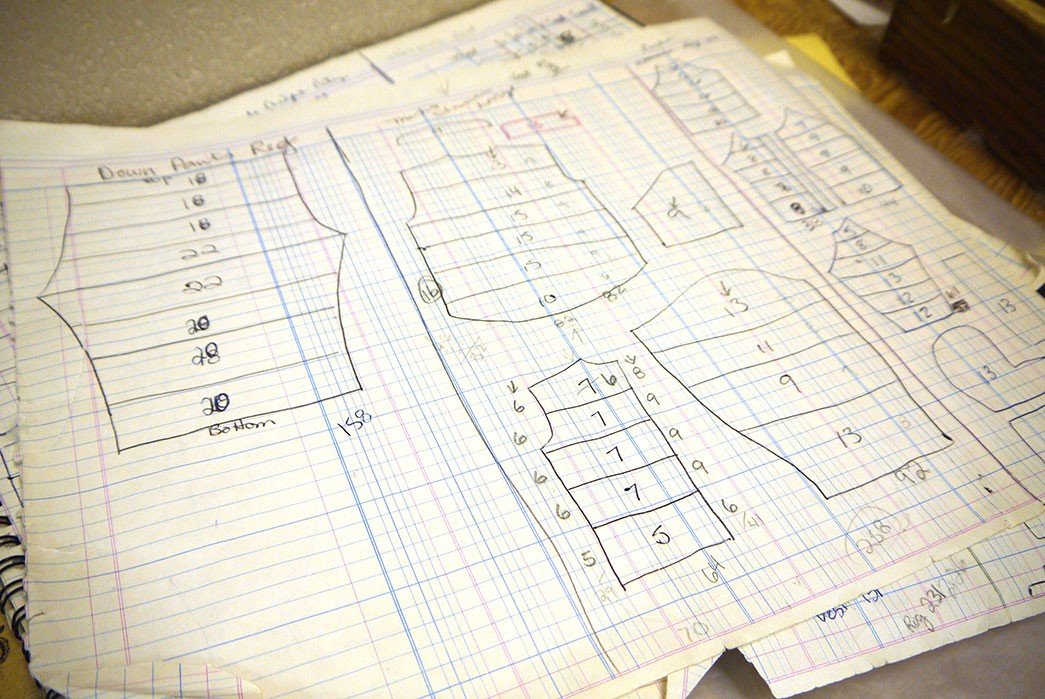
2. Cut Patterns
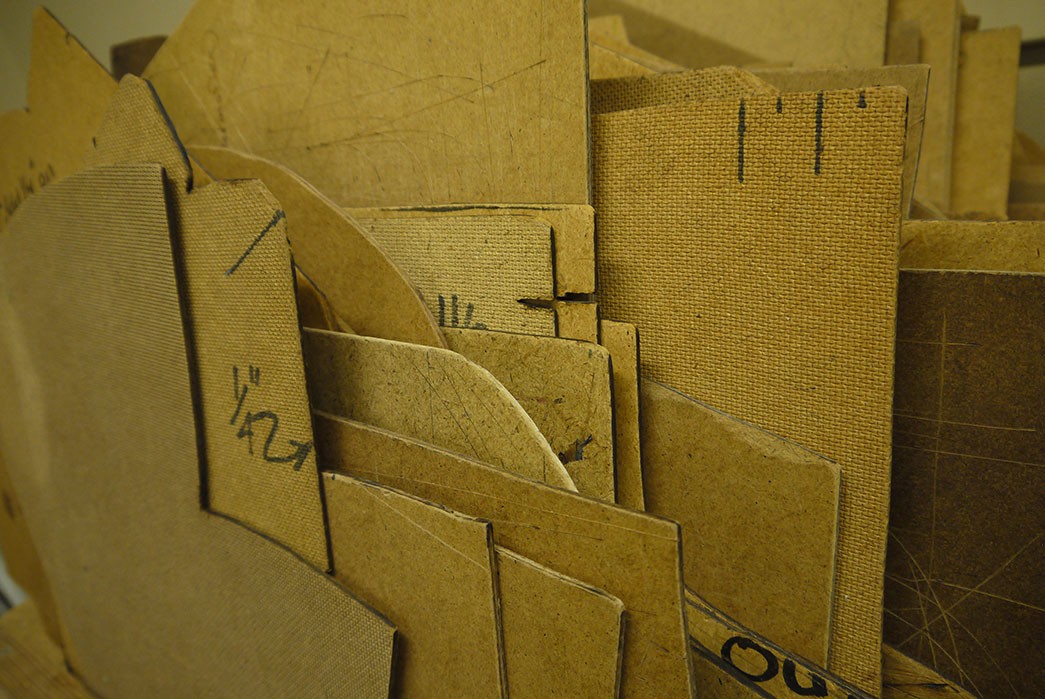
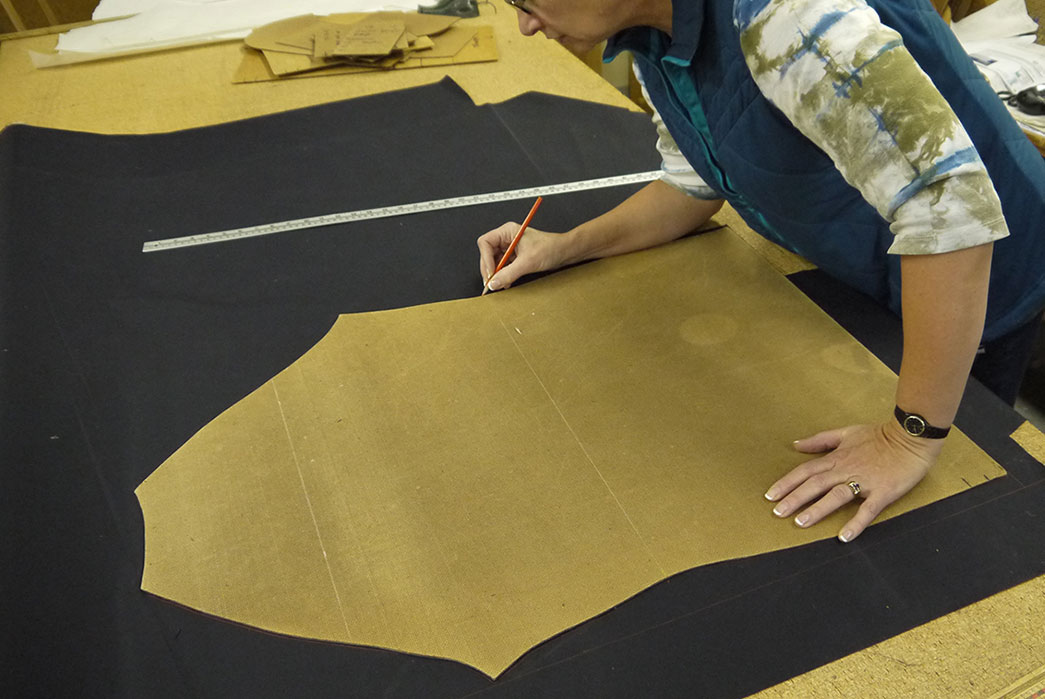
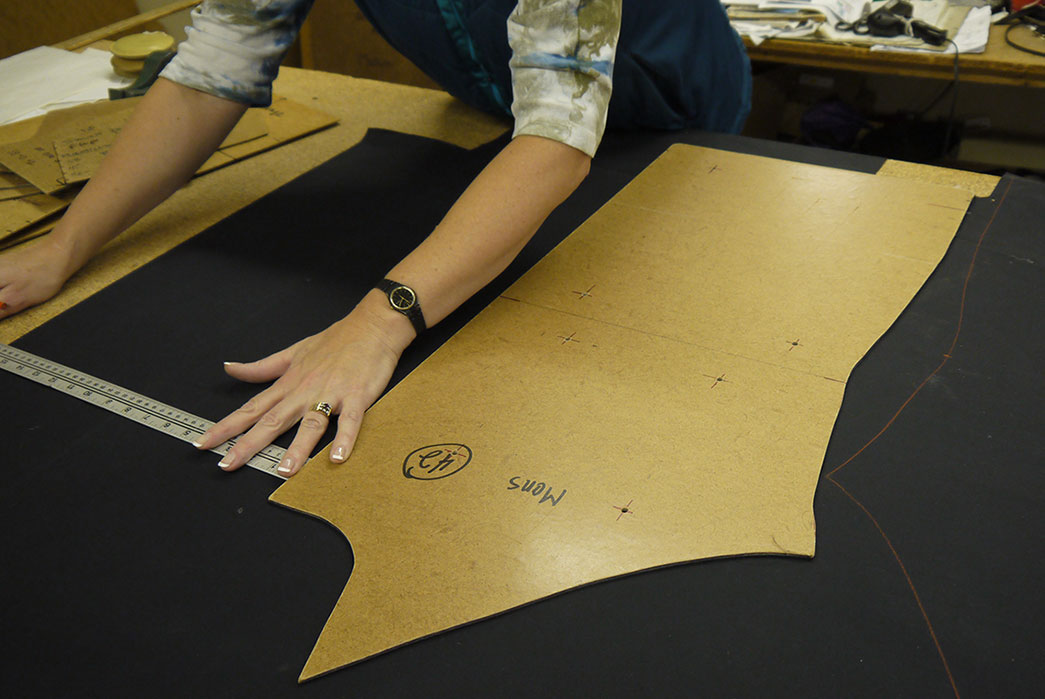
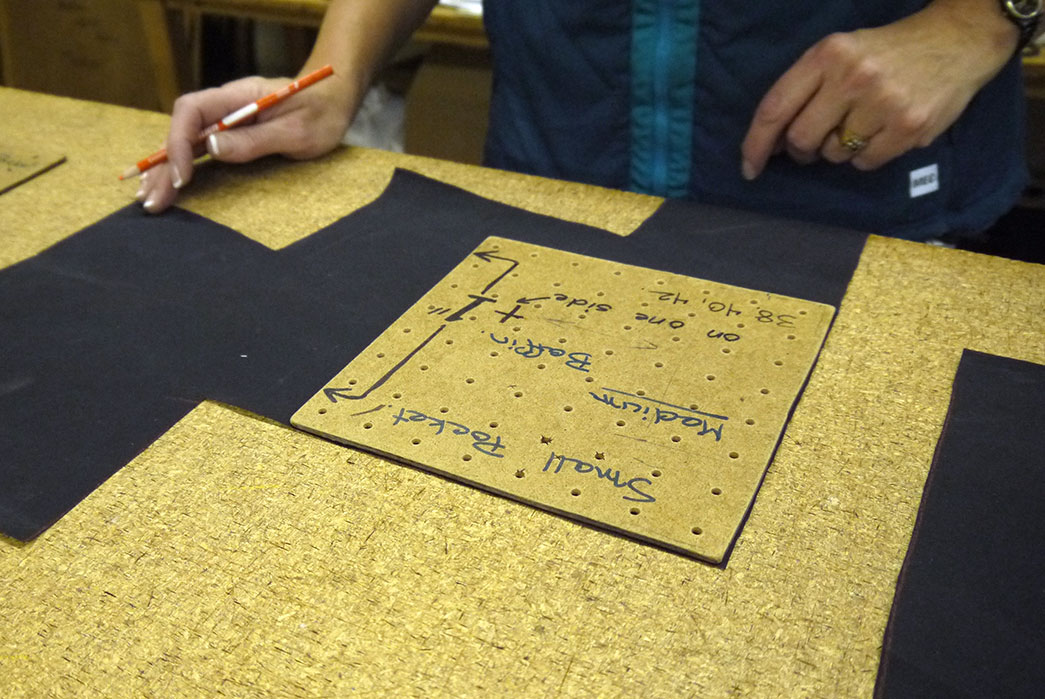
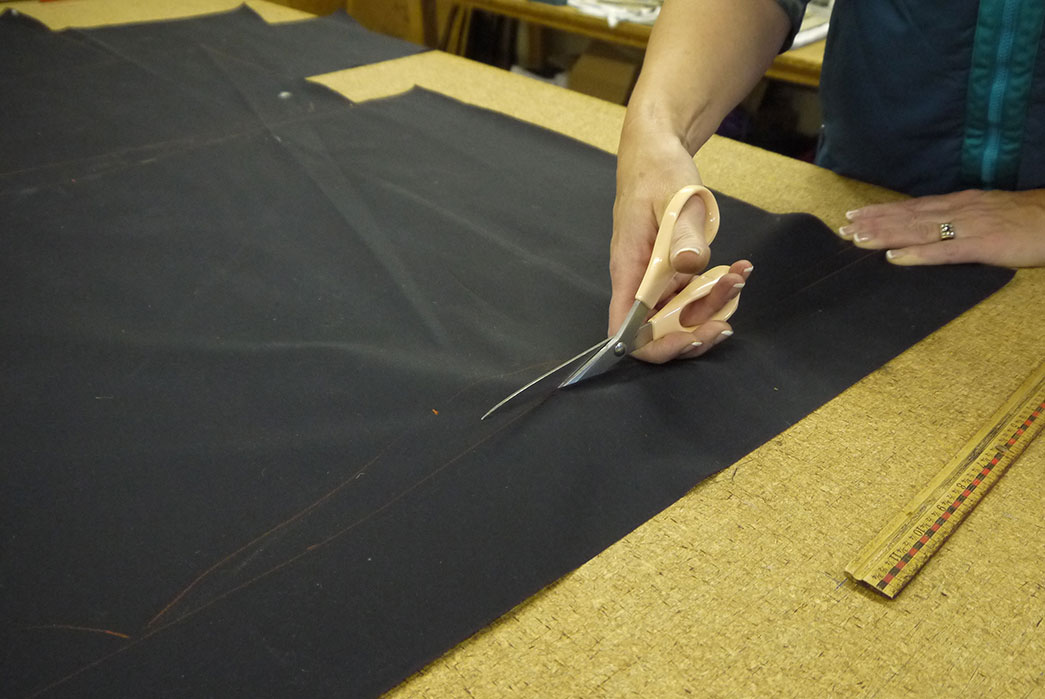


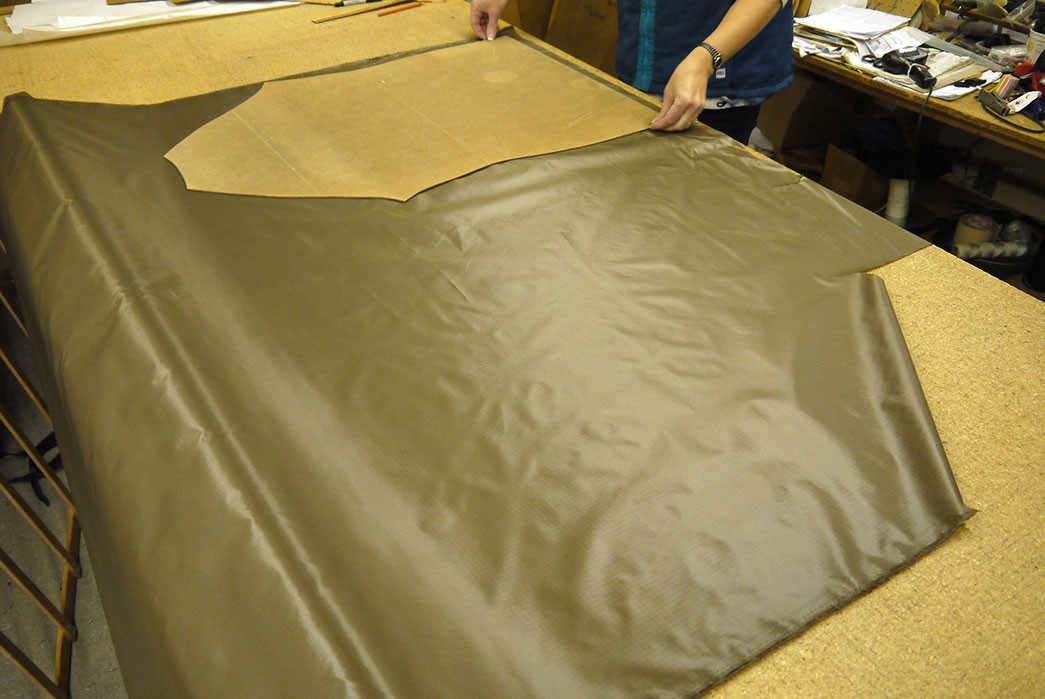
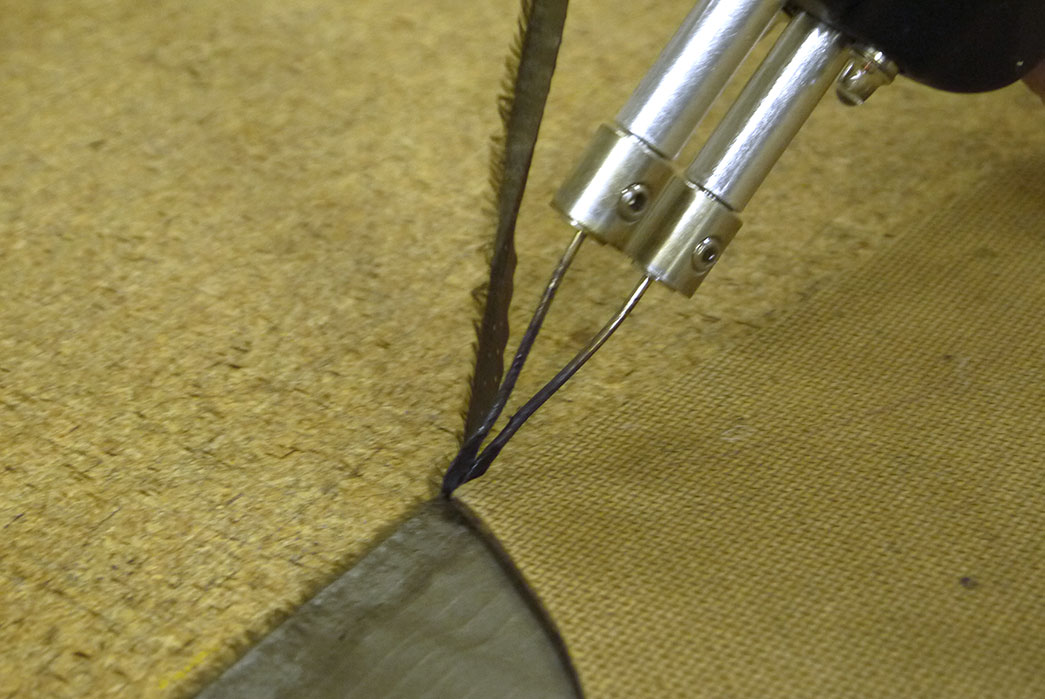
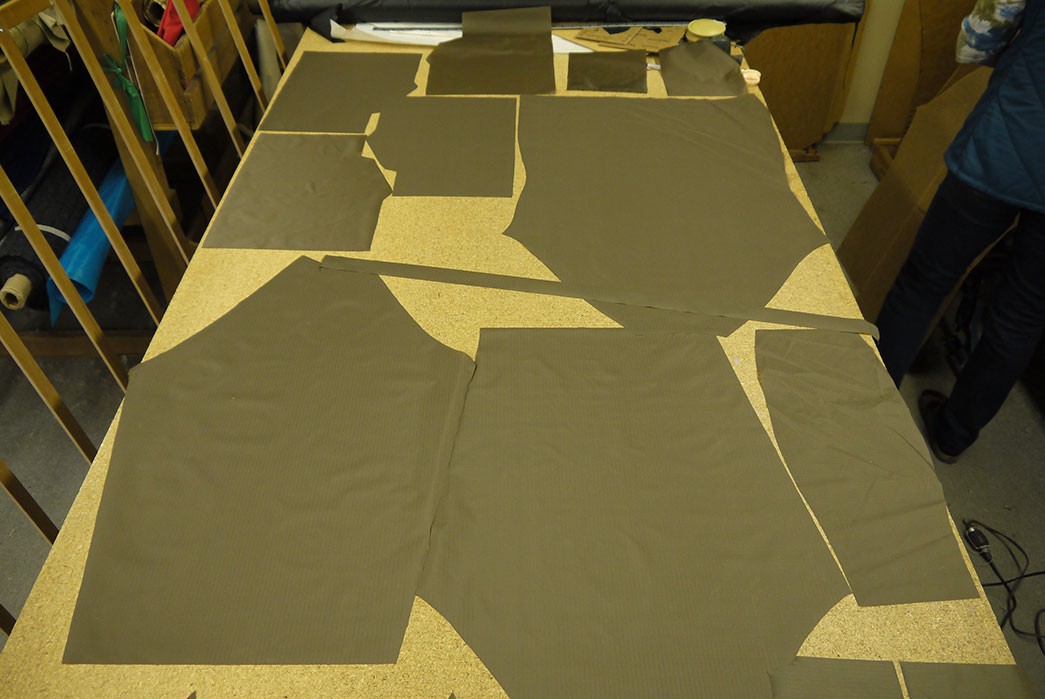
Like any other garment, a parka jacket is made up of many individual patterns which are outlined, cut and then eventually sewn together (and in our case, stuffed with down). 50+ total patterns were created for our parka. The exterior patterns were cut with scissors due to the their thicker, denser nature, while those made of the lighter ripstop fabrics were hot cut with a soldering gun to seal the edges and prevent fraying.
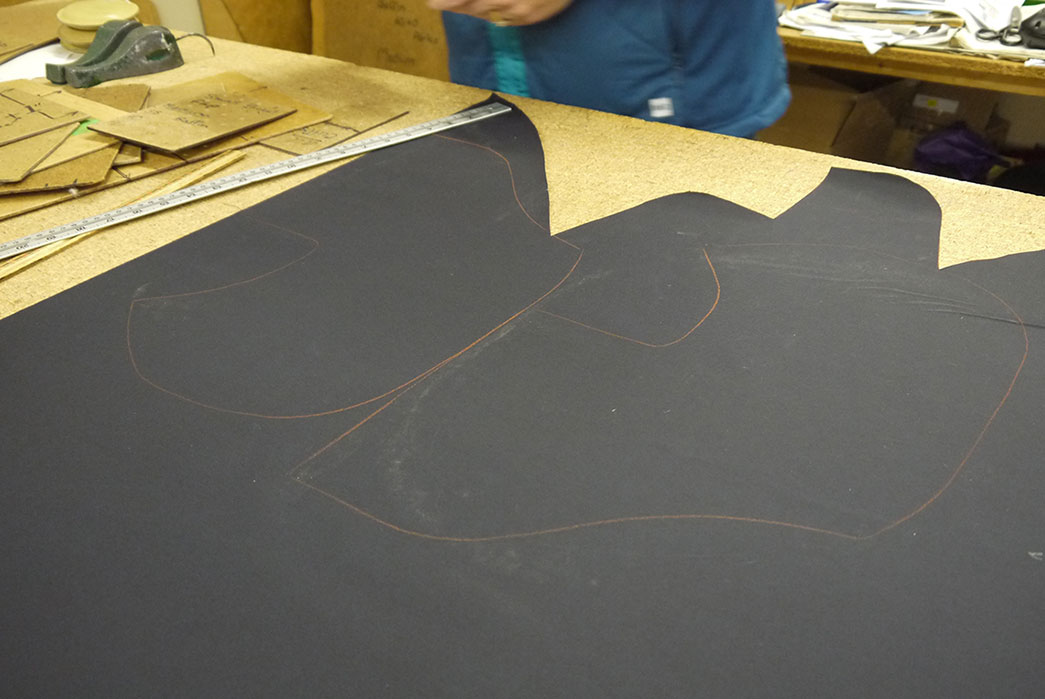
3. Outline Channels
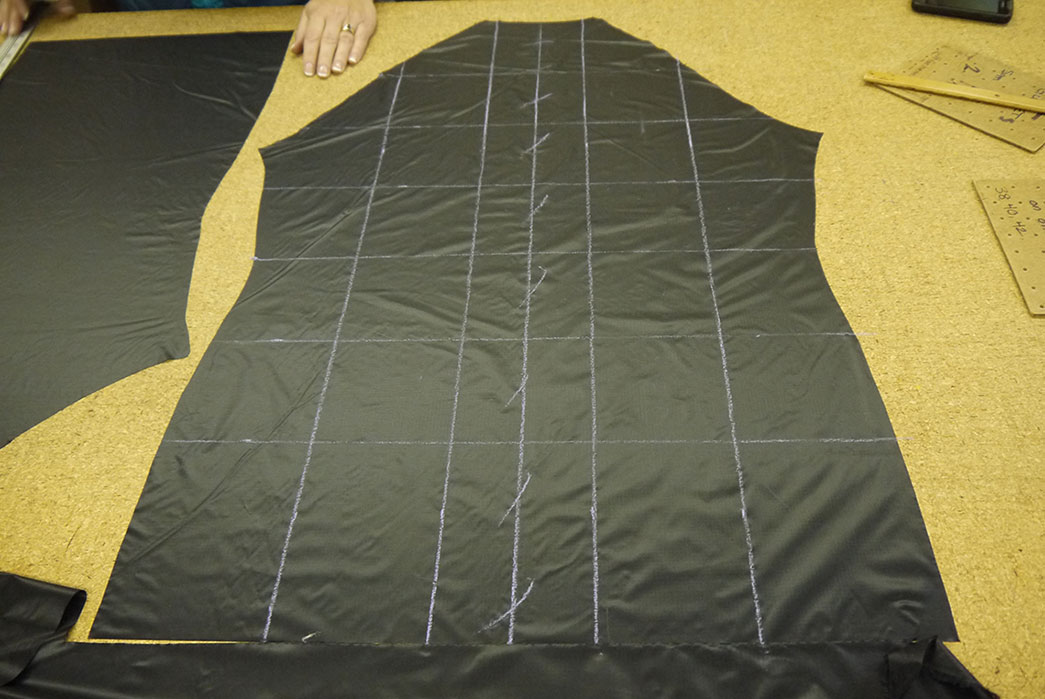
Once the patterns were cut, 2″ – 4″ wide channels were marked with chalk on the unseen 1.1oz. nylon ripstop. These lines were sewn later and form a quilt pattern so that the down is evenly distributed through the jacket, as opposed to clustering in one section of the jacket. When I asked Betty how they determined the optimal size of the channels, she said it was the result of years of trial and error.
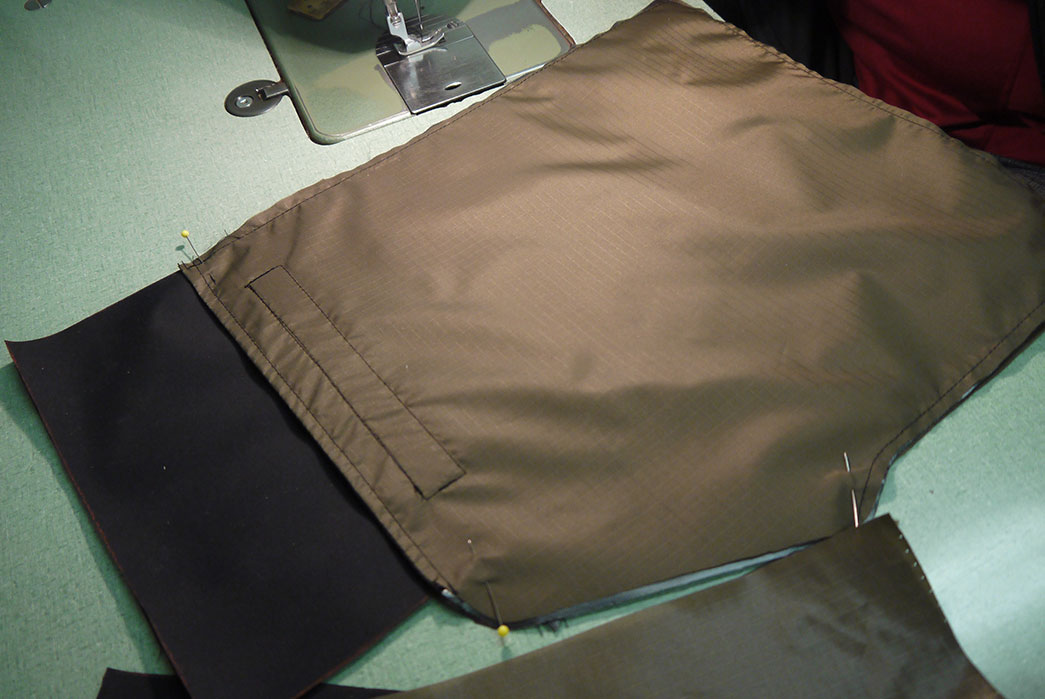
4. Make Chest Pockets
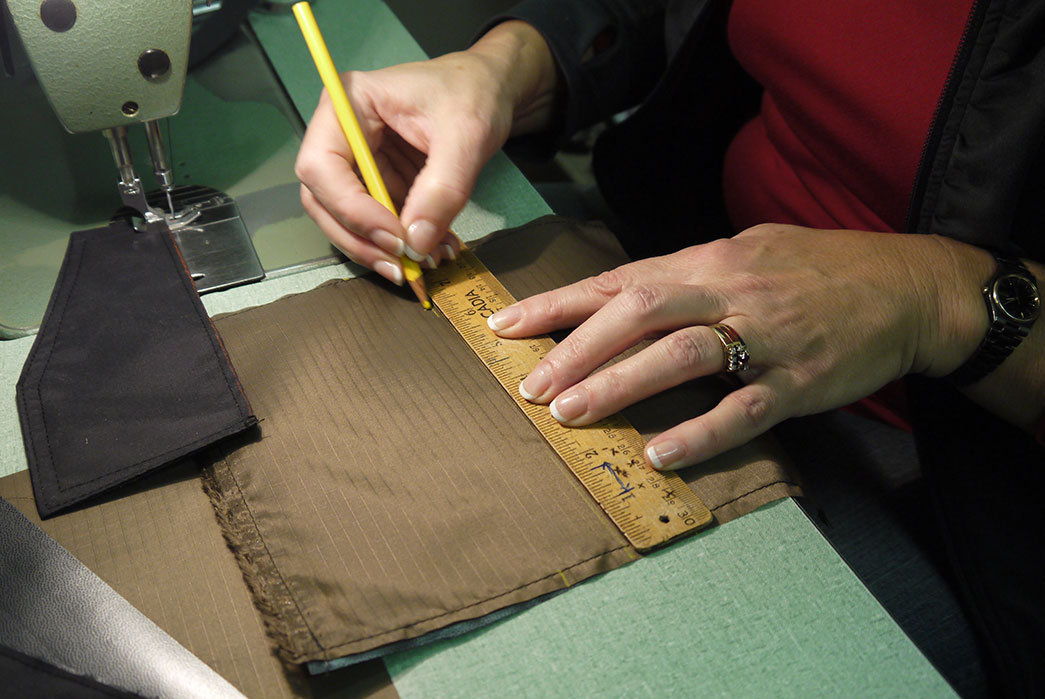

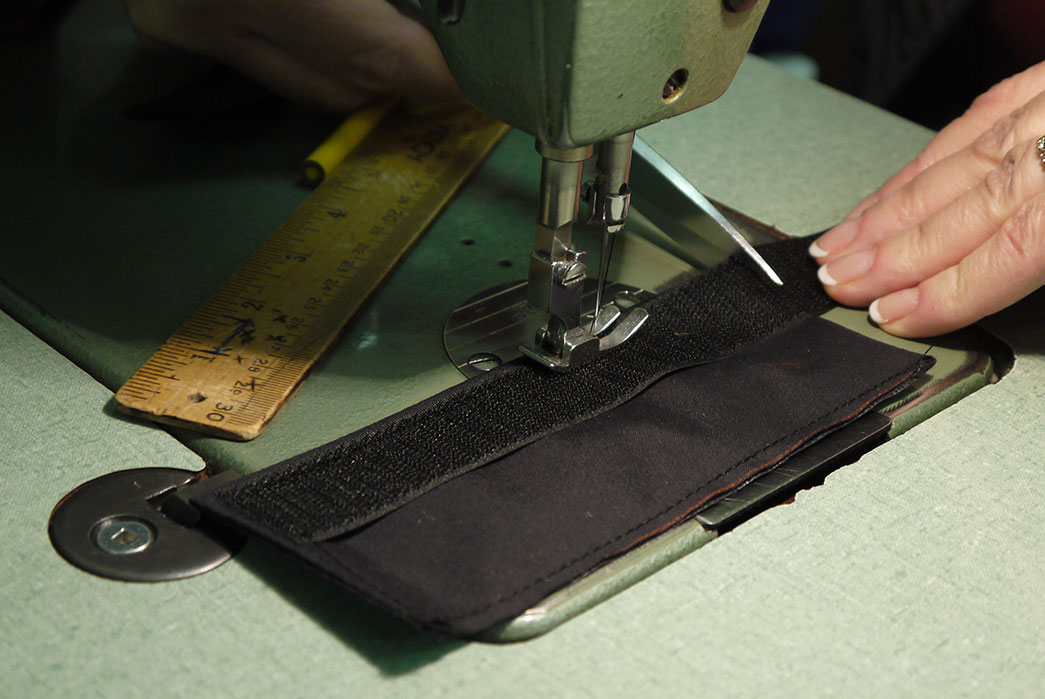
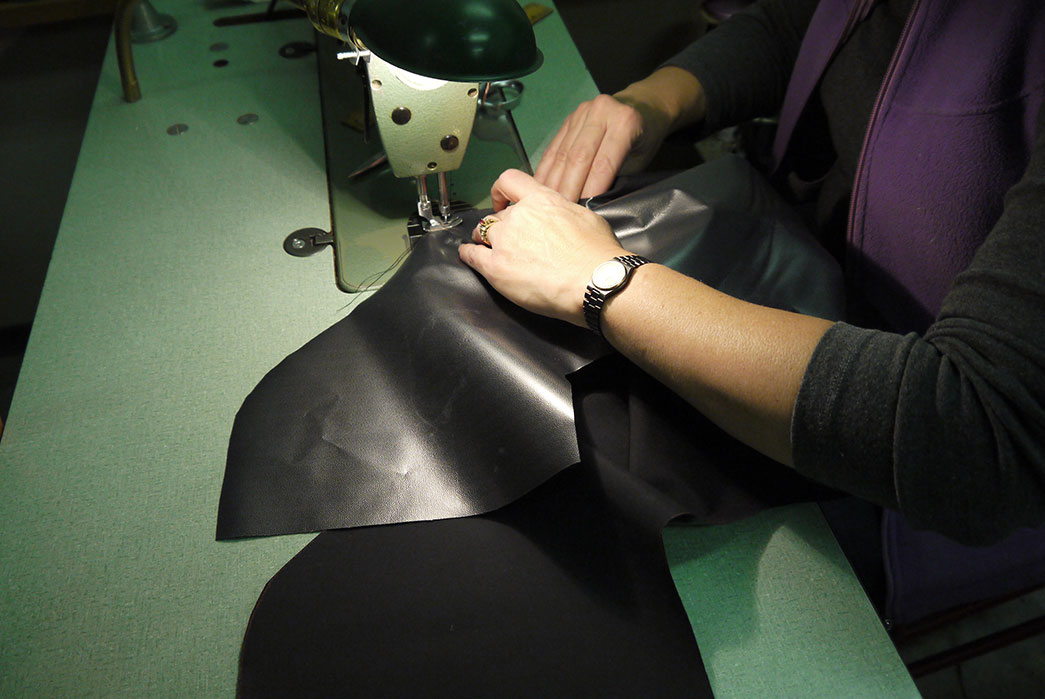
At this stage, the different components are assembled starting with those that are simpler and smaller, such as the chin guard and chest pockets. For the pockets, the matching Hydroflex exterior and interior ripstop nylon patterns were first sewn together, then modified with any special features or details (e.g. velcro flaps, pull loops, pleats). The velcro flap wasn’t fixed directly to the chest pocket since it would be sewn to the body panels at a later stage.
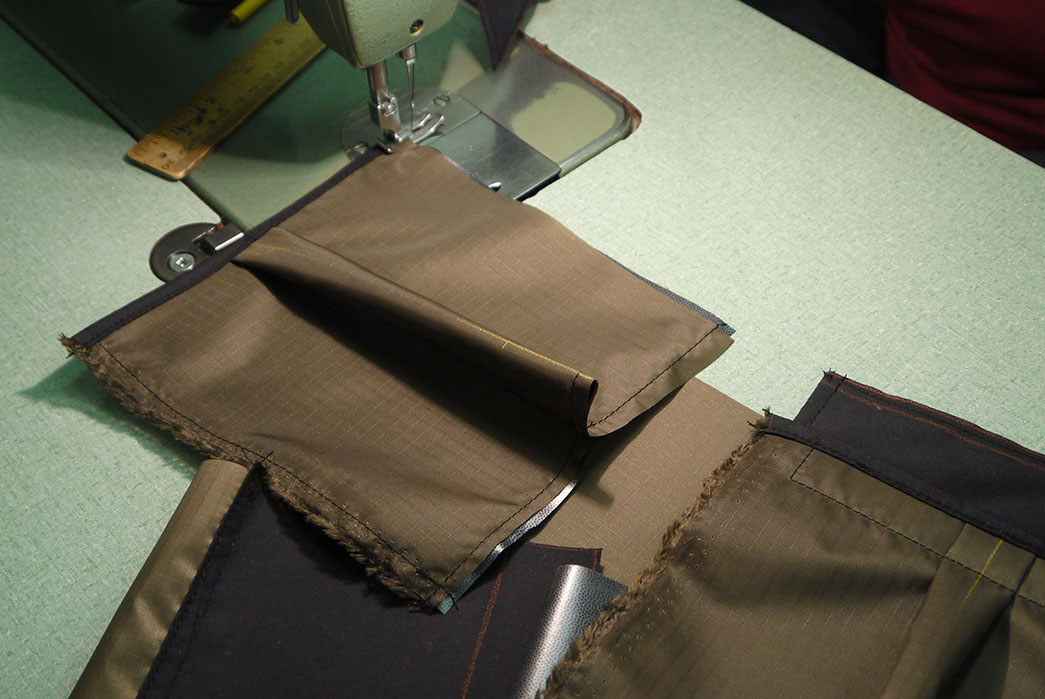
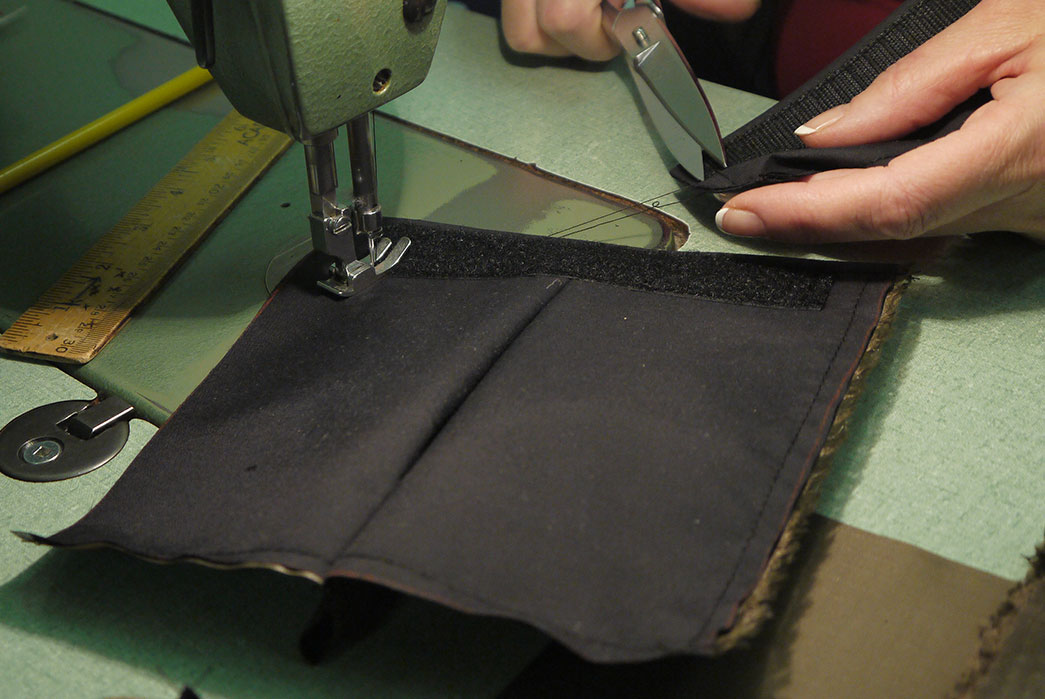
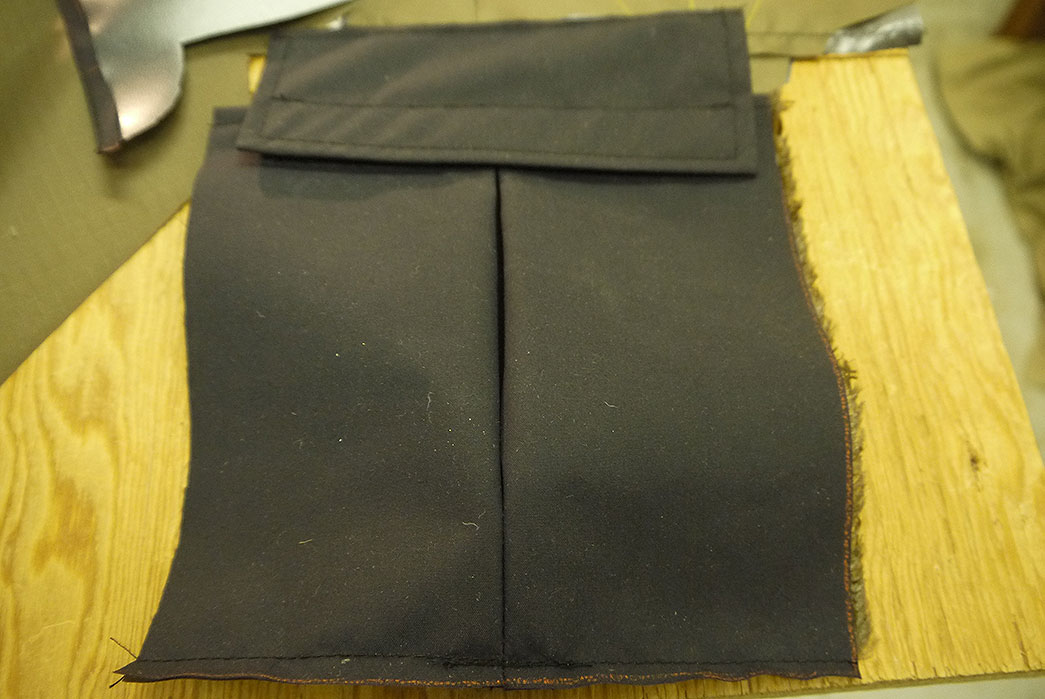
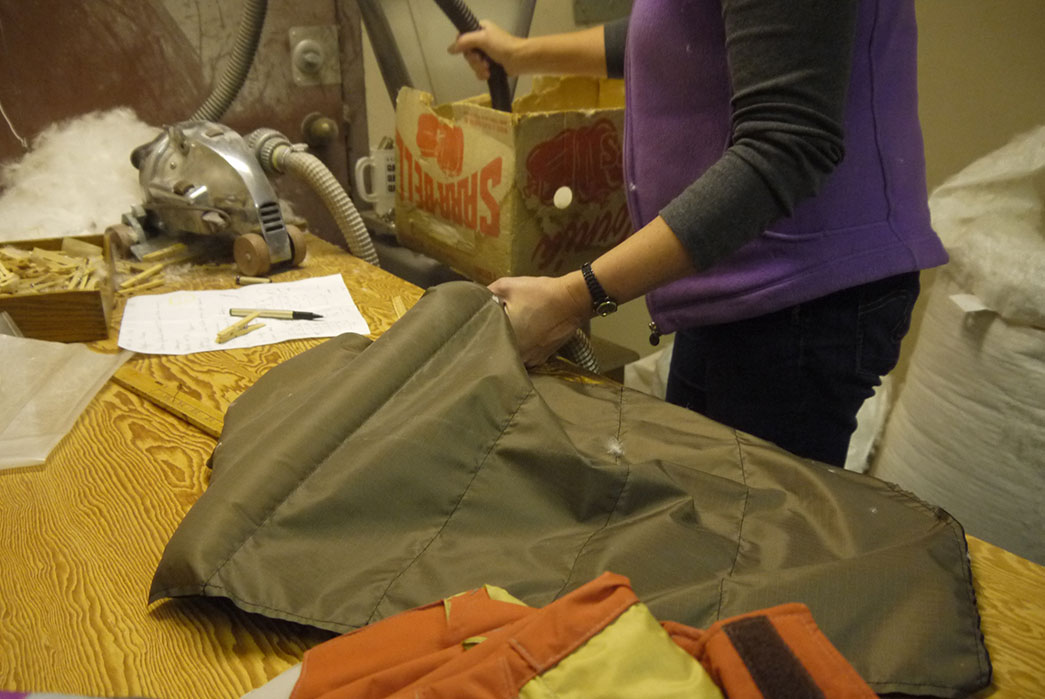
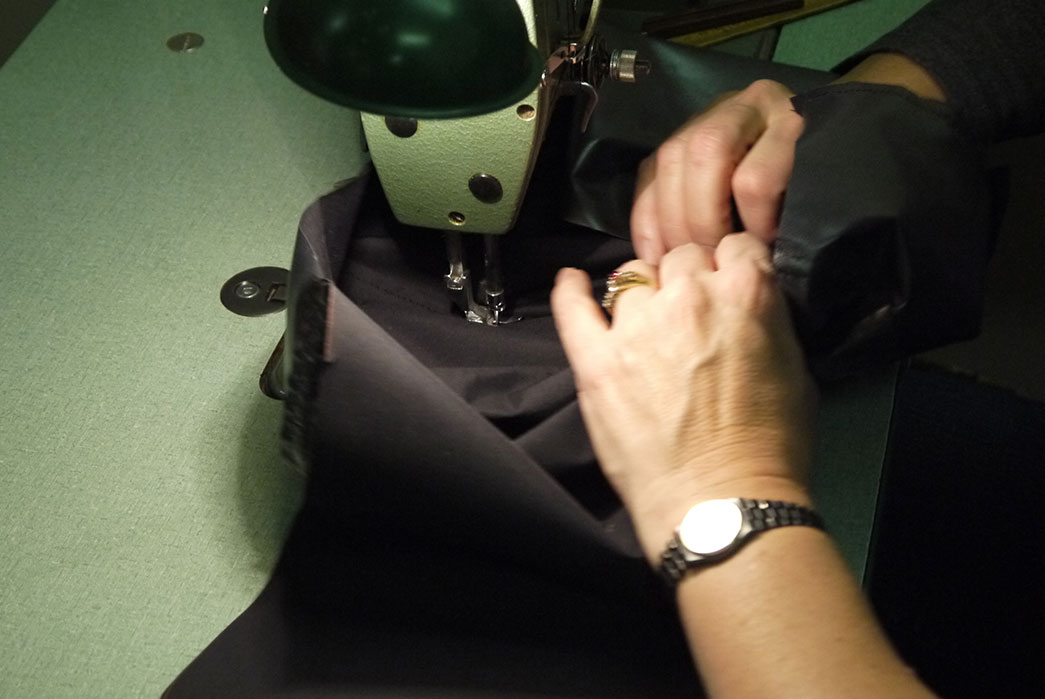
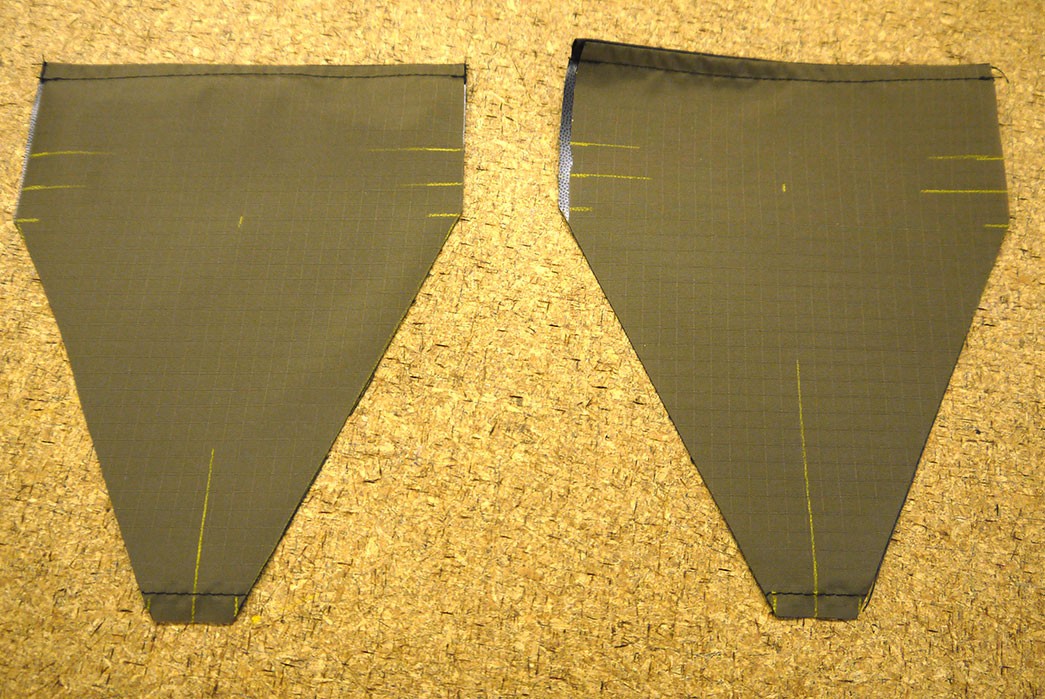
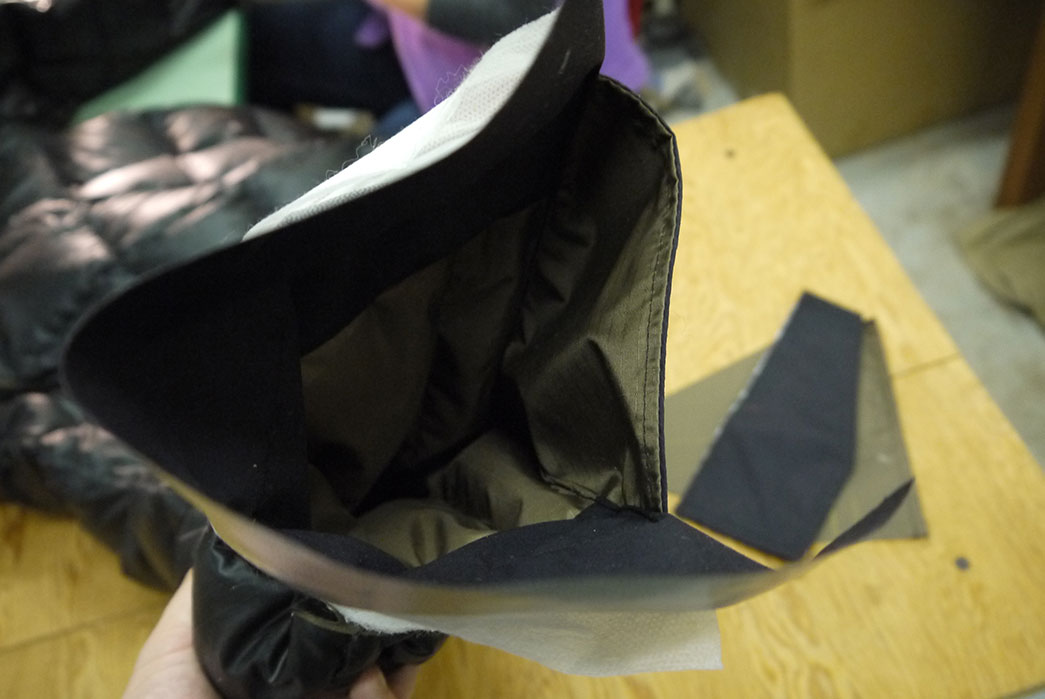
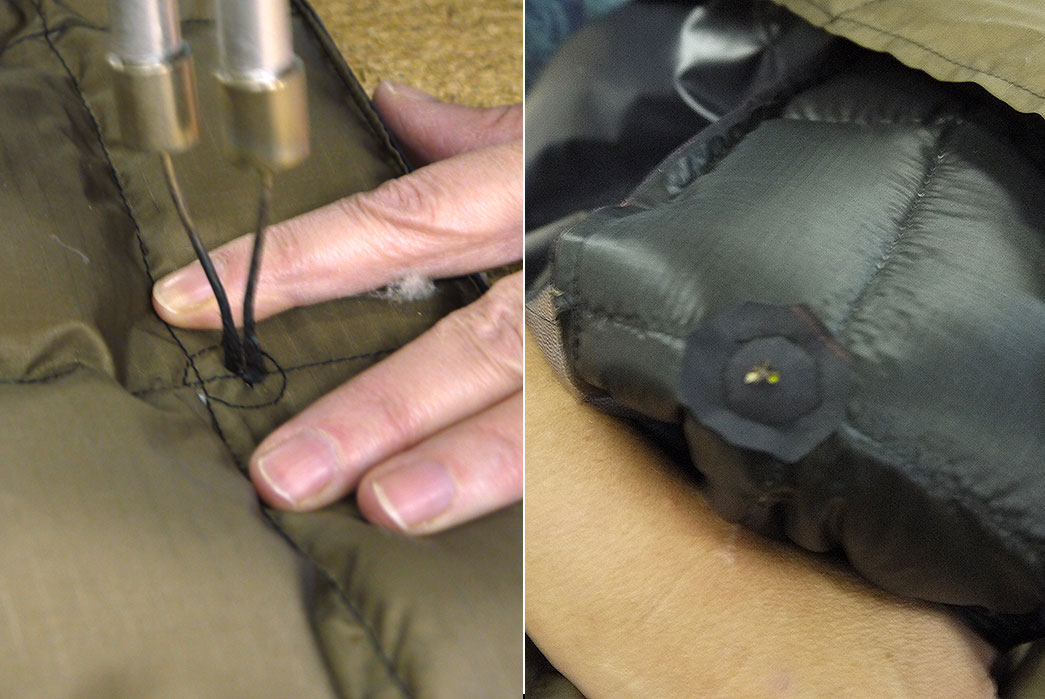
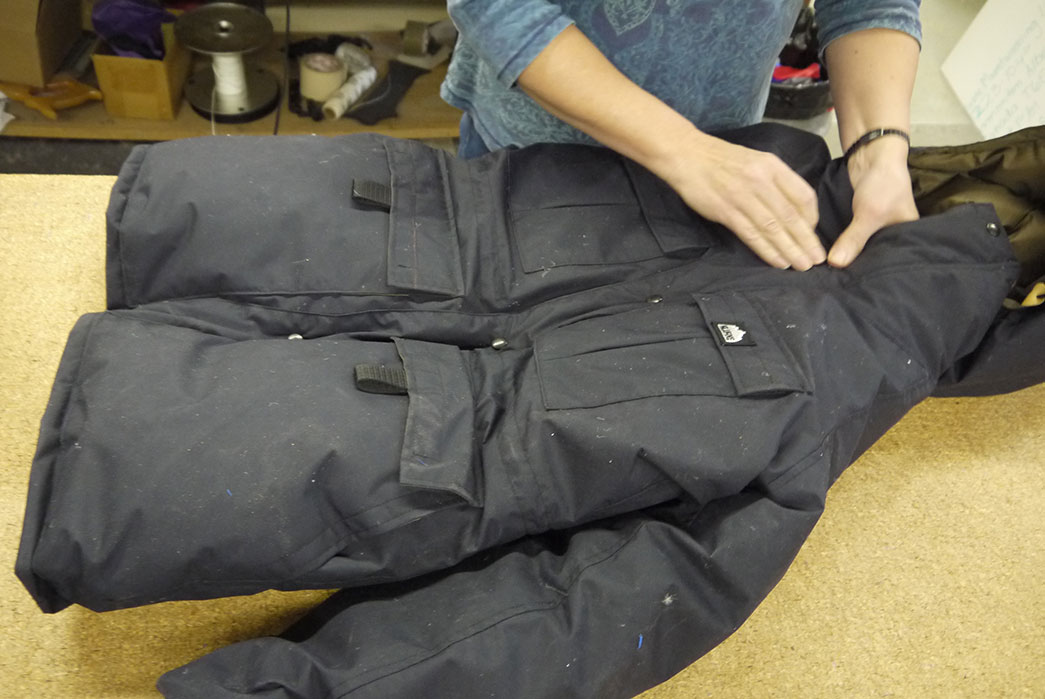
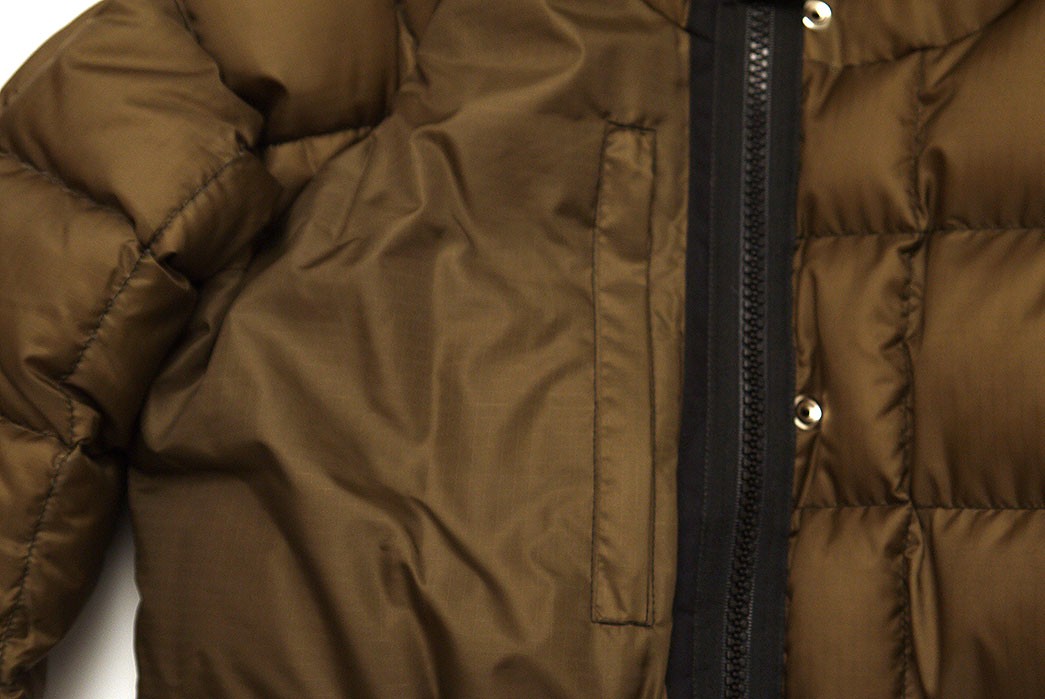
5. Make Hand Pockets
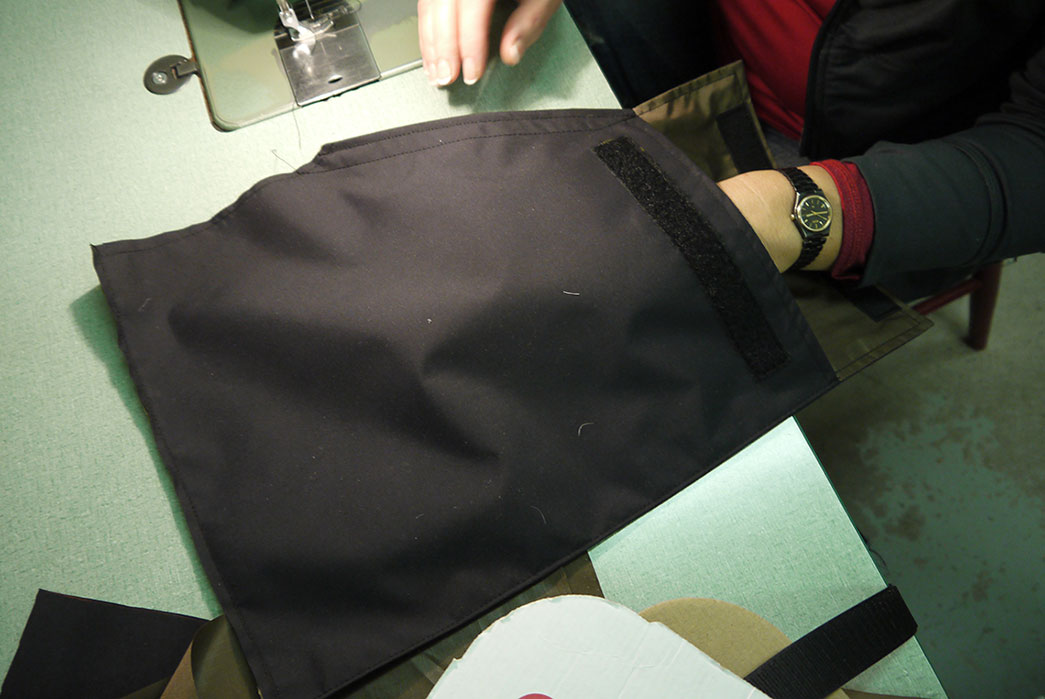
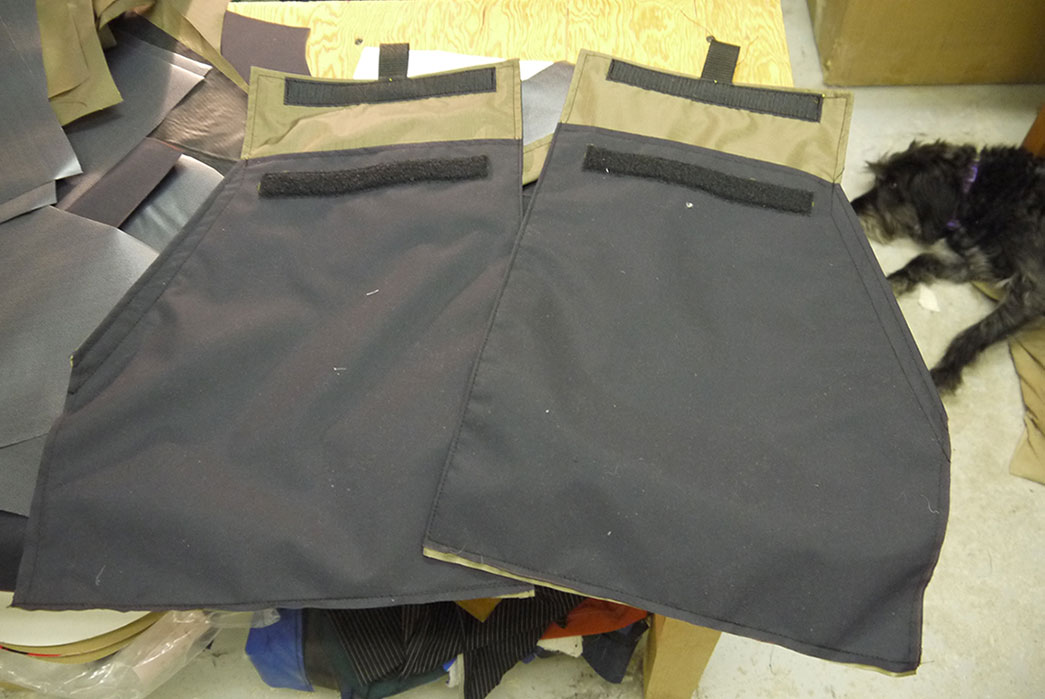
The 2-way hand pockets are next and take quite a different approach. Seen in slide two above, extra layers are built in to create one compartment for the down fill and another for side entry–thus enabling them to act as hand warmers–and little pull loops are added to the velcro flaps for easier access.
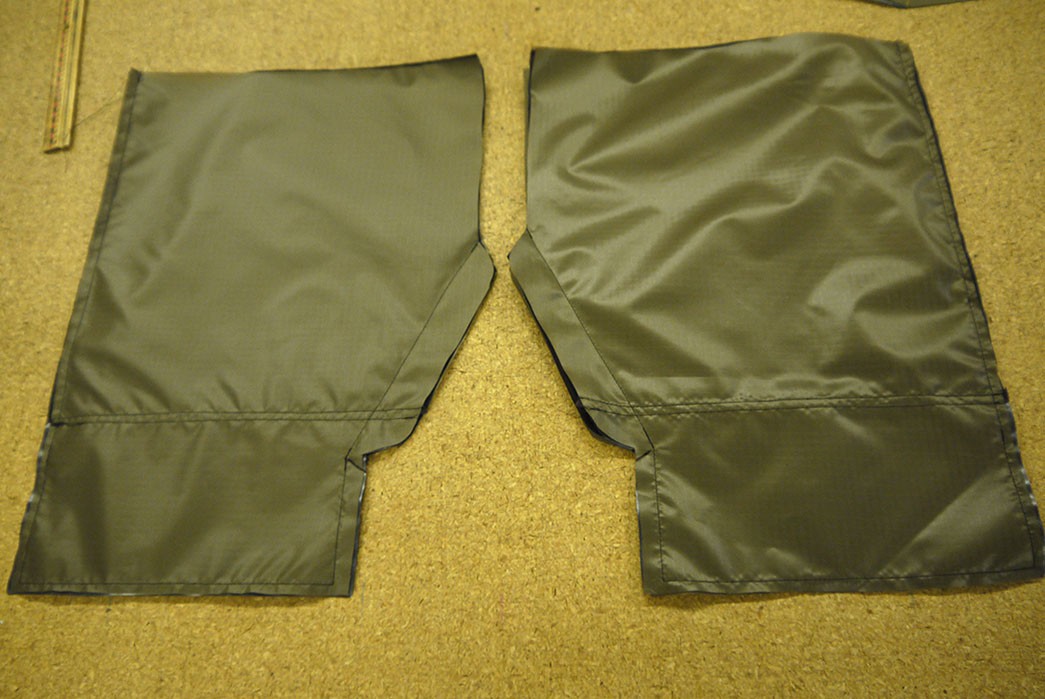
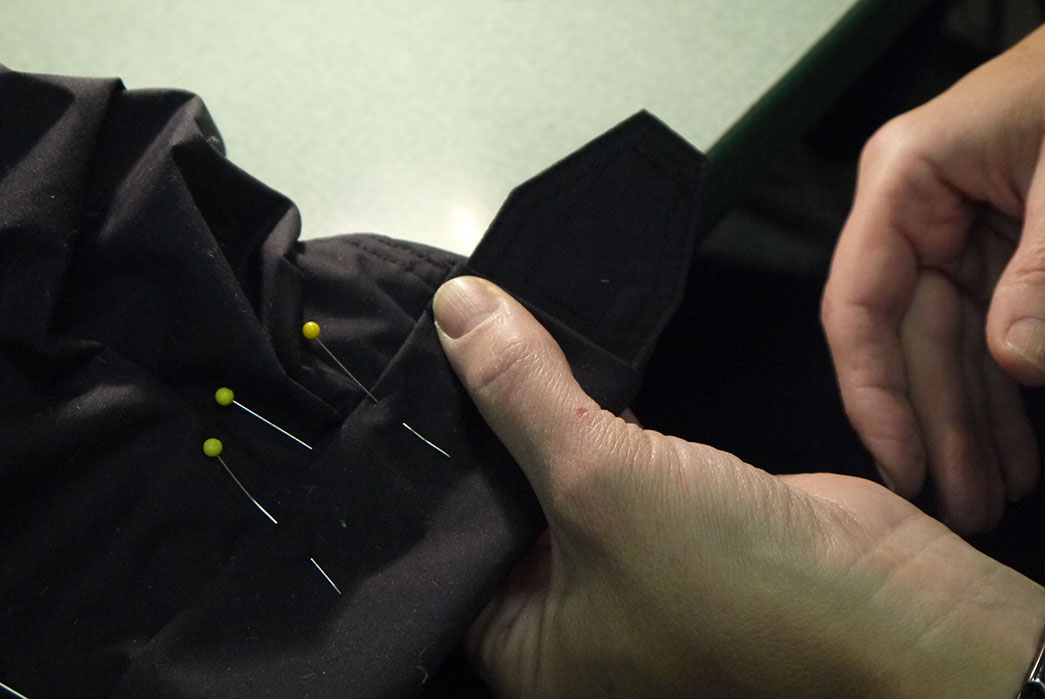
6. Attach Pockets to Front Panels
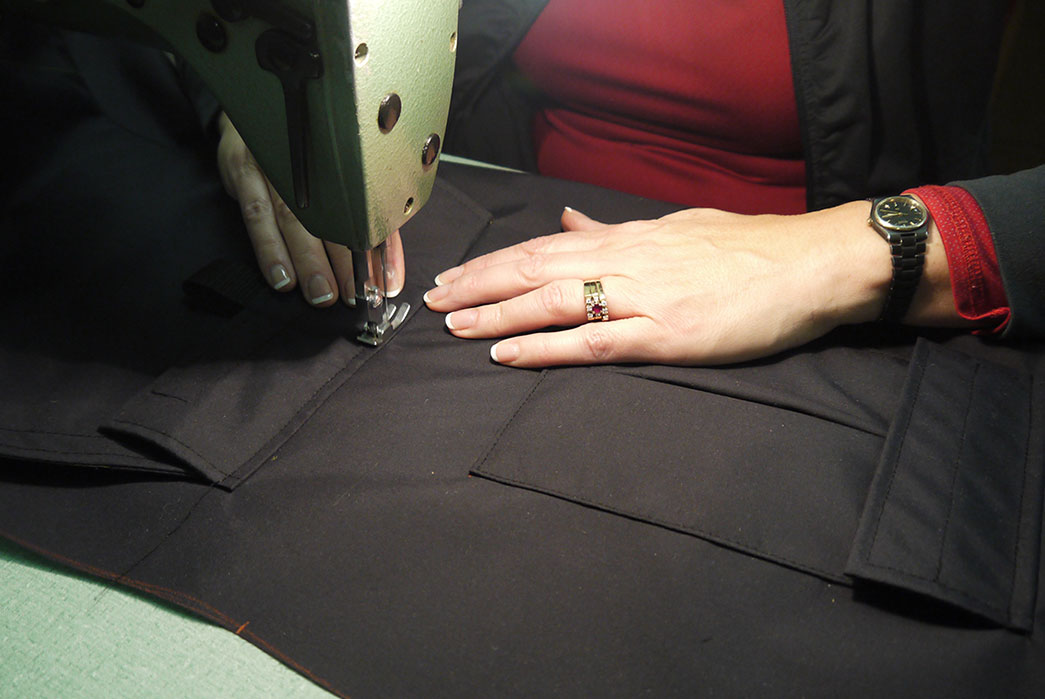


Now that the pockets are ready, it’s time to get them on the body panels. As requested, Betty added a tonal tab to my left chest pocket. Not pictured, but after this step Betty moved on to completing the rest of the exterior body with exception to the hood (see step #10).
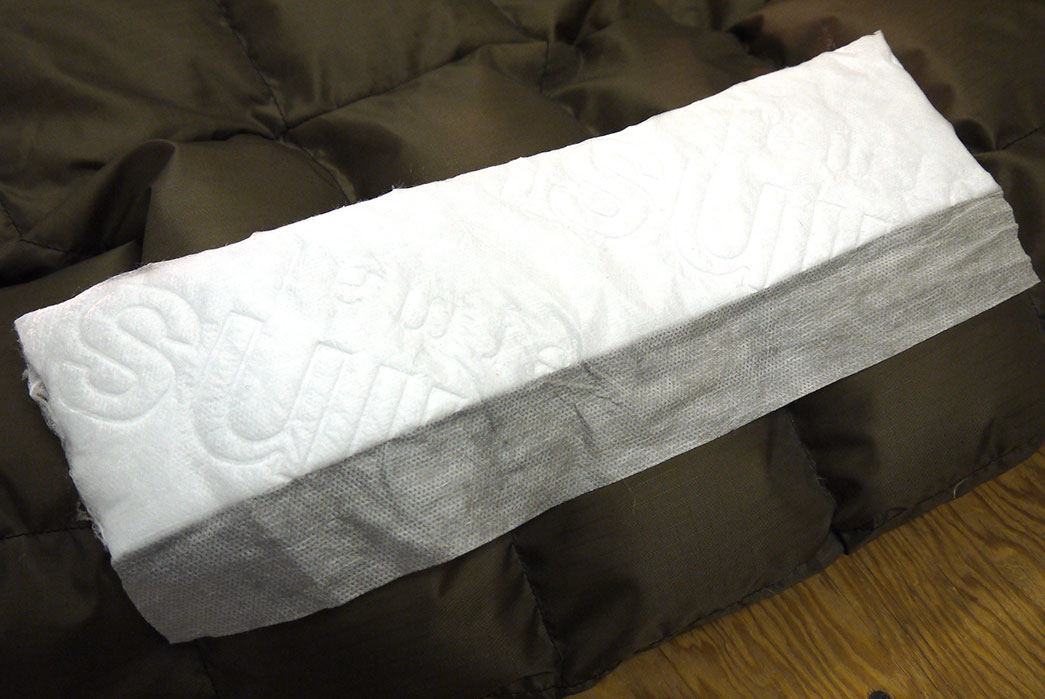
7. Down Fill Channels

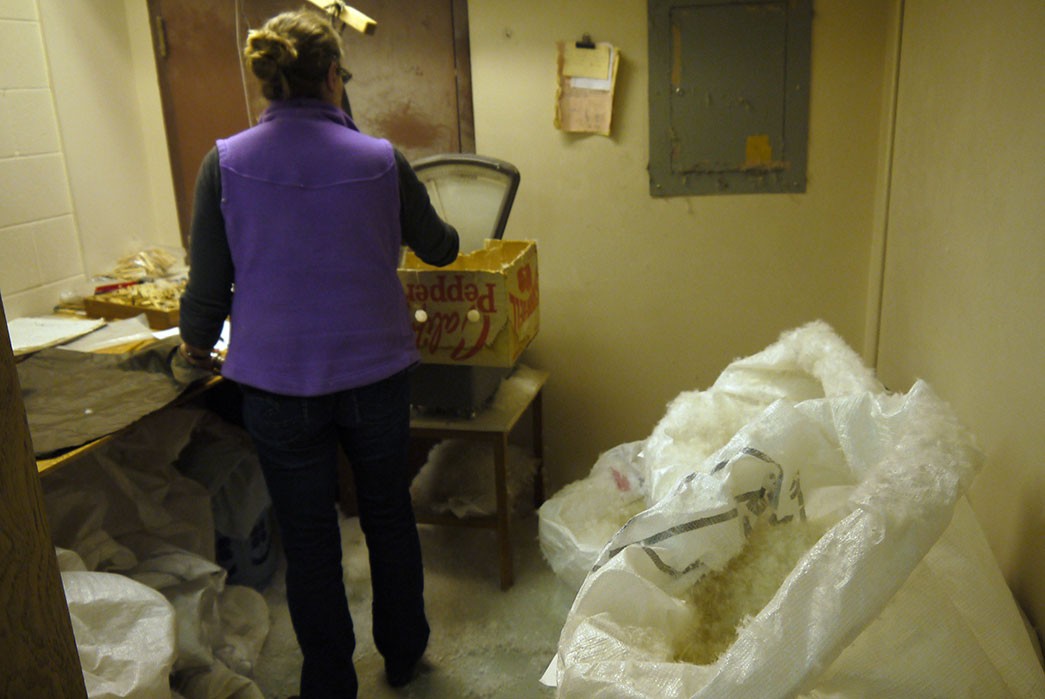
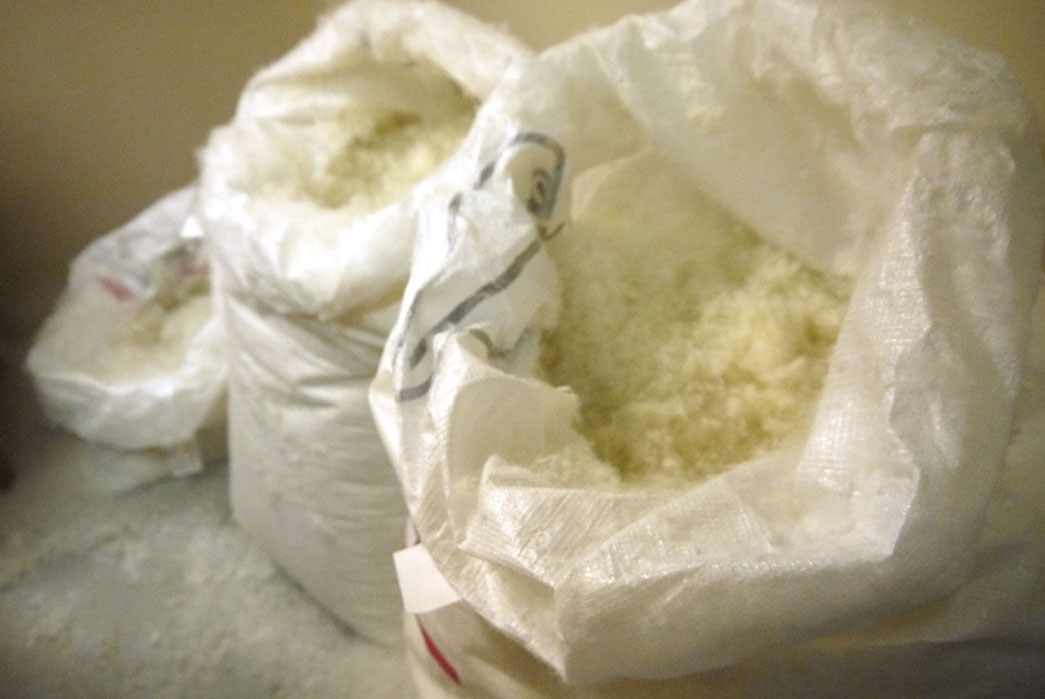
Here’s where things get fun and messy. Remember step #3 when Betty outlined the channels on the back patterns? Now they’re ready to be permanently partitioned and filled in the “down room”. This step was repeated for every other section that needs down-filling – namely the sleeves, front panels, and hood.
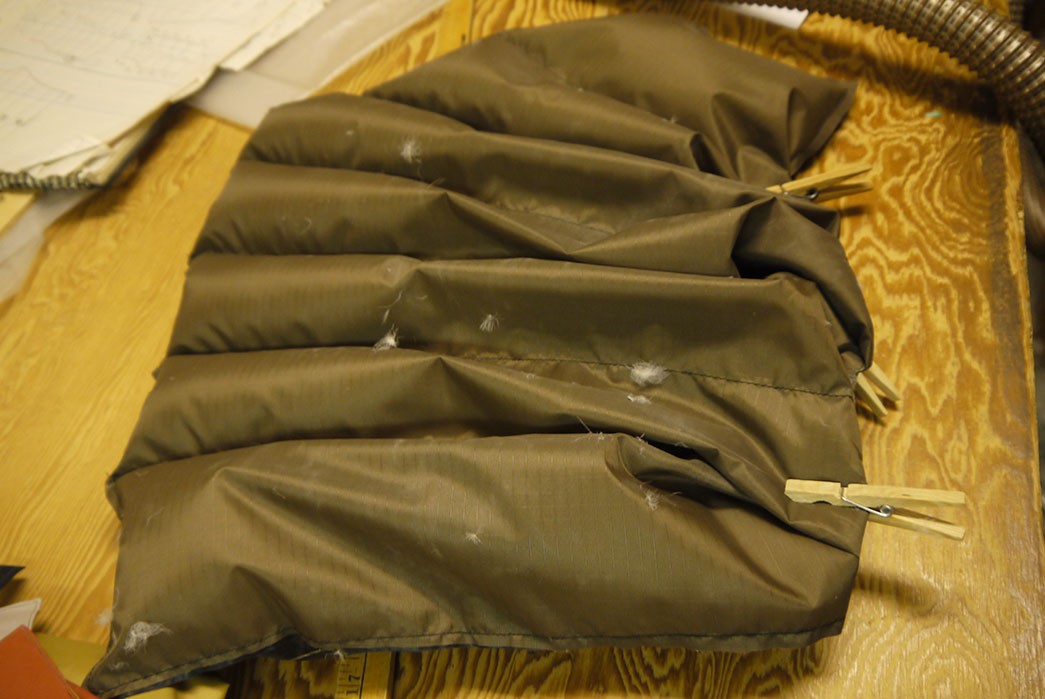
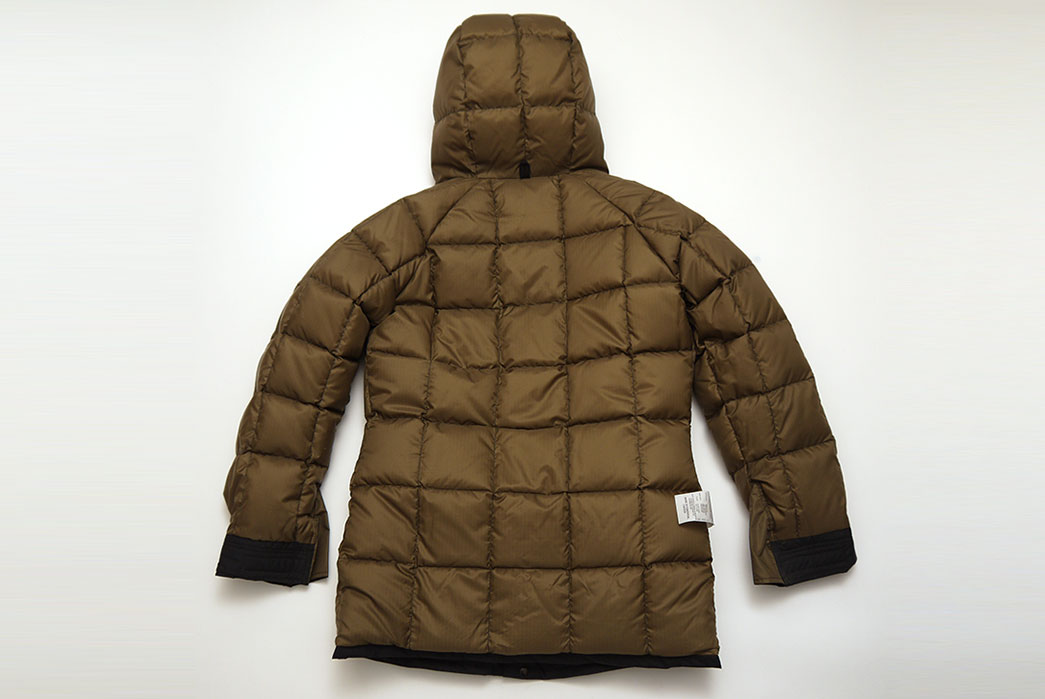
8. Close Channels, Sew Quilt Pattern, and Combine Sections

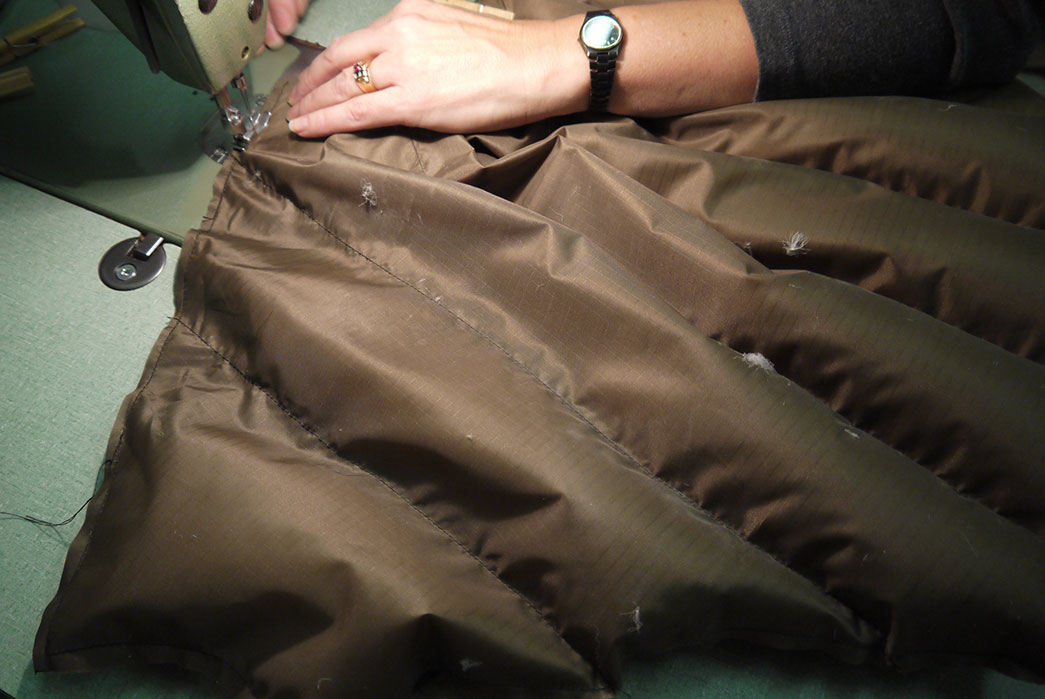
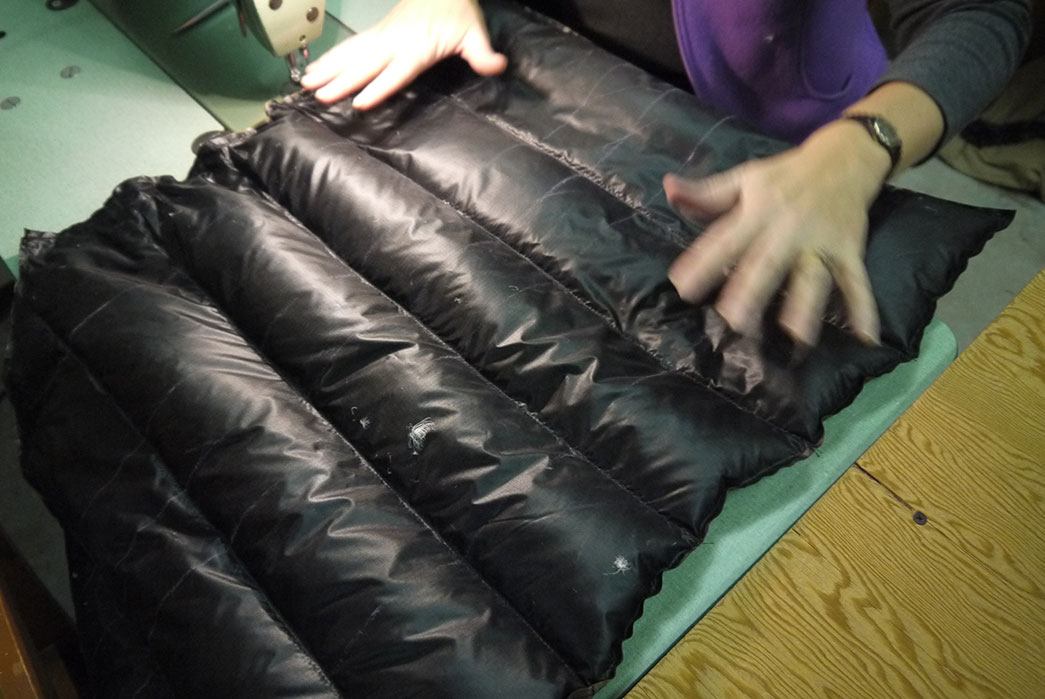
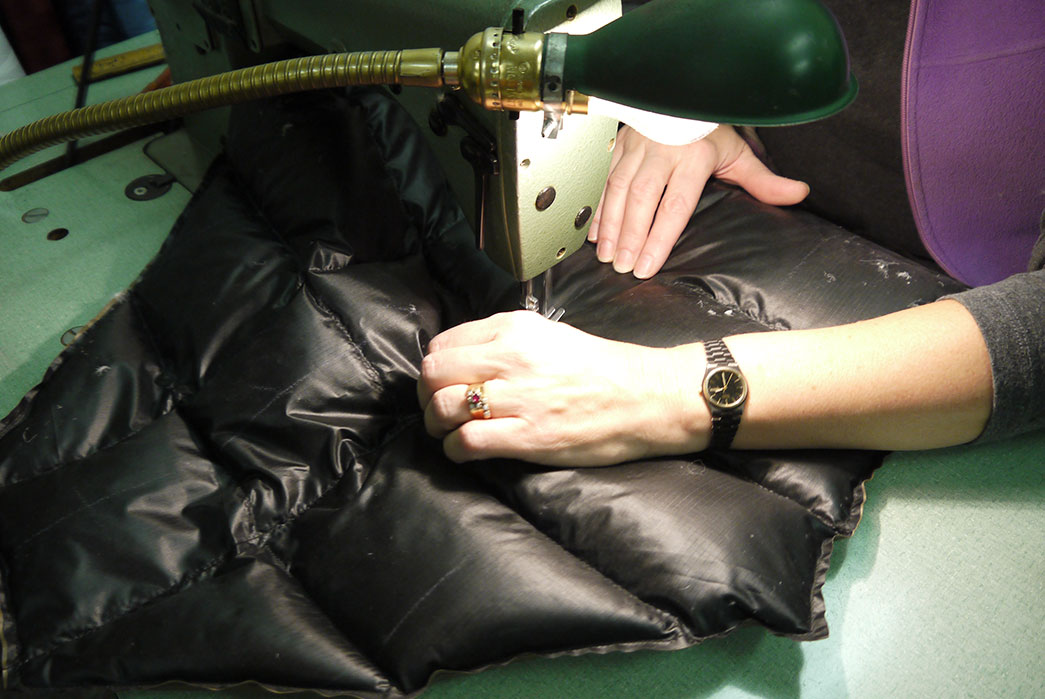
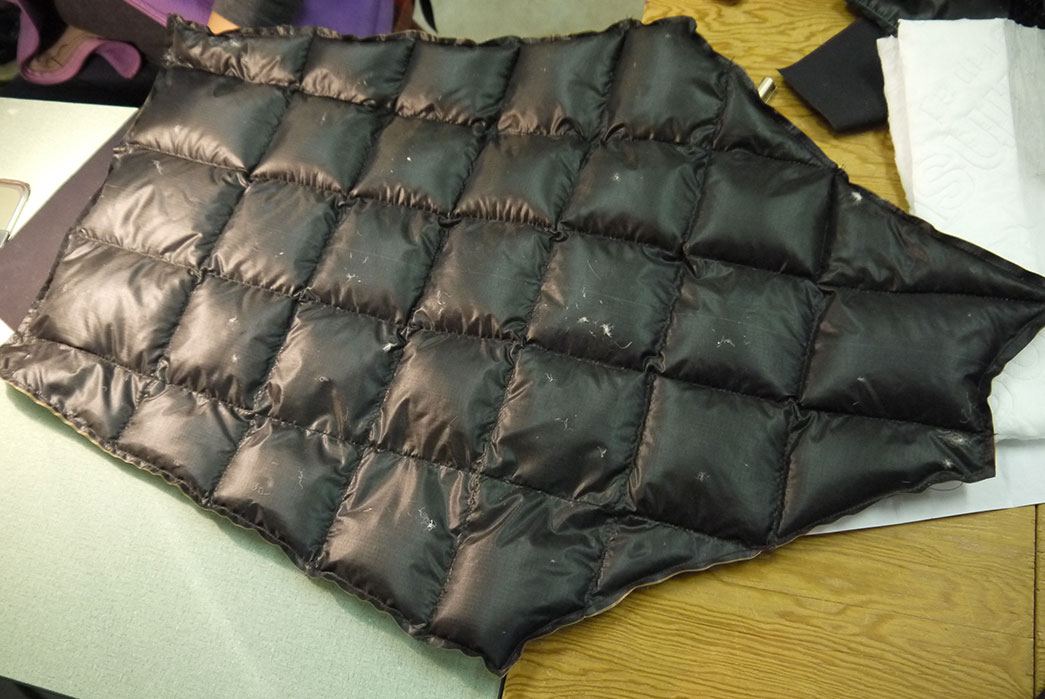
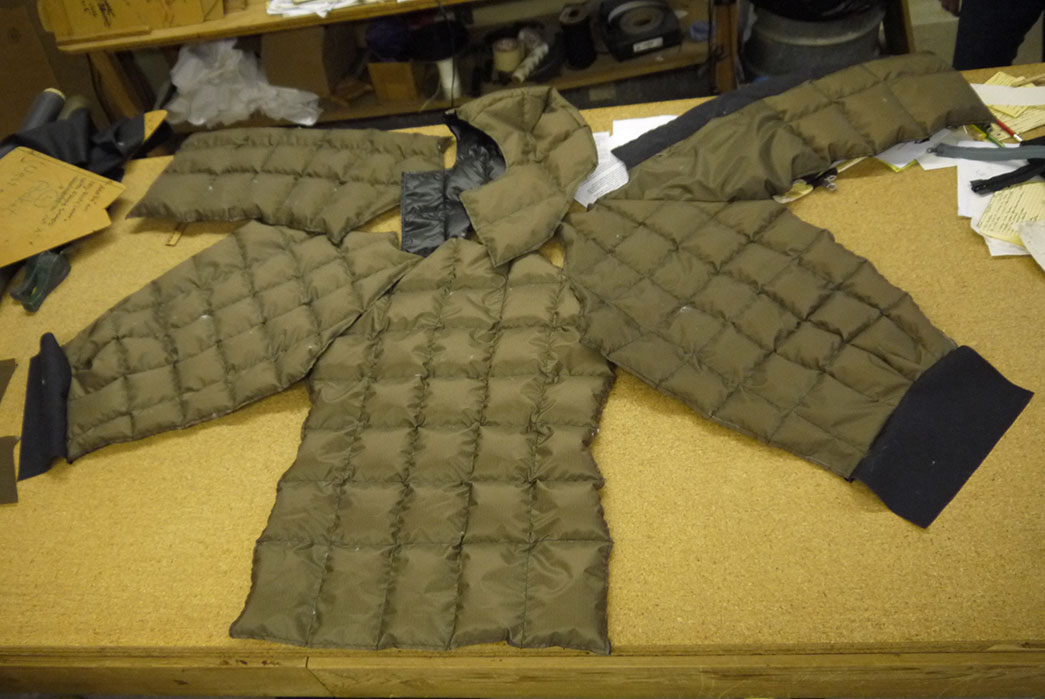
Once all of the sections have been filled, Betty gives each a thorough pat down (in a good way) to evenly distribute the down then sews from top-to-bottom to create a quilt pattern. At this stage too, each section is sewn roughly together and some get patterns which will be finished at a later step. By the end of it, it sort of looks like a flattened down-filled octopus missing a few tentacles (last slide above).
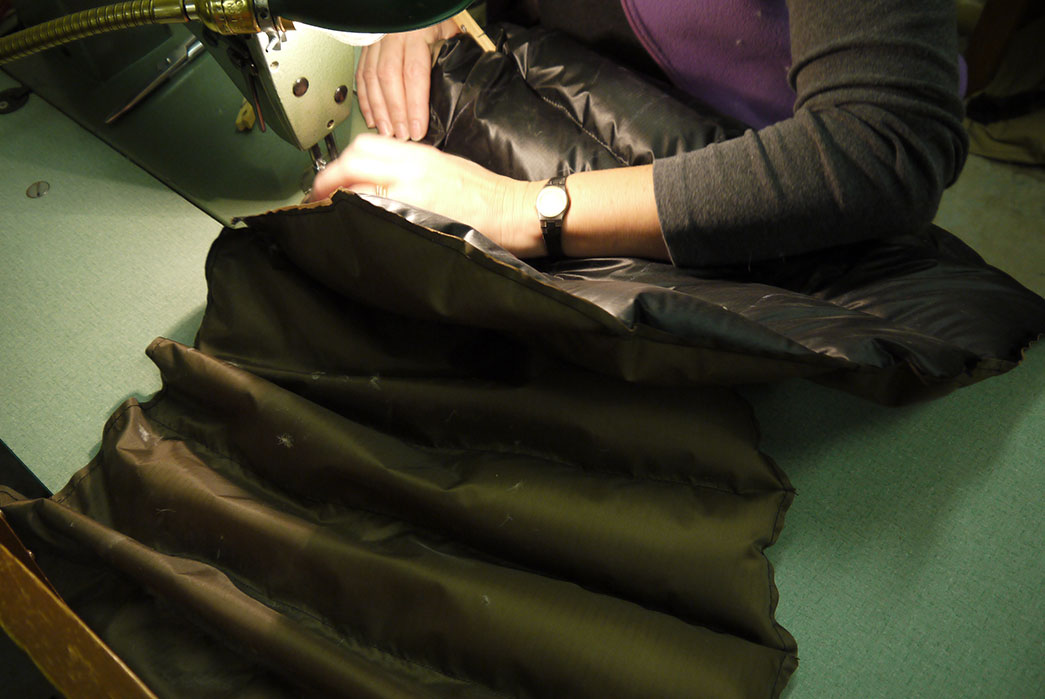
9. Finish Sewing Sections Together
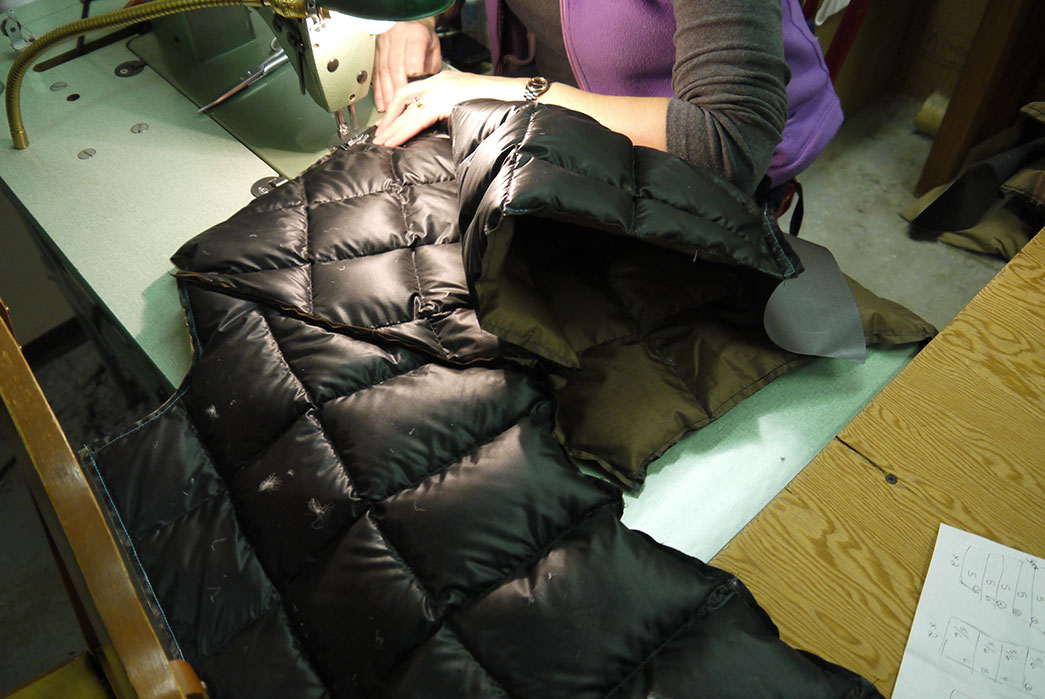
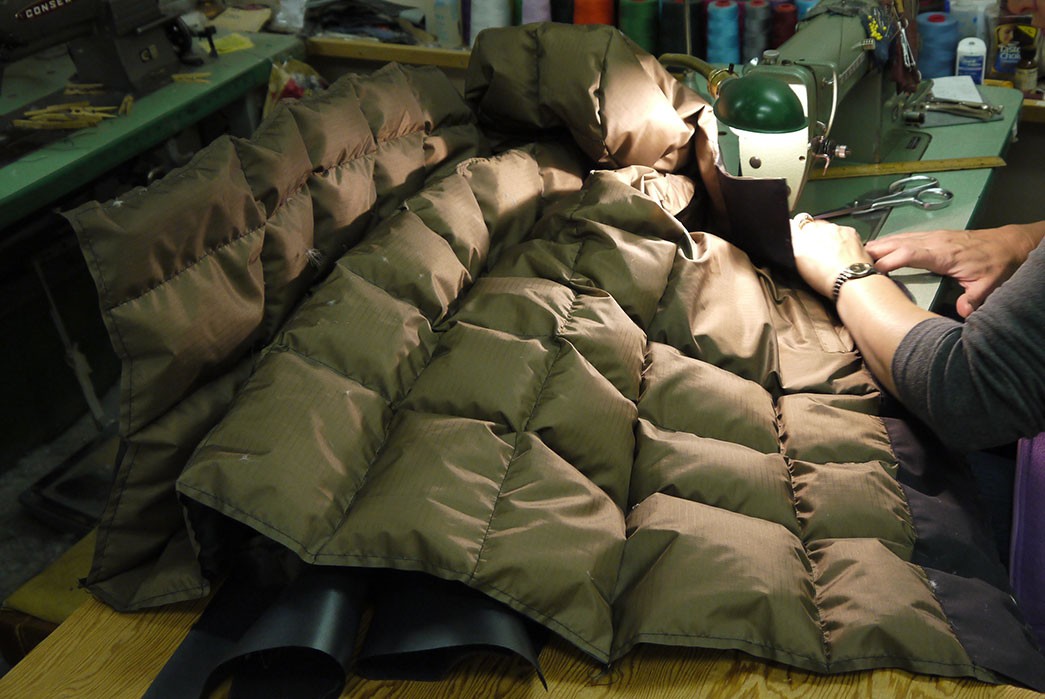


Next, each of these sections are better connected and the octopus transforms into the Inner portion of the parka coat.
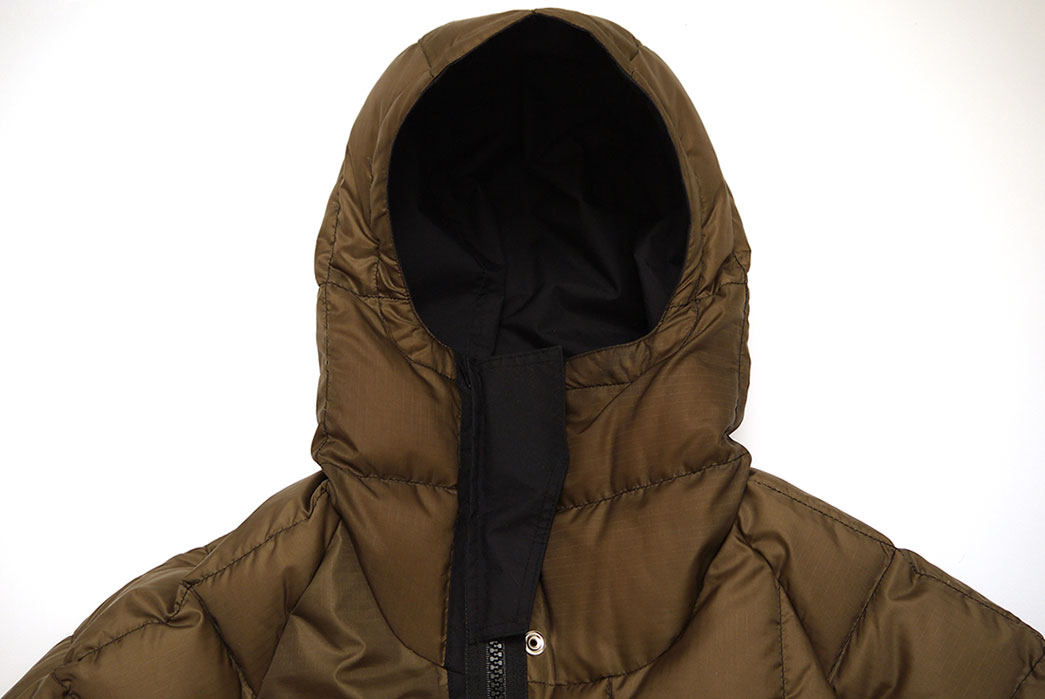
10. Create Shell and Hood

Now that the insulating Inner coat has taken shape, Betty focusses on the hood, which is made up of two side panels and one center panel and attached to the shell body thereafter.
11. Finish Sleeve Cuff


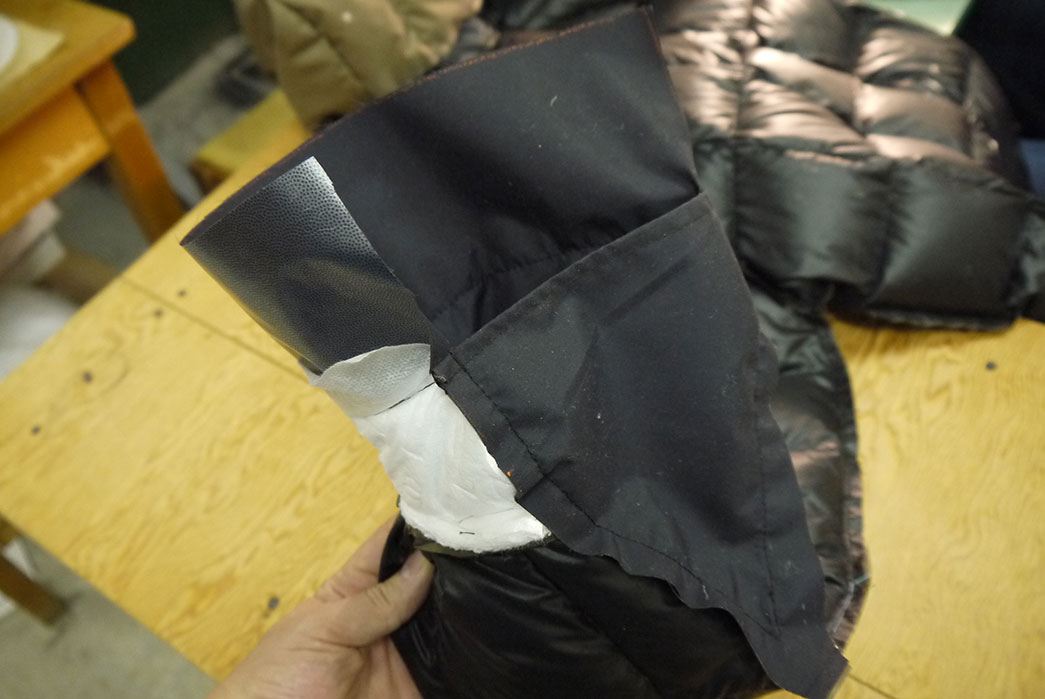
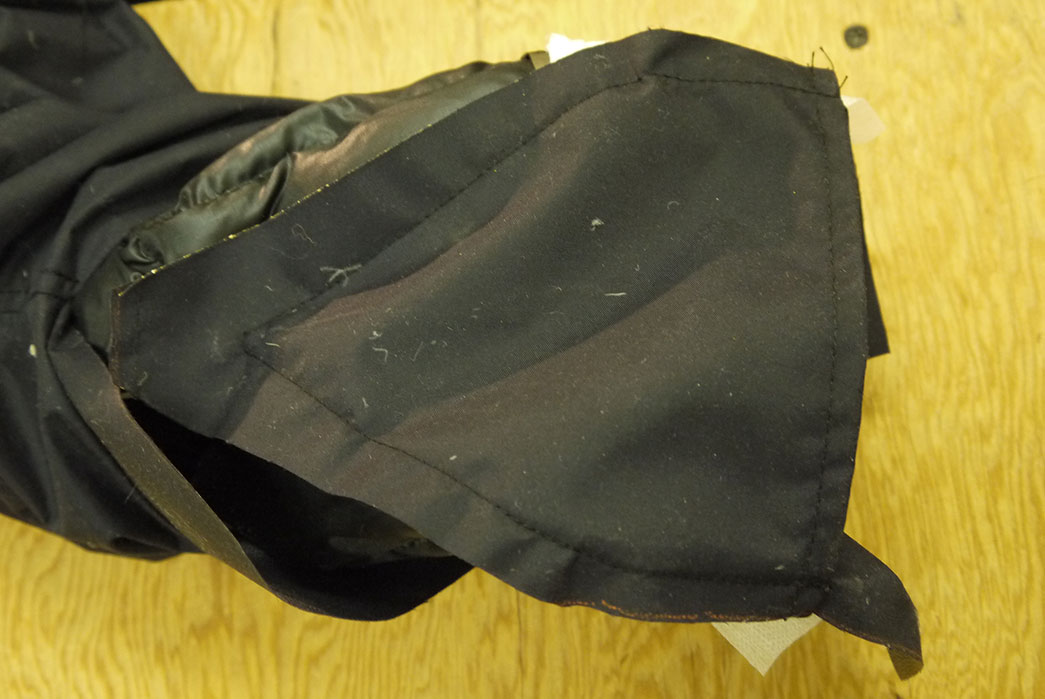


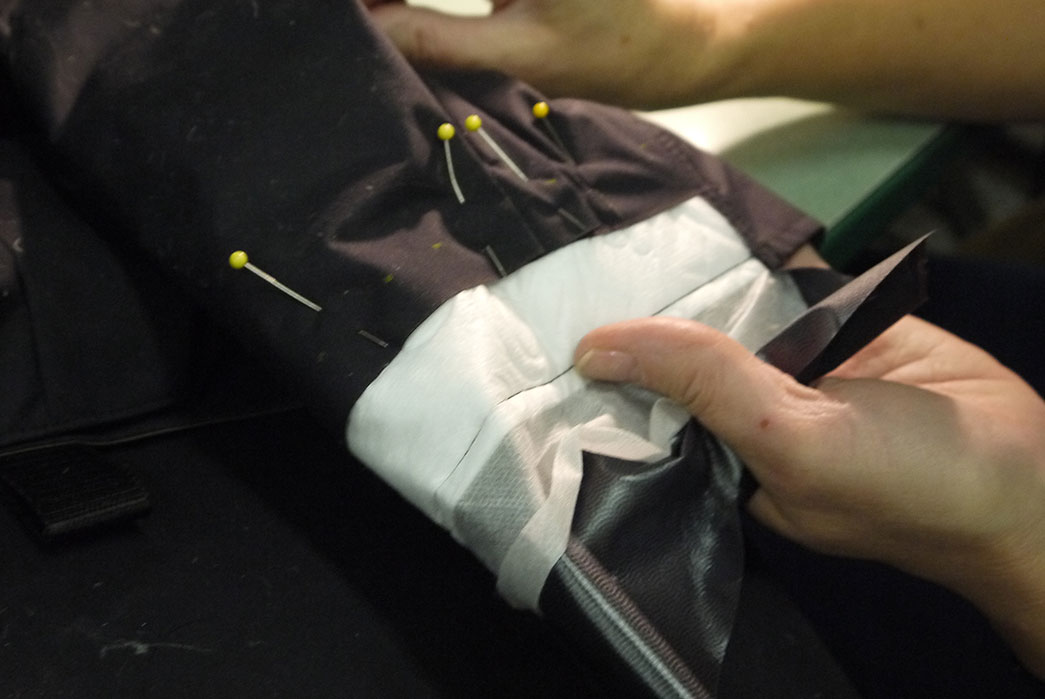

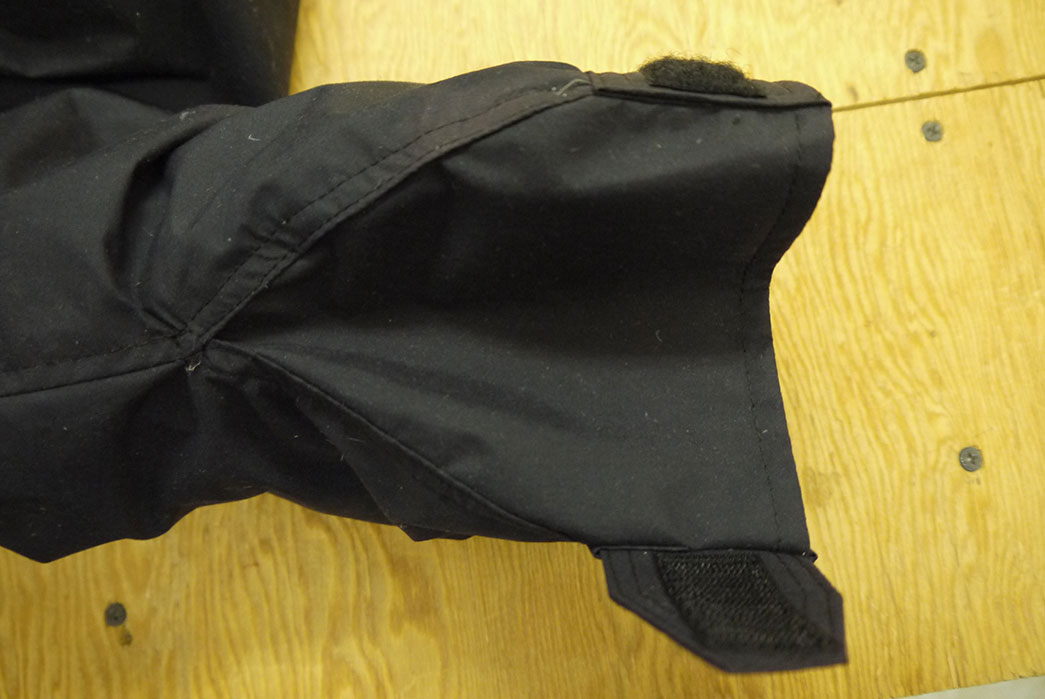
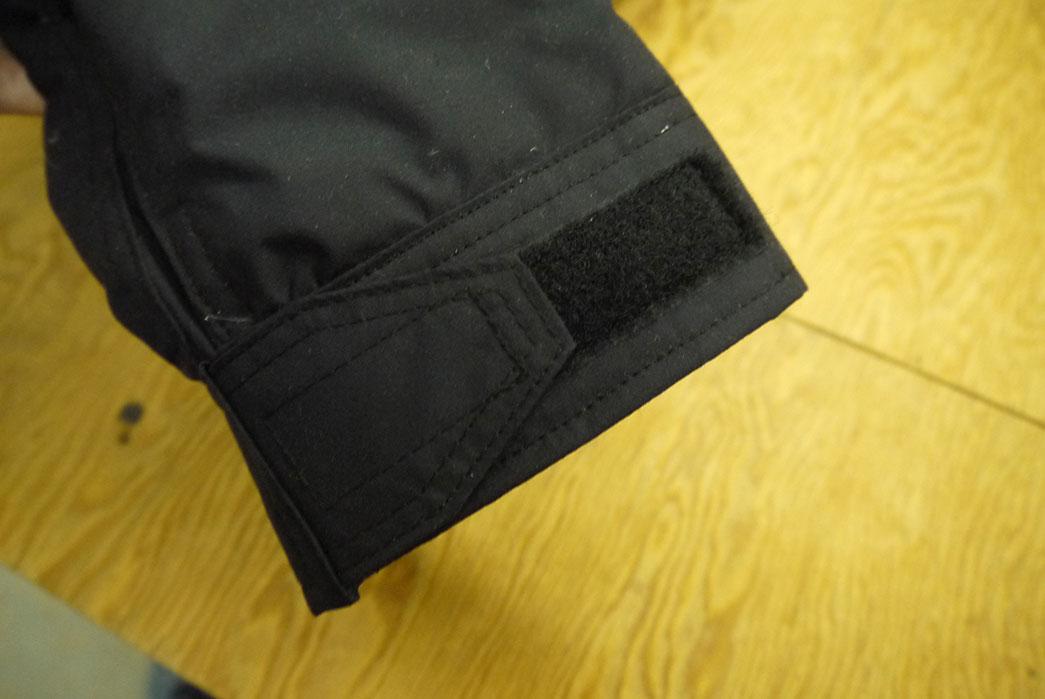
The sleeve cuffs are next under the needle. First, a layer of Thinsulate insulation is added in and the gusset is connected, which allows for an adjustable cuff, then the two coats–the Inner lining and Baffin shell–are brought together with the exception of an opening at the bottom to allow for the drawstring holes and grommets. The cuffs are finally finished with velcro tabs.
12. Add Zipper
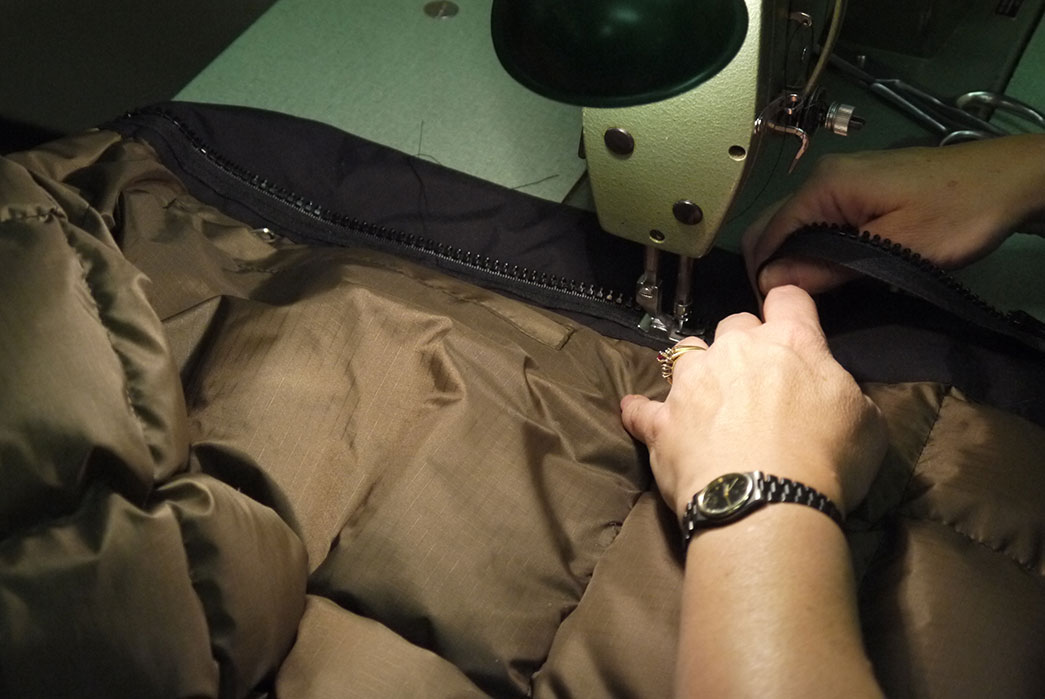
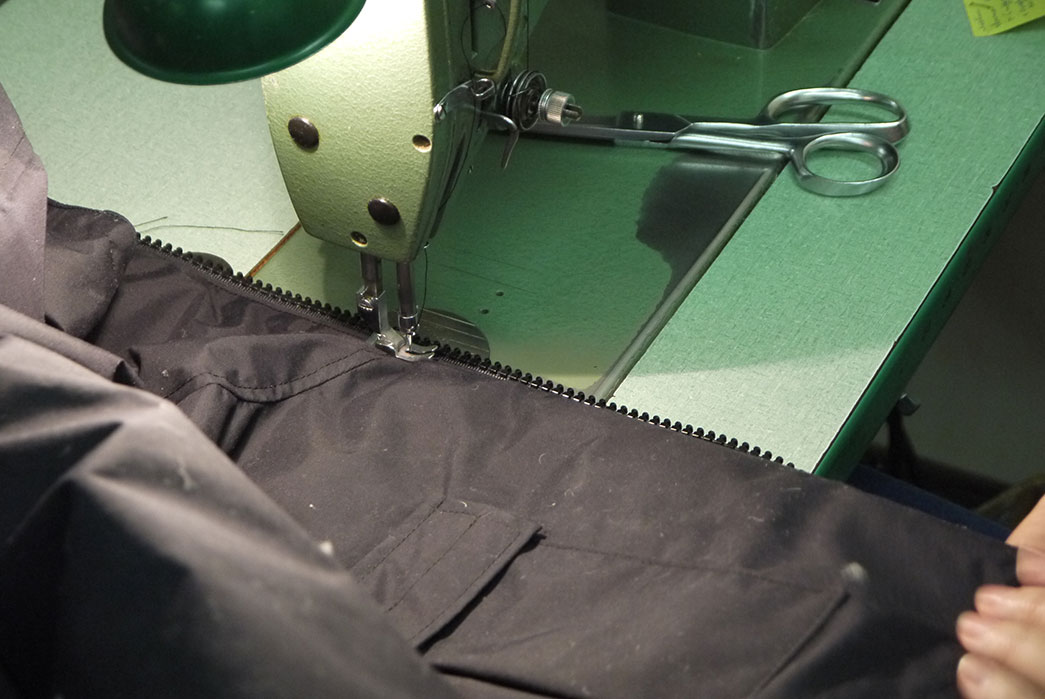
The finishing touches are added in, starting with a black 2-way YKK #10 zipper.
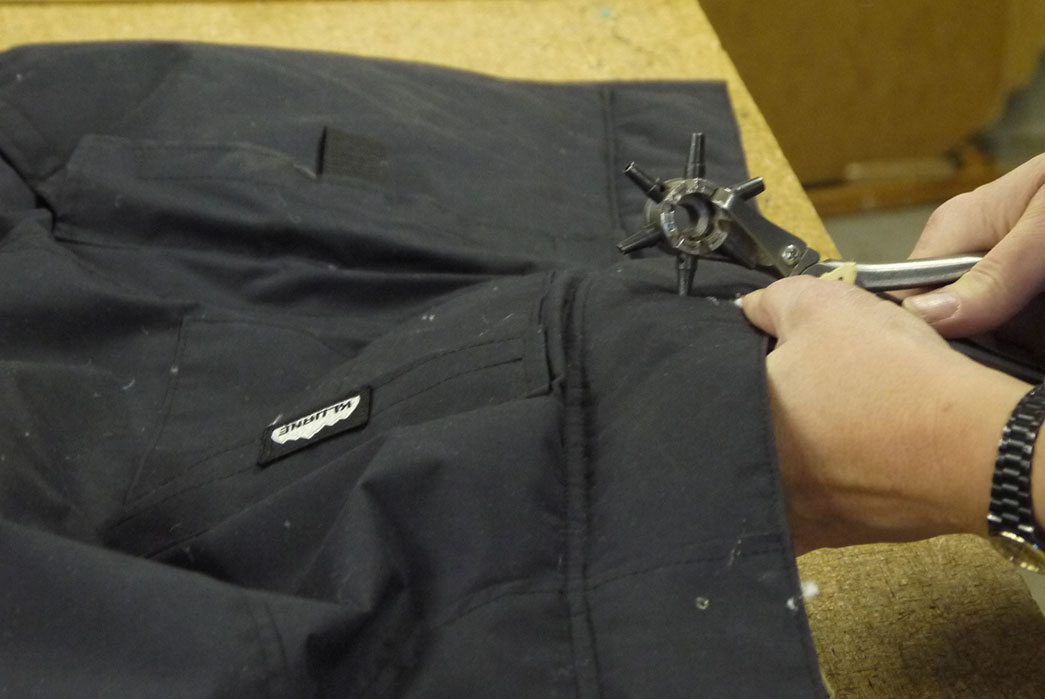
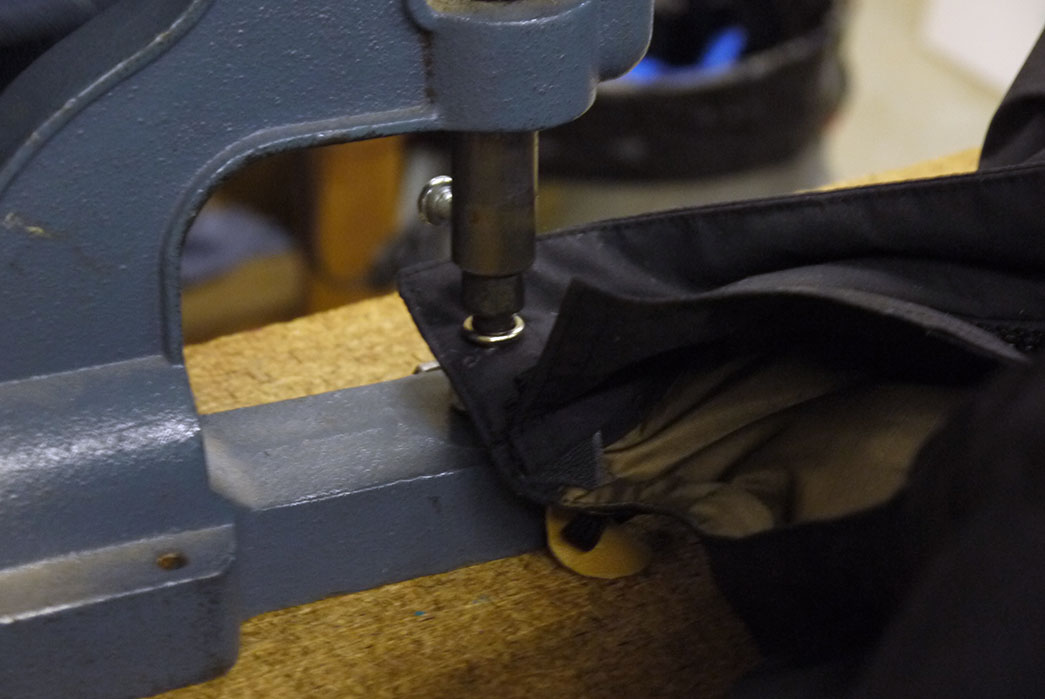
13. Add Waist and Hood Drawstring
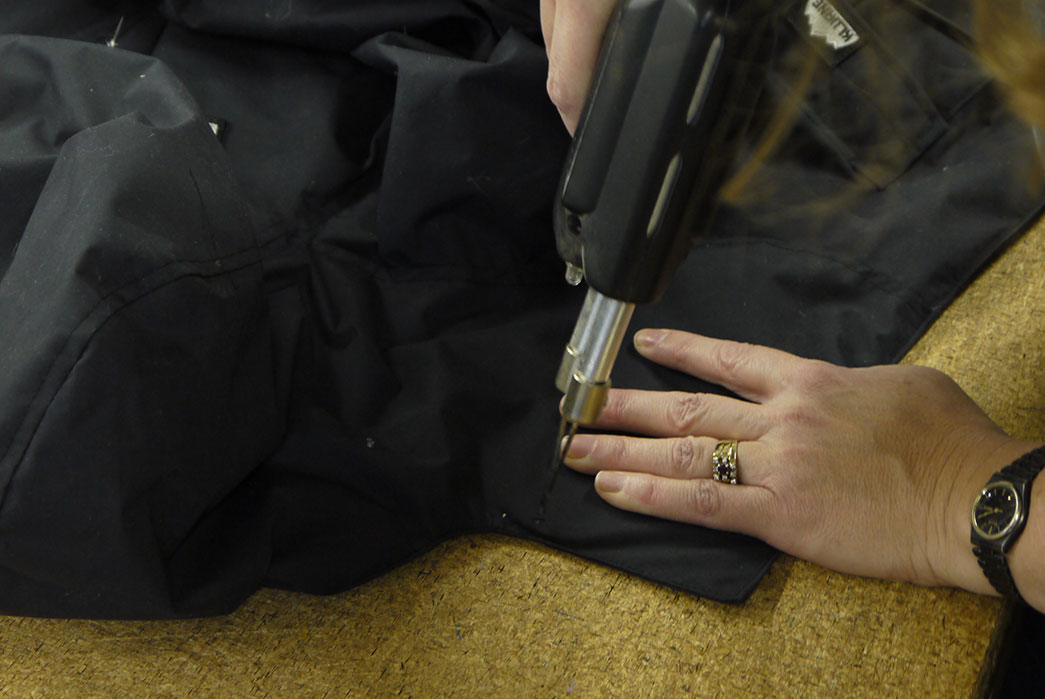
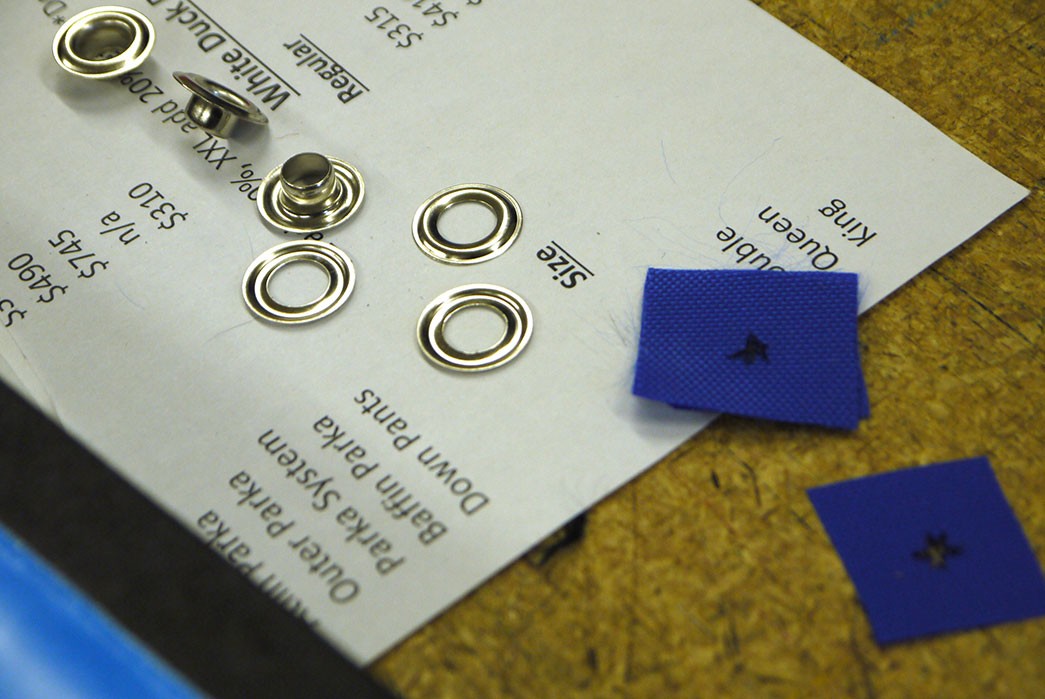
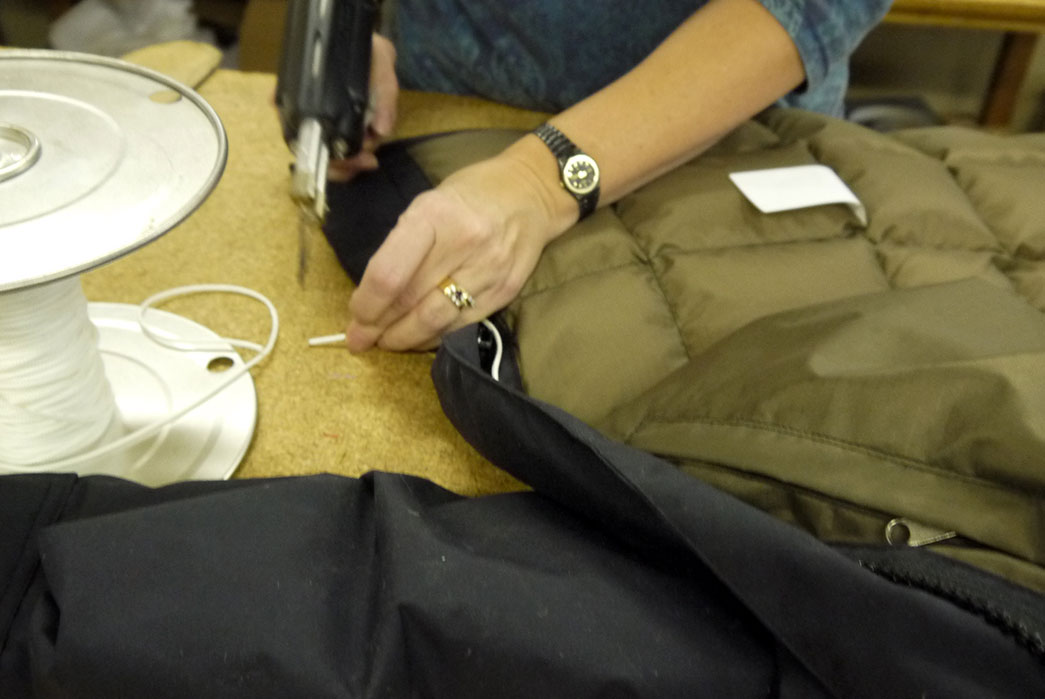

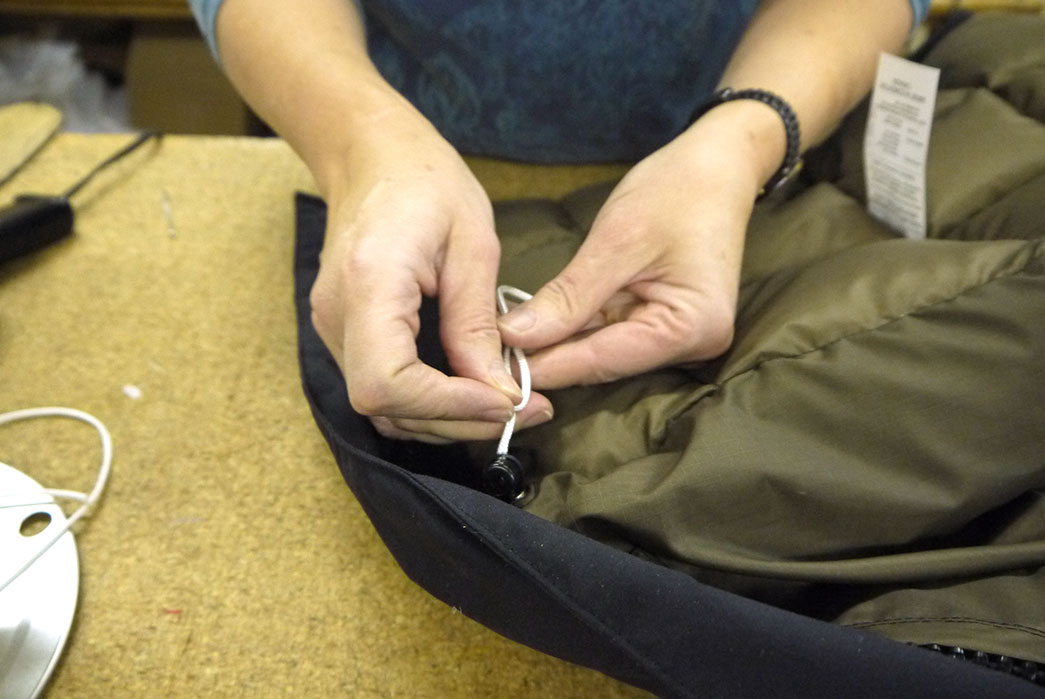


Next, holes are made à la the soldering gun and finished with grommets. Once the drawstrings have been threaded from hole-to-hole, they’re fastened with either a Delrin lock or little leather toggle.
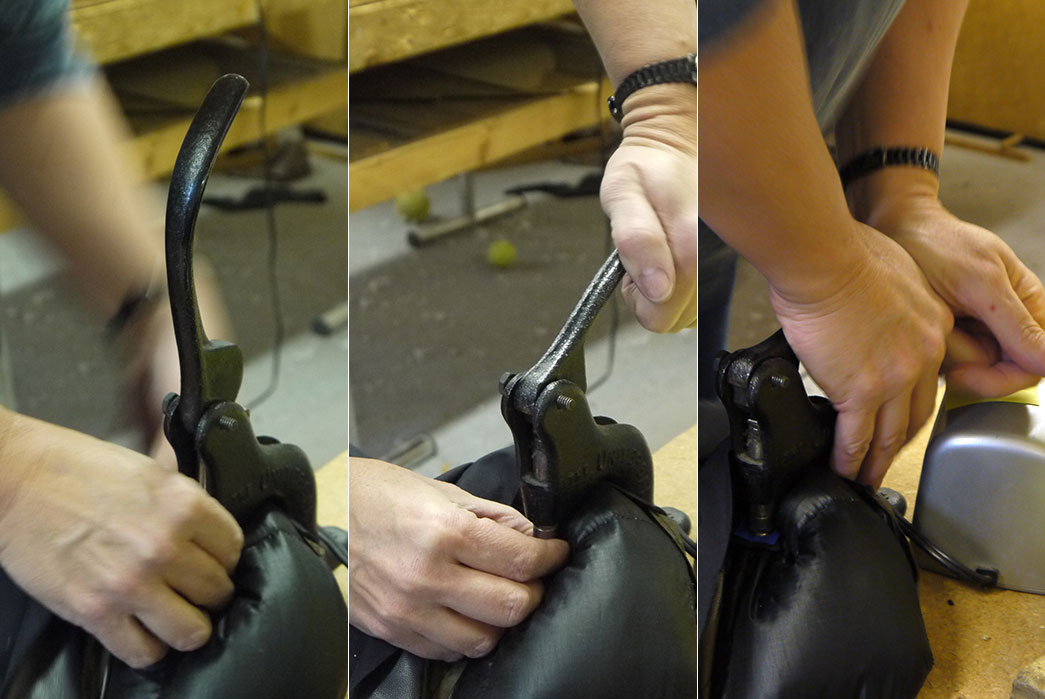
14. Add Buttons
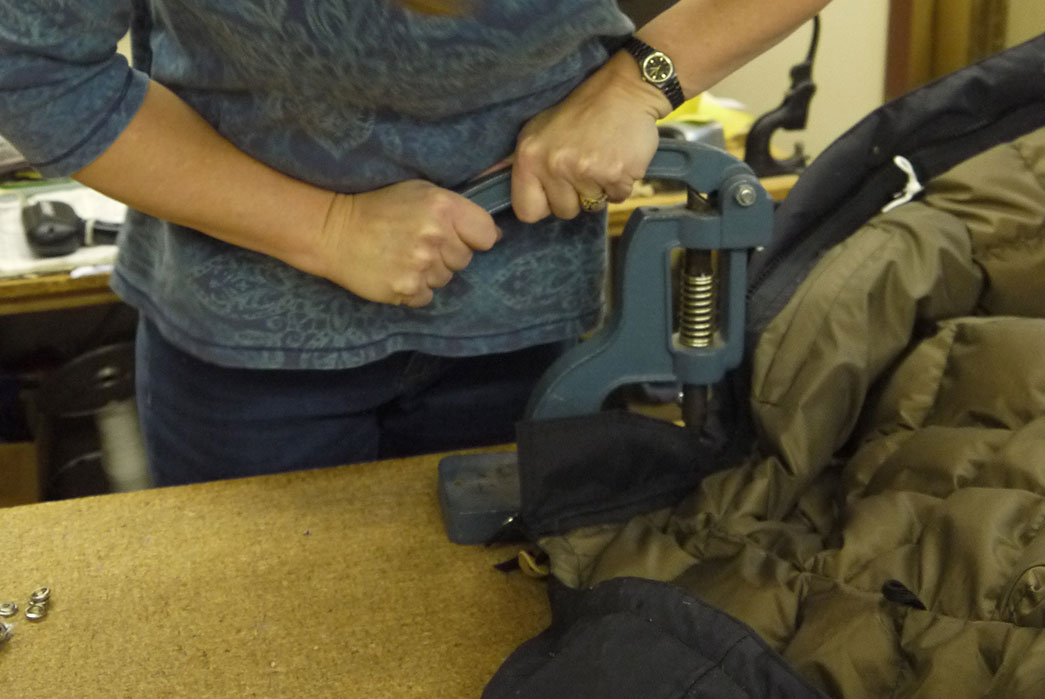
Before thoroughly cleaning the parka, Betty hand punches holes along the placket and presses the matte black buttons through.
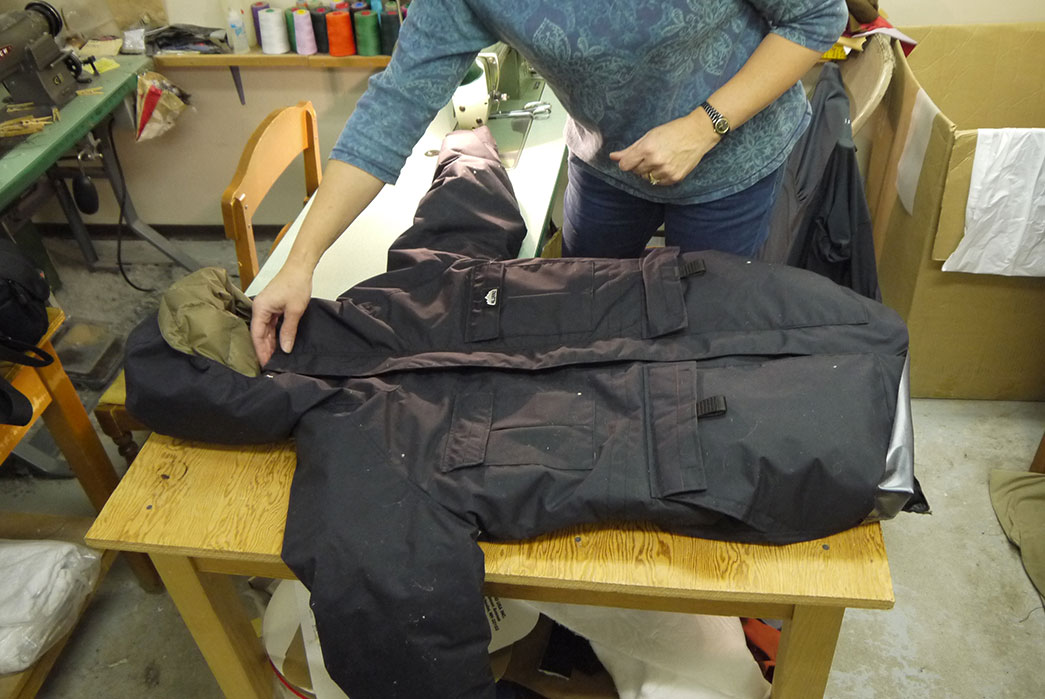
Finished Parka
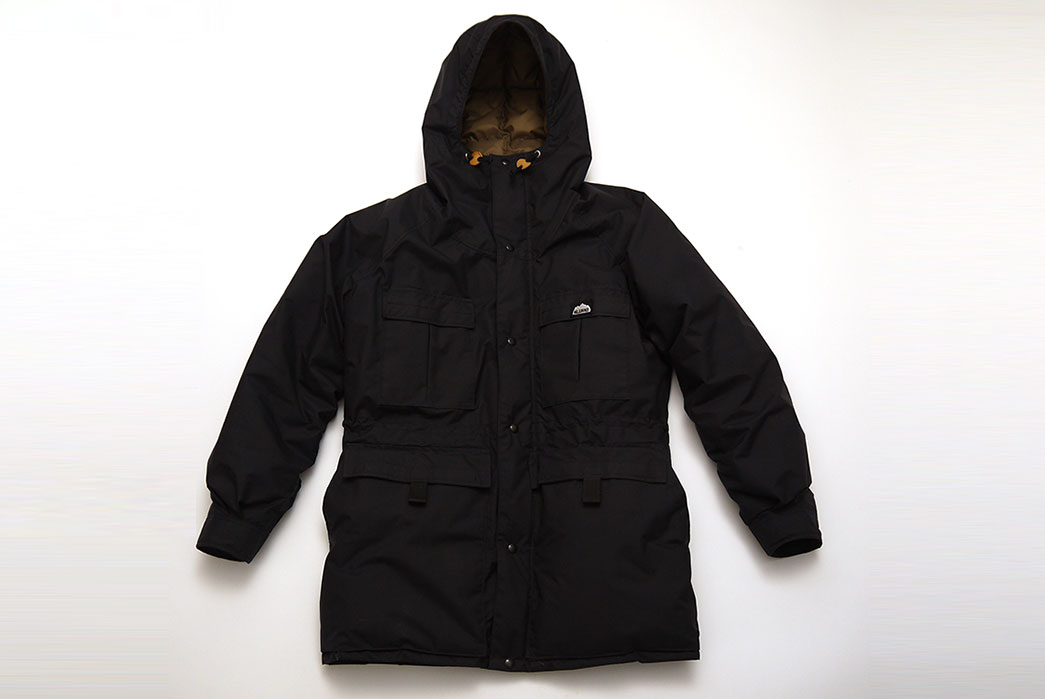
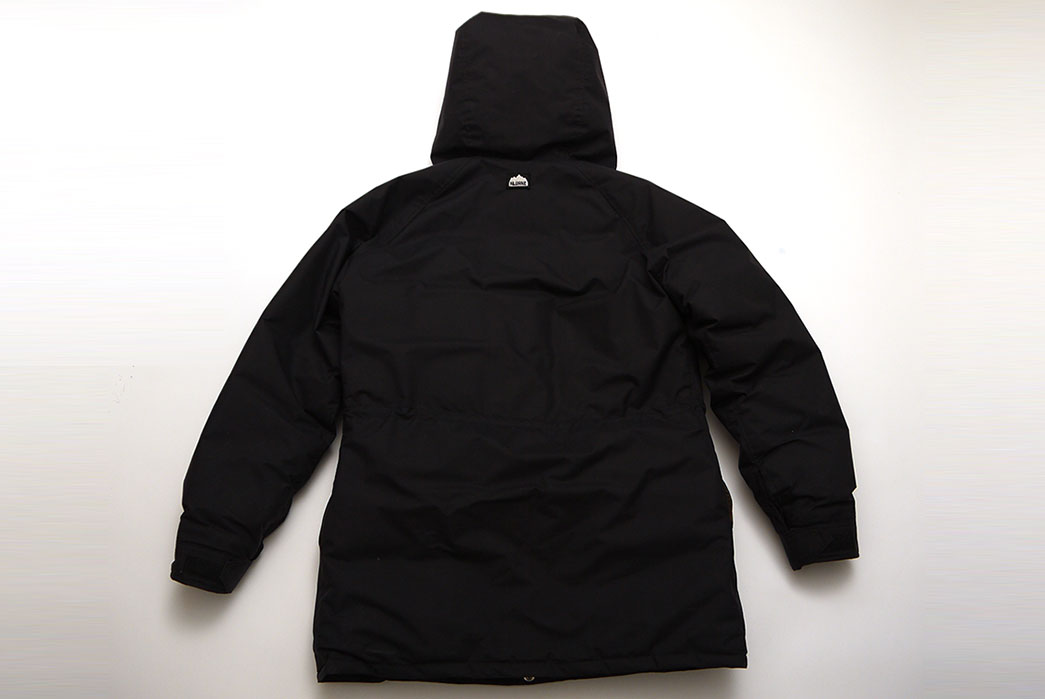


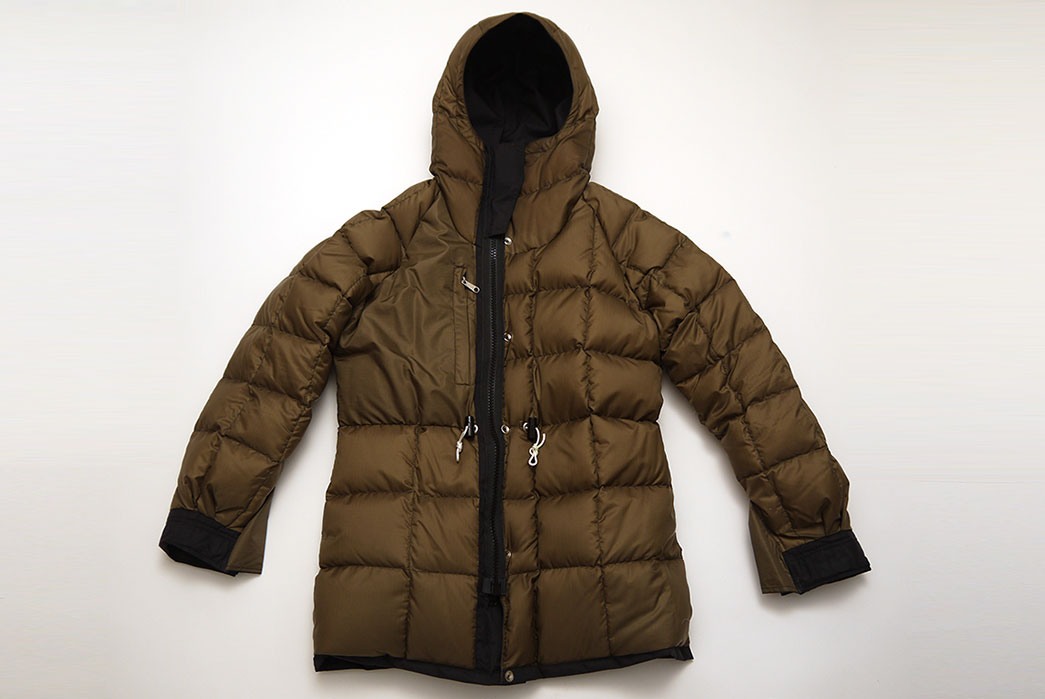
In total, the down parka took a little under 10 hours of Betty’s time, but is probably closer to 6-7 hours with no interruptions. If you’d like to learn more about Kluane and their lineup of down-filled garments, head over to their website.