Rugged, creative, and rewarding, leatherwork is an accessible way to make something that will last for decades. And in the last five years, dozens of leather goods brands have popped up, many of them from humble, home-startup beginnings.
So whether you’re looking to start your own brand or simply build some skills and make your own leather goods, we’ve compiled a list of the basic tools you’ll need to get started in the world of leather work.
Leather
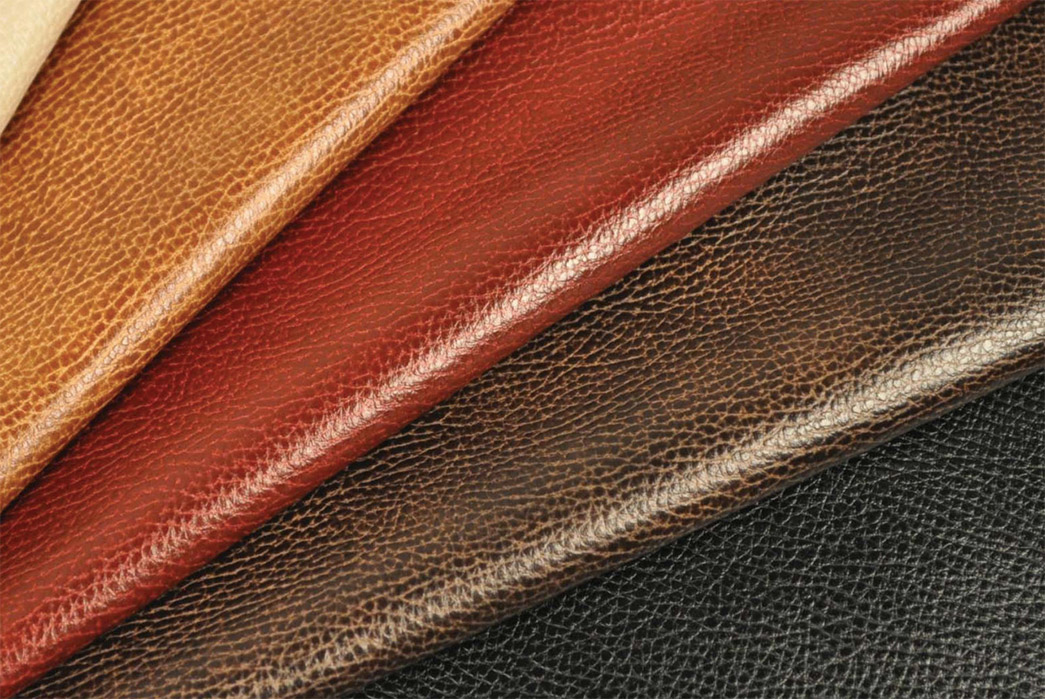
Full-grain leathers via Leather Exotica
This should be obvious, but if you’re going to do any leatherworking, you’ll need leather. Small accessories like wallets are a good way to start your new hobby and, depending on the style, will usually work best with full grain leather.
Thread
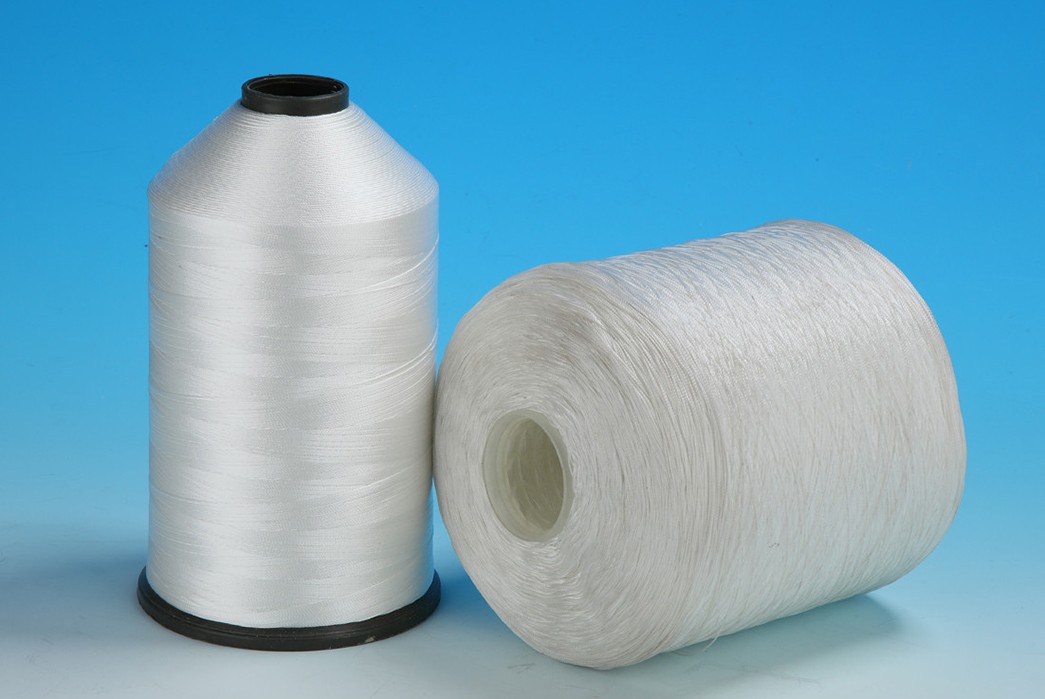
Thread via polypropylene-twine.com
Thread options run the gamut, but you’ll likely want synthetic thread over a natural thread. Synthetic threads won’t biodegrade over time like sinew or cotton threads, ensuring your pet project a longer life.
Cutting Tool
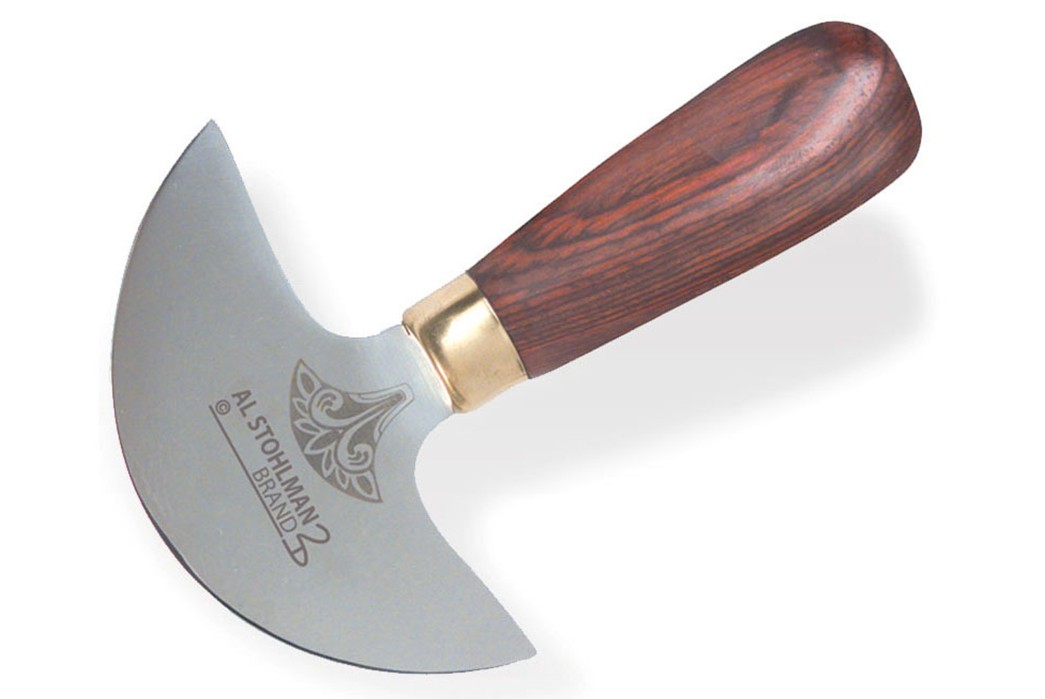
An Al Stohman Round Knife via Amazon
Cutting leather is a fundamental part of producing leather goods and there are a few different options out there to get the job done, so your choice will boil down to personal preference. The most common tools used are a standard utility knife, a rotary cutter, or a round knife. Each option will provide a different cutting experience. Xacto knives and box cutters are even the choices of the most well-respected leatherworkers.
Cutting Mat
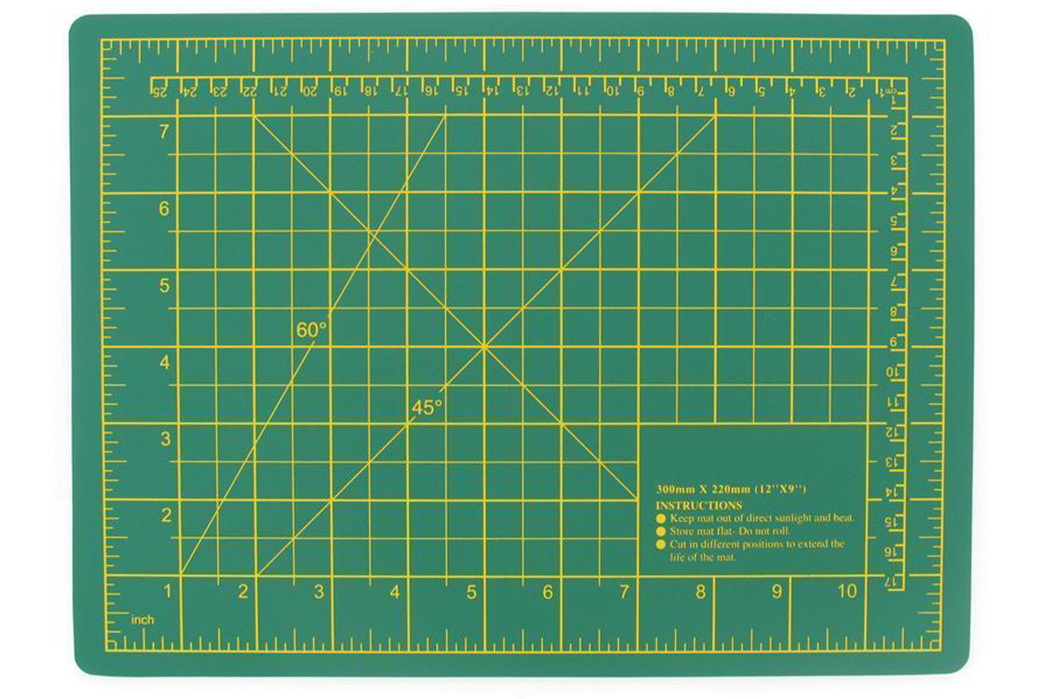
Image via Hobbycraft
A Cutting Mat is essential to make precise, clean cuts, and to protect your workbench . You can pick up a self-healing cutting mat from most stationary stores.
Diamond Chisel
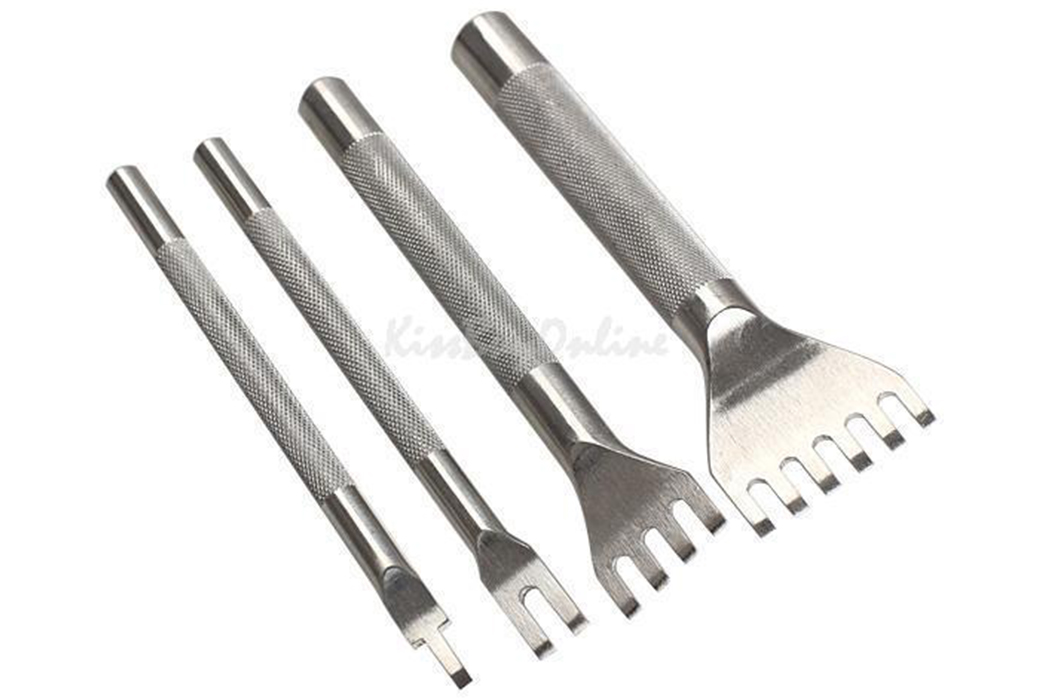
Image via DHgate
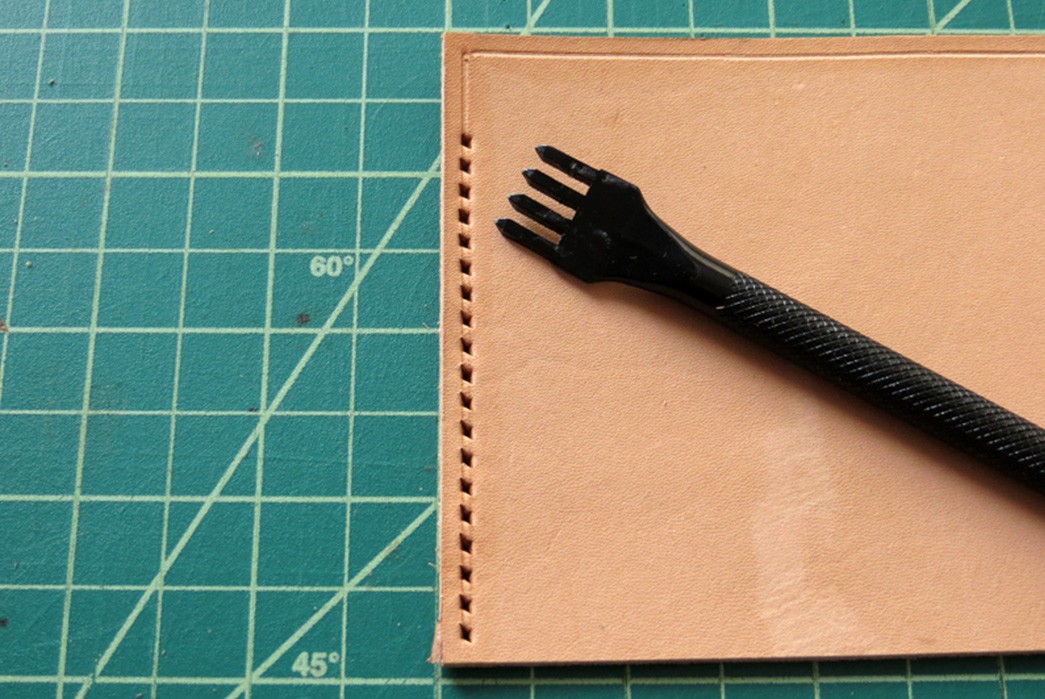
Image via MAKESUPPLY
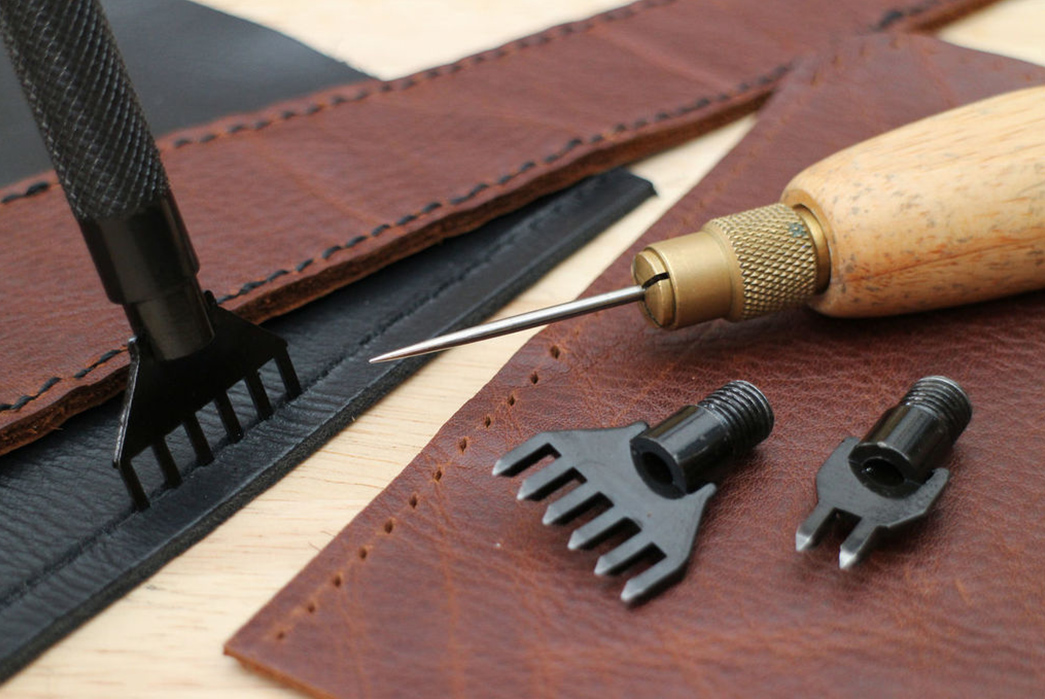
Unlike textiles, you can’t accurately stitch through leather without first creating stitch holes. In order to do so, however, you need a Diamond Chisel, which is used to punch those stitching holes through pieces of leather. Coming in different sizes and prong widths, Diamond Chisels are placed on top of the leather and struck with a mallet to drive the tool through a piece of hide.
Mallet
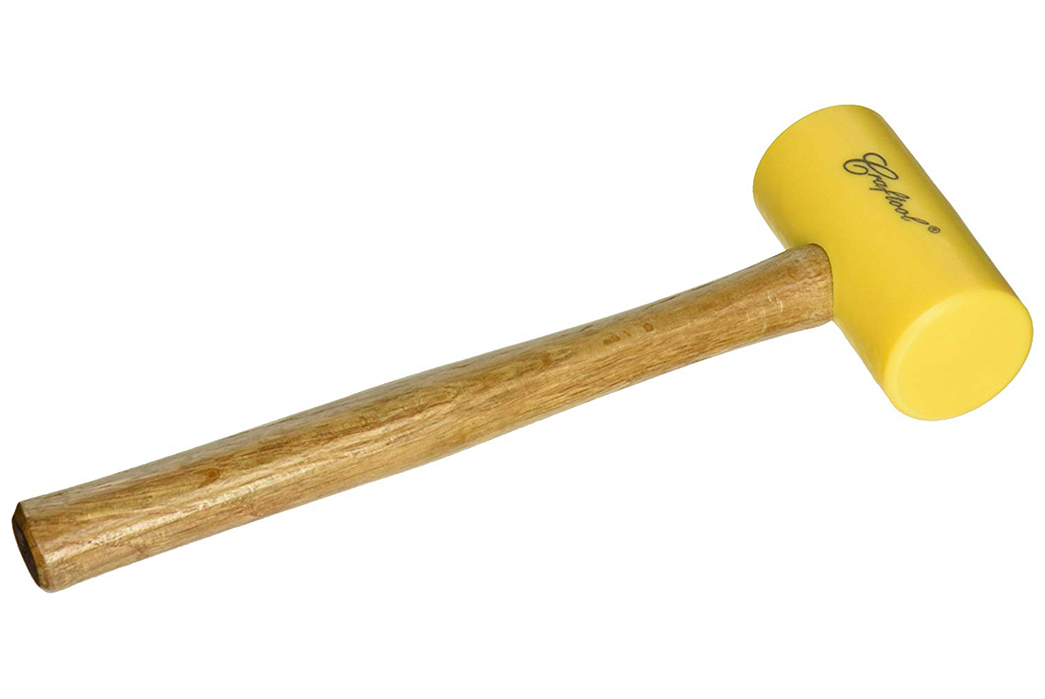
Image via Amazon
In basic leather work, a hammer is used to strike punches and rivet setters. A plastic hammer is recommended to ensure clean strikes that won’t scratch or damage your kit.
Stitching Awl
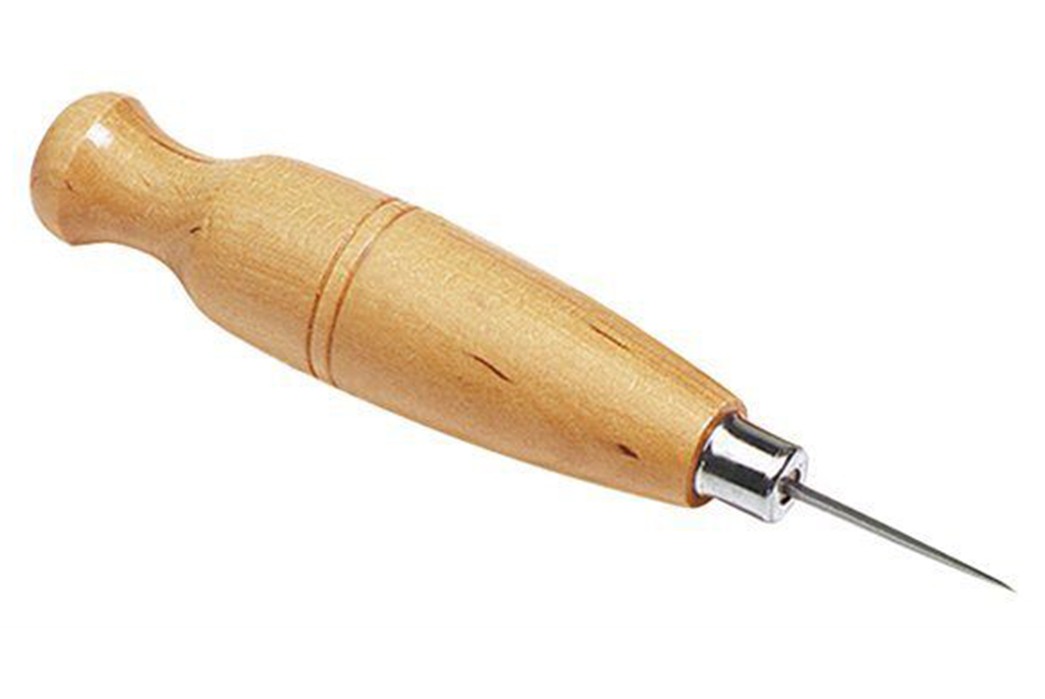
Image via eBay
The Stitching Awl is used to widen or create stitching holes, and carry the stitching thread through the holes.
Leather Stitching Needles
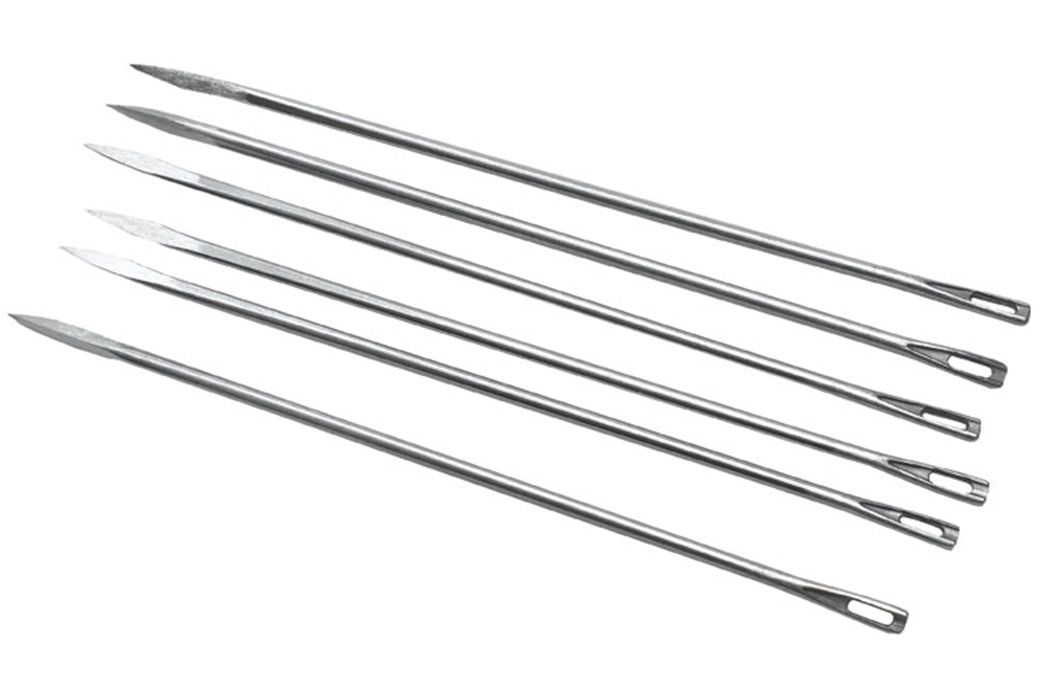
Image via 3 Rievers Archery
To stitch up your leather goods, suitable needles must be acquired. Needles used for leather work are typically dull, as the stitching holes are usually pre-punched with a diamond chisel. The eye of the needle must also be large enough for the heavy, waxed threads used to stitch leather goods.
Skiver
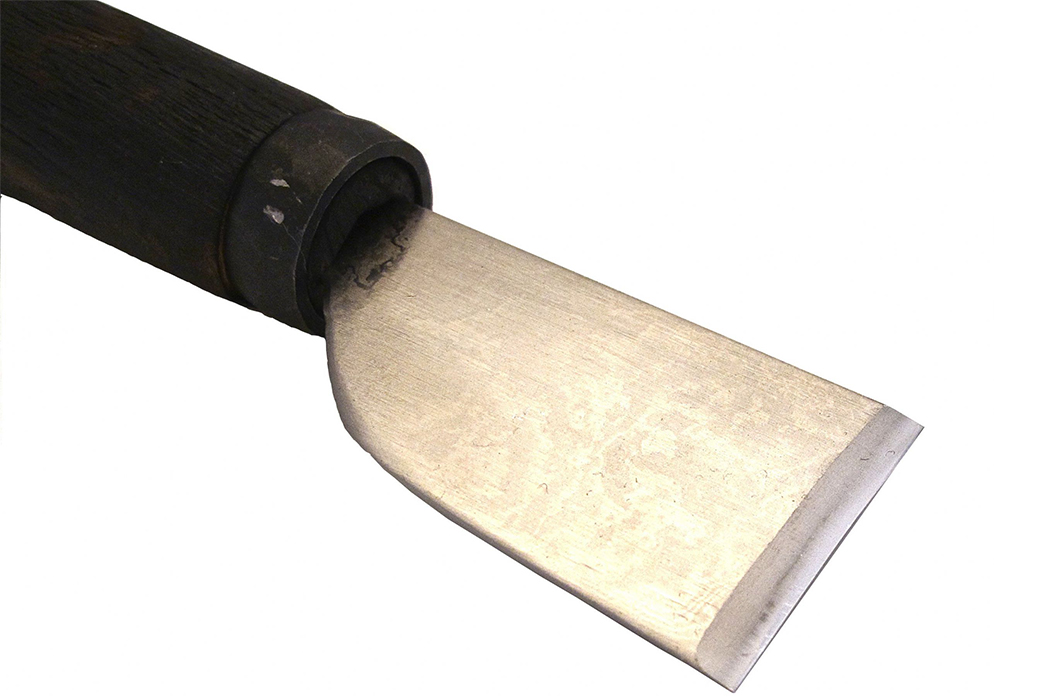
Image via Good Japan.
Sometimes, leather will need to be ‘skived’ to make it thinner for certain parts of the production process, like folding. Skivers vary in appearance from open-blade to an almost potato-peeler construction, but each variant on this tool will simply use a blade to pare down the surface of the leather.
Edge Beveller
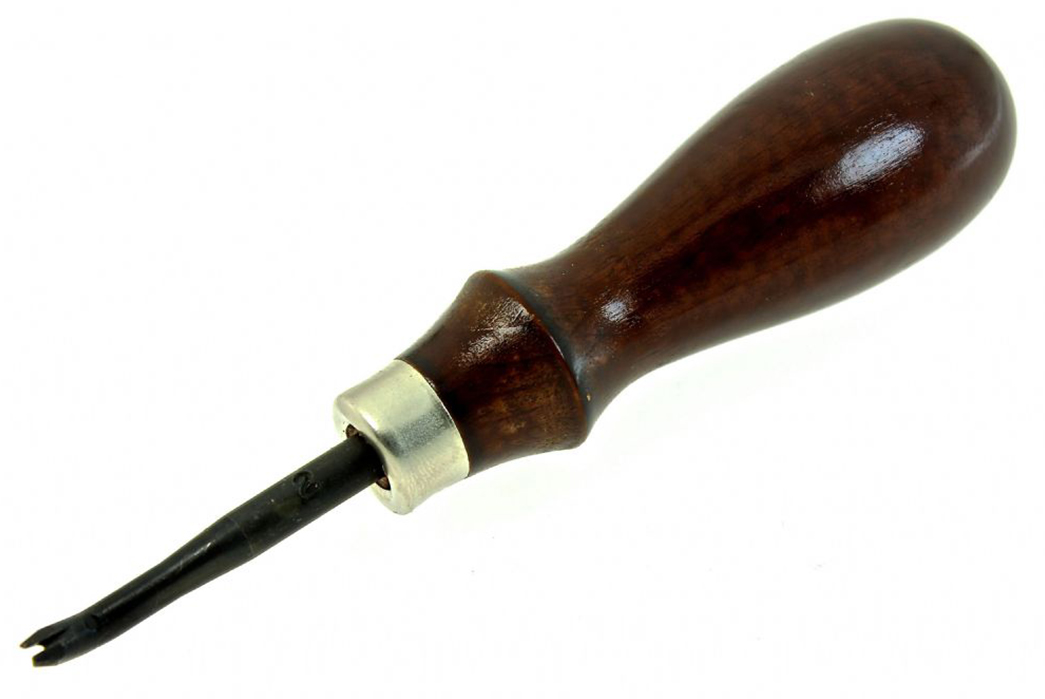
Image via Goods Japan
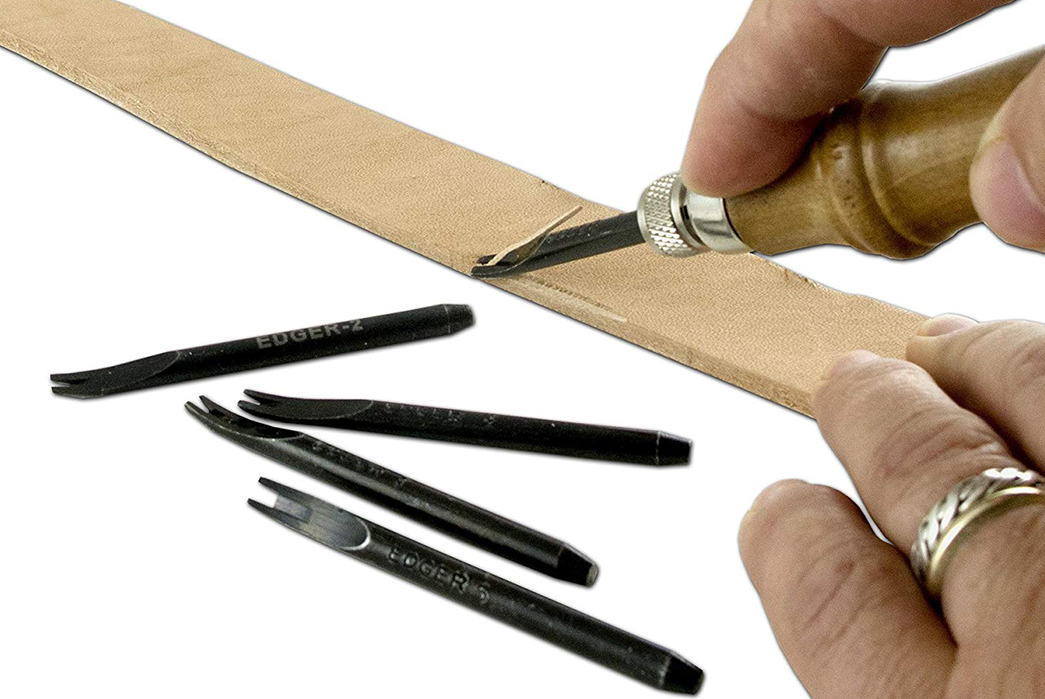
Image via Amazon
An Edge Beveller is a small tool with a sharpened notch that is used for trimming and finishing the edges of leather to round them off.
Groover
Images via Goods Japan
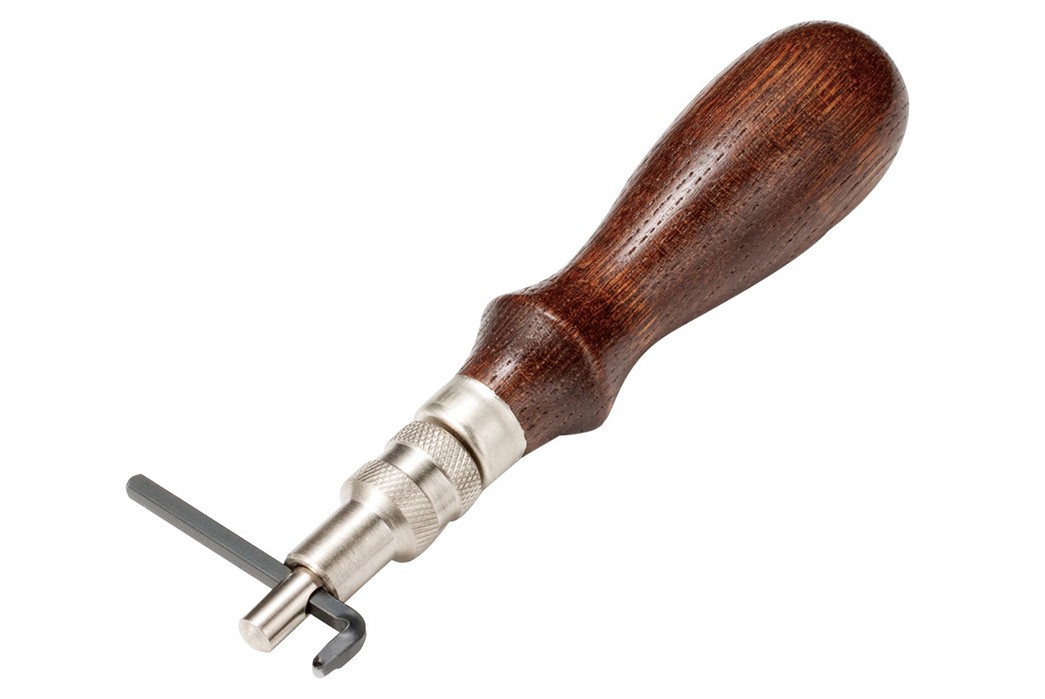
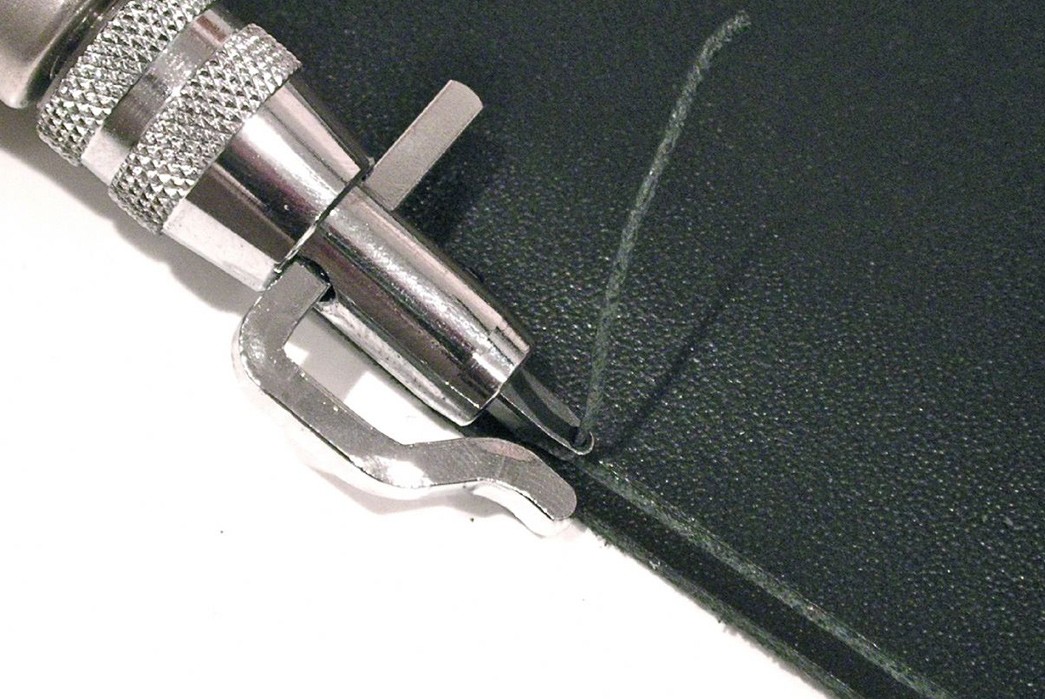
This adjustable tool is used to create a straight channel where stitching holes can be punched. Additionally, creating such a channel means the stitches will not stick up from the leather, reducing overall friction and improving the durability of your leather goods.
Slab
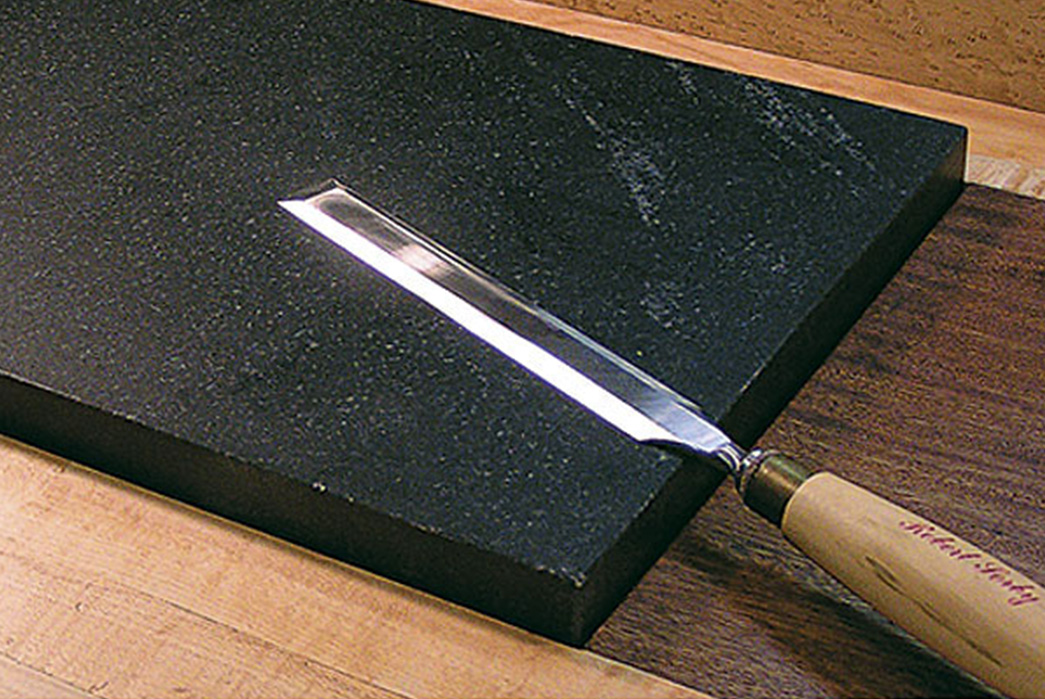
Image via Fine Wood Flooring
A stone slab helps to ensure your hammer strikes are solid and also help to dampen sound. Suitable options for leather work would be marble, granite, or a similar polished stone.
Edge Burnisher
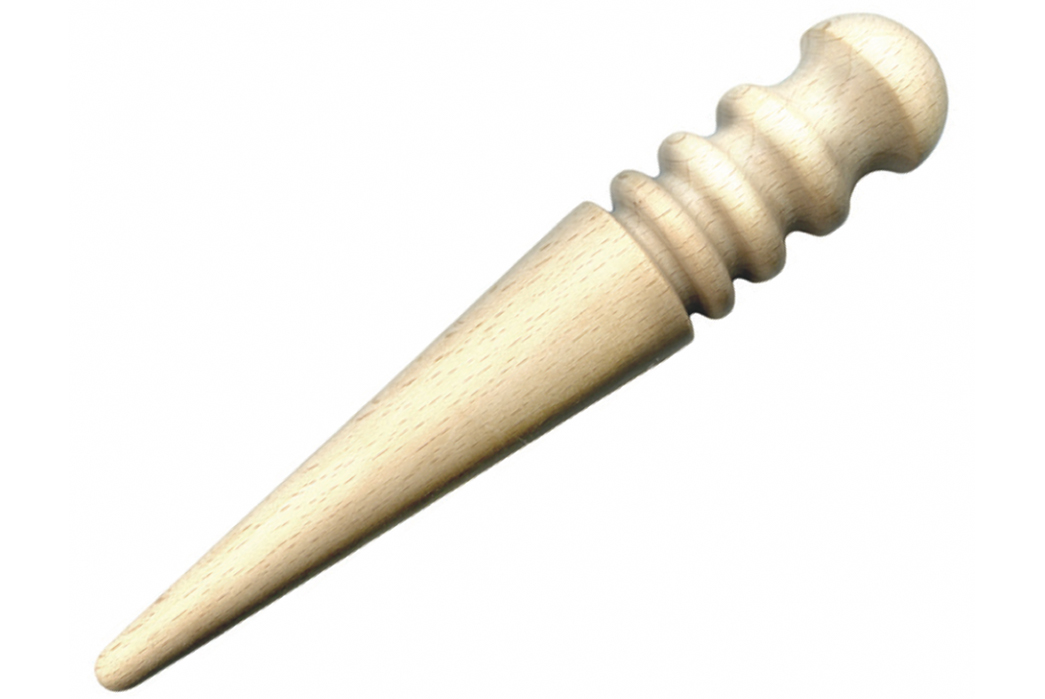
Image via Goods Japan
This tool is used to burnish the edges of your leather goods. Rubbing the burnisher on the edges of leather creates friction which melts the fibers of the edges together, resulting in a slick finish that will be more resistant to fraying.
Hole Punches
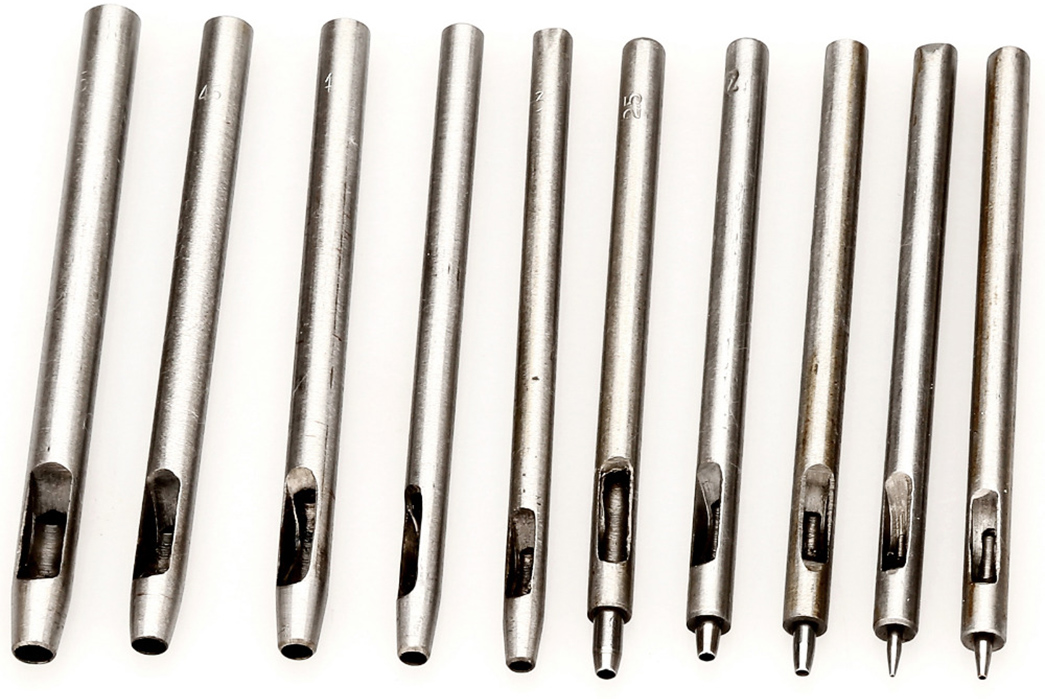
Hole punches in varying sizes via Ali Express
These metal pegs are used to punch holes in leather for hardware like rivets or belt holes. Again, punches are used in conjunction with a hammer or mallet to drive the tool through the leather.
Sketchbook

Moleskine sketchbook via London Graphic Centre
You can’t exactly go freeballing with leatherworking. A sketchbook is always handy to draft ideas, plan dimensions and just about every other strategy piece. Measure twice, cut once.
Cardstock

Cereal boxes via Miss Debbie DIY
When you’re making a pattern, you’ll want some kind of cardstock paper or some thick, non-corrugated cardboard on which to draft your patterns so you can cut them and use them for future projects. This doesn’t have to be the fanciest paper out there, especially if you’re totally new. Cereal boxes work well enough.

