Tie-dye, the DIY-of-choice form of customizing, upgrading, or upcycling clothing for hippies everywhere, appears to have made a strong comeback in the last 5 years or so. Popular brands like Studio D’Artisan, 3sixteen, Calee, RoToTo, and more, have been incorporating more zany tie-dyes, resist dye, and traditional natural dyes into their product offerings.
In American culture, tie-dye emerged when Vietnam war protestors began adorning their clothes with psychedelic colors and patterns, in anti-war pacifist sentiment. The tradition has persisted as a bohemian symbol of peace and psychedelia. Musicians like The Grateful Dead and Janis Joplin helped to elevate tie-dye as the countercultural garb of choice for the flower-child generation.
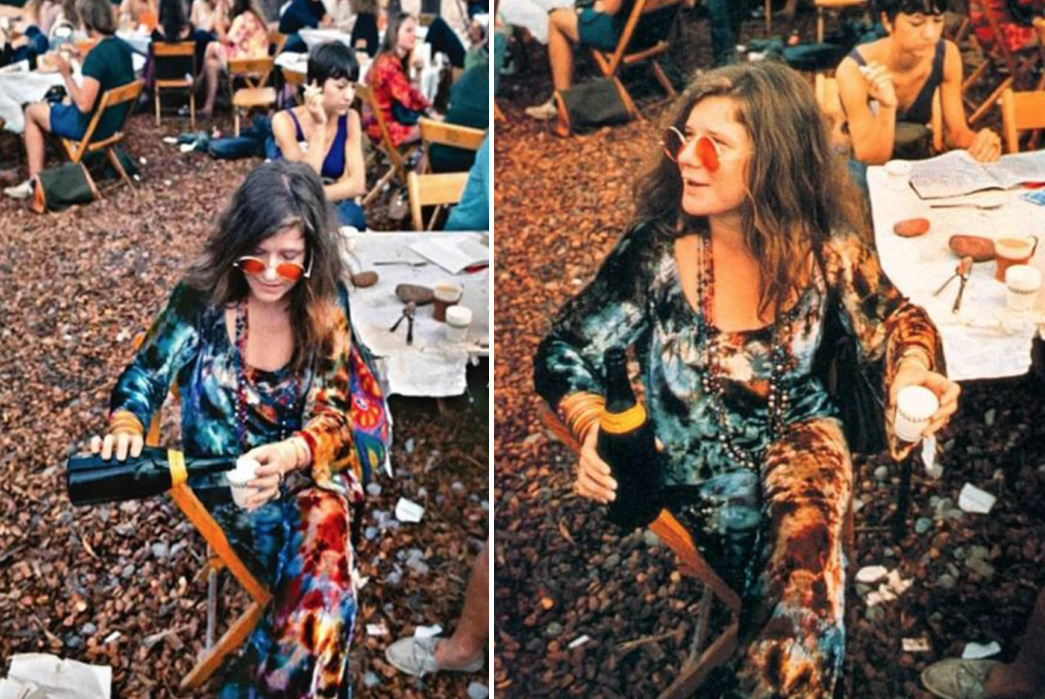
Janis Joplin via Just Music
But tie-dyeing wasn’t anything new. In Japan, shibori dying had existed for generations, with Japanese artists utilizing natural dyes (like indigo) to dye cloth and clothing in a decorative manner. The use of natural pigments extends back even further, there’s evidence that Neolithic cultures used them in cave paintings over 10,000 years ago, and ancient Egyptian cultures used pigment in clothes to distinguish class and hierarchal standing.

Indigo Shibori via Smithhonig
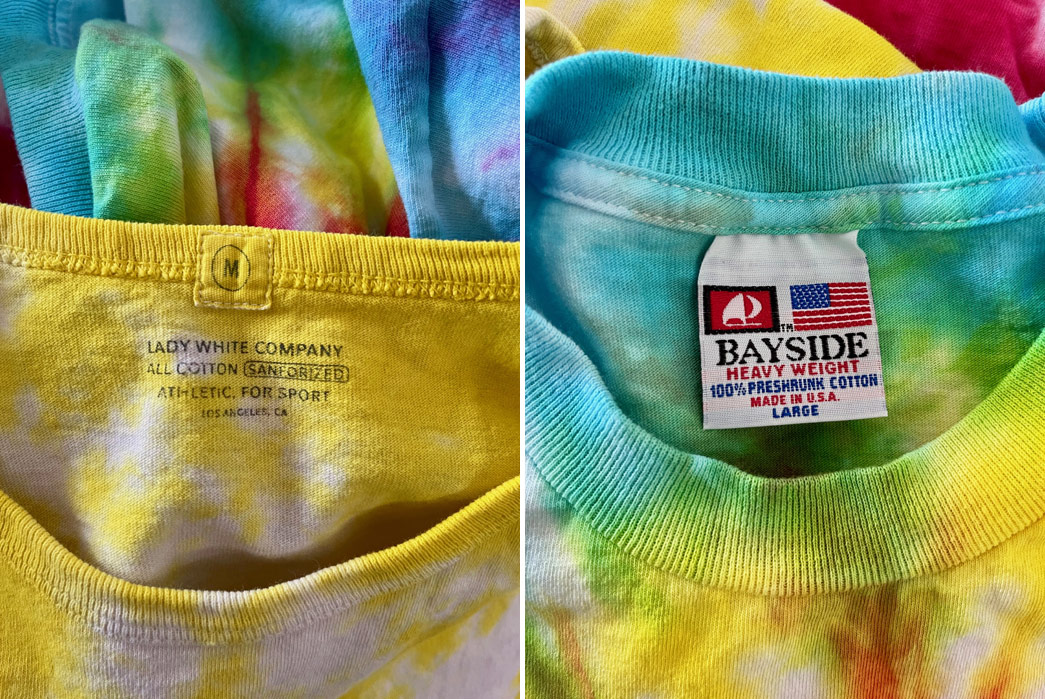
In this simple and easy guide to tie-dying, we’re giving you an introduction to a well-known and well-loved form of art, with the process streamlined as much as possible. We’re using an easily accessible tie-dye kit that includes everything you need to get started, so you can upgrade your old/faded/stained white cotton wares, while having a bit of fun.
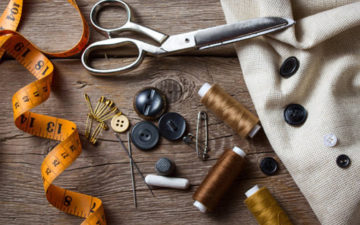
What You’ll Need

- T-Shirts (or other materials to be tie-dyed)
- Large rubber bands
- Dye and/or a Tie-Dye kit (we’re using Jacquard’s)
- Gloves (optional but recommended)
- Plastic bag and/or plastic wrap (optional)
- Plastic tub(s)
- A grate for dying on
- Tarp/surface to work on
Step 1 – Getting Started

In this guide, we’re using this Jacquard Tie-Dye kit, but you can buy your own fiber-reactive procion dyes to use when dying. From our experience, this kit dyes 4-5 shirts, depending on how much dye you use/area you’re covering on the shirts. Just don’t expect to be able to dye a dozen shirts when using this kit. We didn’t follow the instructions provided in the kit exactly, but did use them as a guideline, as well as a few other sources we found on the web.
Begin by gathering up your materials. Keep everything close by, if you can work by a water source (i.e. a sink) that might make the process a little more efficient. Spread out a tarp or work on a surface that you don’t mind getting water and dye on, you can always work on the ground or in the grass if you need to, but maybe not on the nice new patio furniture.
If you have T-Shirts or materials that might be prone to shrinking, it might be wise to wash those in a machine before getting started. We let our T-Shirts soak in warm water for 20 minutes before getting started — not to ensure they’re shrunk — but to make it a little easier to fold and absorb what’s coming their way, a damp piece of cloth holds its shape far better than something bone dry.
Like this? Read these:
Step 2 – Tying the T-Shirts
After ringing out all the water from the initial soak, it’s time to fold our T-Shirts to the patterns we want to dye, so grab your rubber bands.
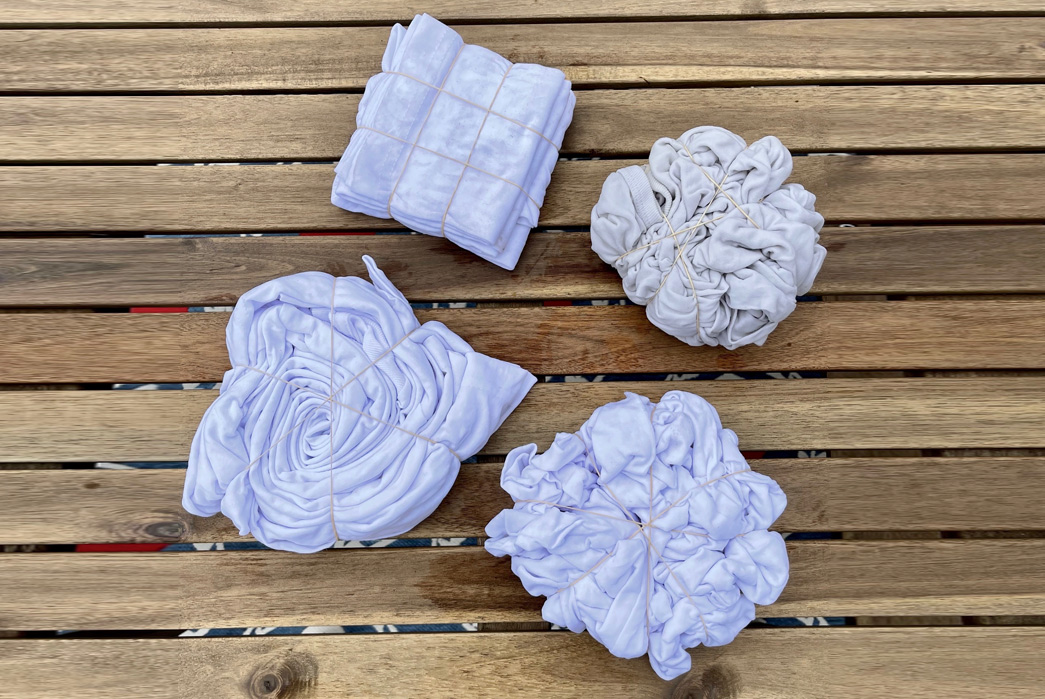
Here are some of the folds we found easy to do, which also led to some great results.
Spiral fold:
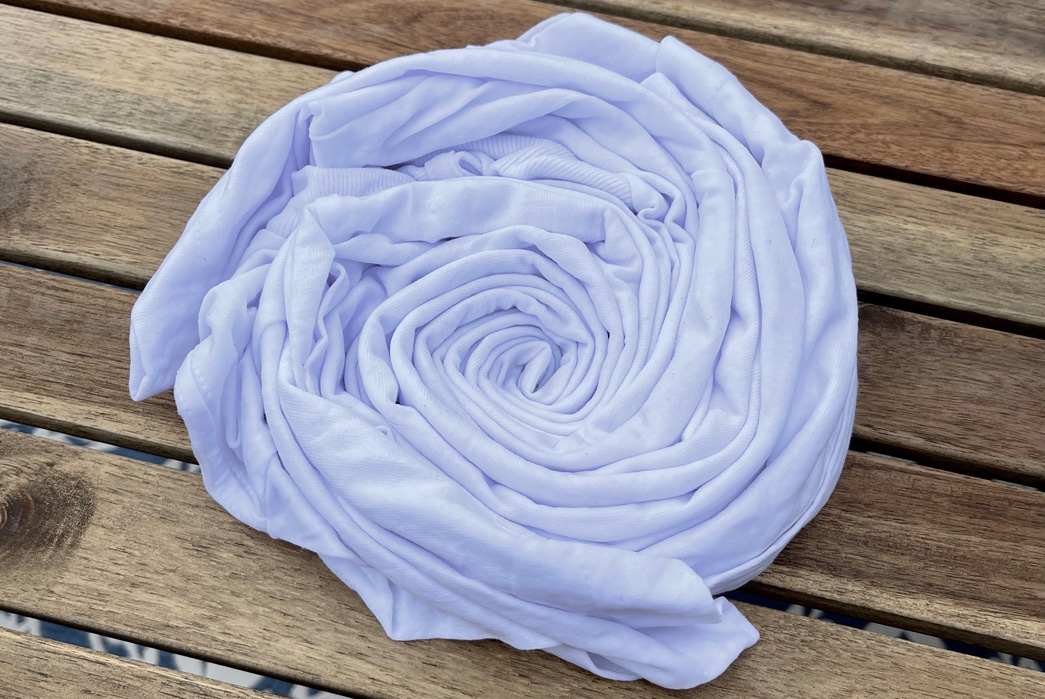
We did a classic spiral by pinching the center of the T-Shirt, and twisting until the T-Shirt became a round amorphous blob- setting by hand as many folds throughout the length of the spiral as possible along the way, to ensure a long and even spiral. Intersect two rubber bands to secure the spiral. Try to keep the bands equidistant, it helps if you’re aiming for an equal distribution of dye in your spiral.
For this fold, we advise applying the dye (next step) in pizza slice shapes, the rubber bands you’ve attached to the shirt should give you a good idea of some even proportions you can use as a guide.
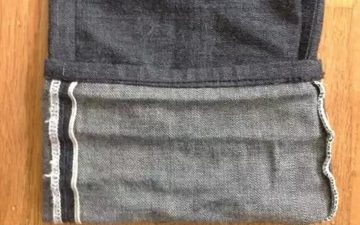
Square fold:

We also folded a T-Shirt in half twice width-wise, folding again in smaller squares length-wise, for a symmetrical pattern with distinct rectangular geometry when dyed. We found this to be a much easier method than a spiral to nail down.
For this fold, you’ll want to apply the dye (advised in next step) to the corner squares only. The rubber bands should be a nearly perfect guide to where the dye needs to be applied. Alternatively, you can dye the inverse squares for an equally appealing design.
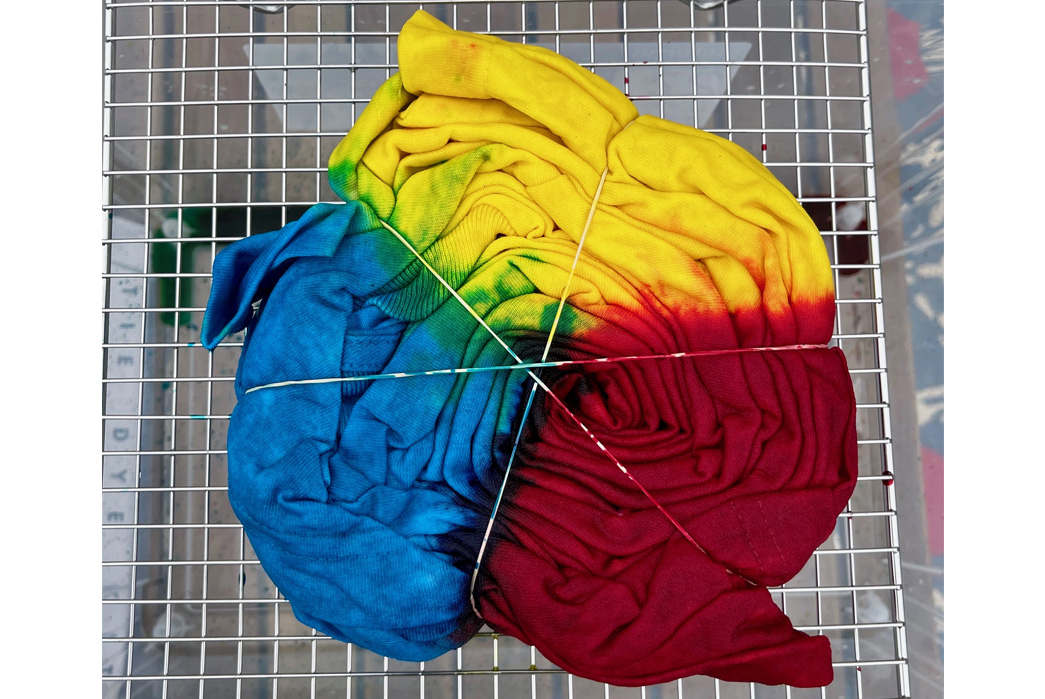
“Brain” fold:

The easiest method we employed was a “brain” pattern. Just grab the shirt and crumple it up into a blob, and rubber band the blob a few times to keep it together.
Step 4 – Applying the Dye

After you have completed your fold as advised above, it’s time to apply the dye(s). Grab your plastic tub and pour in the soda ash mixture, fill the tub with a gallon or so of warm water, the warm water will help dissolve the soda ash. Let the T-Shirts soak for 20 minutes.
While the T-Shirts are soaking, fill up your dye bottles. For this project, we used the 3 colors that came with the Jacquard kit the squirt bottles supplied by Jacquard. You can mix colors or use your own procion/tie-dye dyes.
Filling up the dye bottles is pretty straightforward, the bottles provided with the kit have a measurement line marking where you’ll need to fill the bottles with water to. After you’ve filled up the dye bottles, gather all your materials into one area, and it’s almost time to dye.

After the T-Shirts have soaked for 20 minutes, throw on your gloves (soda ash and dye isn’t good for the skin), and remove them from the water. You’ll want to ring out as much of the soda ash mixture from the shirts as possible, so the shirts can absorb the dye as much as possible. We assume the soda ash mixture can be re-used, but we only recommend it if you’ve got enough dye for extra batches of shirts (we found this kit only provides enough dye for 4-5 well-dyed T-Shirts).

Place the T-Shirt you want to dye first on a wire rack, or on a perforated surface that allows for some water and/or dye to pass through, but any easily cleanable surface should work fine.
Use enough dye in the area you are dying on that the dye passes through the fabric and drips through your wire rack. This ensures as much saturation of dye as possible. Once the first side of your shirt has enough dye on it, apply dye to the other side of the shirt for a more even distribution of color.
We found that we yielded a more proportionally appealing design if we tried to dye in patches, not the entire shirt, which would also mean we’d use up a ton of dye.

Step 5 – Wait!
Once the shirts have been dyed as you like them, here comes the hardest part of the project, waiting 12-24 hours before unfolding them. Place your dyed T-Shirts in one of your (clean) plastic bins to ‘rest’ overnight. Make sure to not let any of the contrasting colors touch each other. You can also put each shirt in a sealed plastic bag to rest overnight.
We waited 12 hours before unfolding and washing our shirts. Unwrap each shirt and rinse them in cool water, one at a time. Once most, if not all dye has been washed from the shirts, throw them in your washing machine on cold with a small amount of detergent. We’ve heard that washing with a small amount of blue dawn dish soap helps seal in the colors, but since it’s not recommended by our Jacquard dye kit, we didn’t bother.

Once the T-Shirts have been washed and dried as you please, you’re done.
Gallery