At the time of writing this article, most of the world is in a state of lockdown due to the Covid-19 pandemic. Suddenly, we’re running, we’re gaming, we’re picking up musical instruments, and basically doing anything to pass our free time within a tight radius of our homes.
One of the projects you might have taken on could be upcycling. Pinterest is full of old ladders turned into trendy shelves and discarded timber refashioned into coffee tables, but many of us have forgotten about something we throw away every single day, food waste. We can upcycle many of our vegetable scraps by planting them in and around our homes, creating a variety of new life and tasty goods to cook with and eat!
Even if you’ve never planted a single seed in your life, it’s easy to start growing something from some of your scraps. So, if you’re looking for yet another isolation project, take a look at our primer for growing new life from your food waste.
Why Grow?
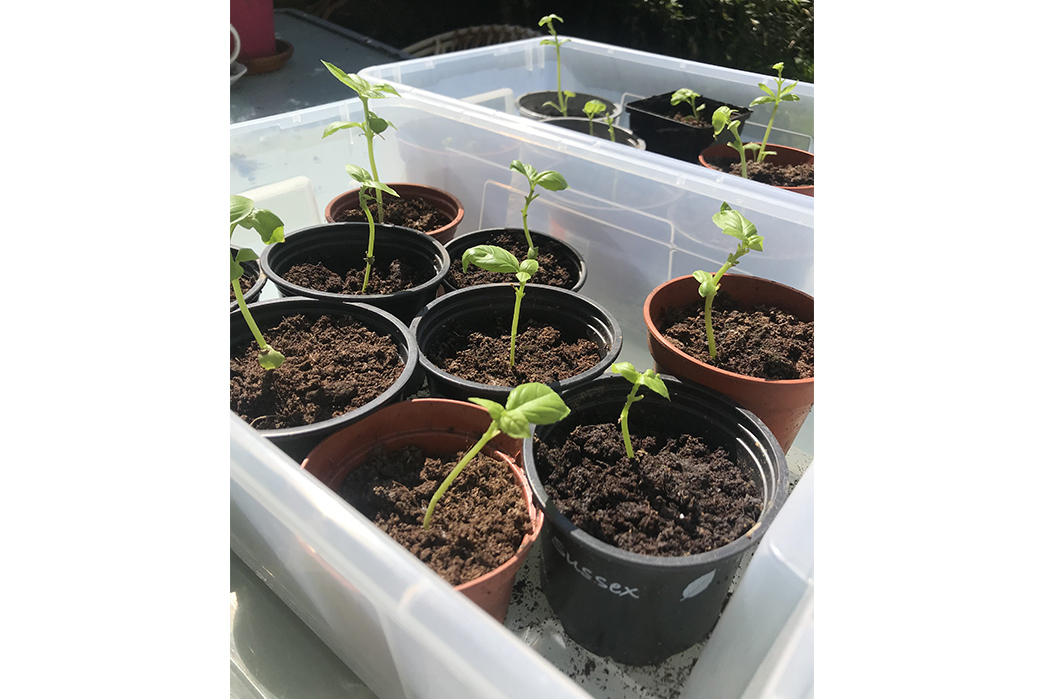
Basil cuttings repotted to form more plants
You might be wondering why you should grow fruit, vegetables, or herbs when practically is available at the store. Well, there’s a number of reasons including the following:
- Less plastic waste – Some fruit, vegetable, and herbs from the grocery store come wrapped in plastic or plastic-bonded paper that is unrecyclable. Growing even a very small portion of these groceries can help to reduce your plastic consumption just that little bit.
- Savings – It goes without saying that if you’re growing new consumables from waste, you’ll be saving money. It may take a short while to recuperate your initial small investment on any of the aforementioned gear you may be missing, but it will be worth it in the long run.
- Organic – Food grown at home can be completely organic, free from pesticides and genetic modification.
- Taste – Almost every time, food grown yourself looks, feels, and tastes twice as good.
- Convenience – Plants regenerate if looked after properly, so, once you’re up and running with a couple of home grows you’ll find yourself running out of things a bit less, especially herbs.
- Satisfaction – If you’ve ever managed to keep a houseplant going for a couple of years, or done any basic gardening, you’ll know how rewarding it can be to grow something – especially from a seed! There’s something a lot more satisfying about prepping fruit, vegetables and herbs you’ve grown yourself rather than simply picked up from the store.
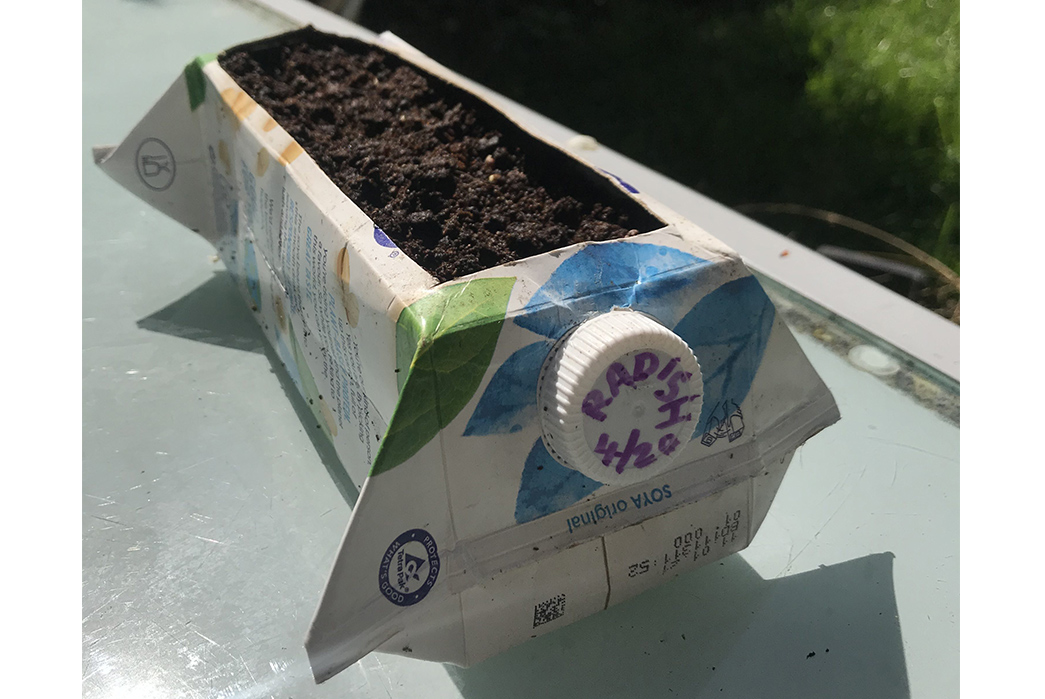
A leftover carton turned into a radish planter
What You’ll Need To Get Started
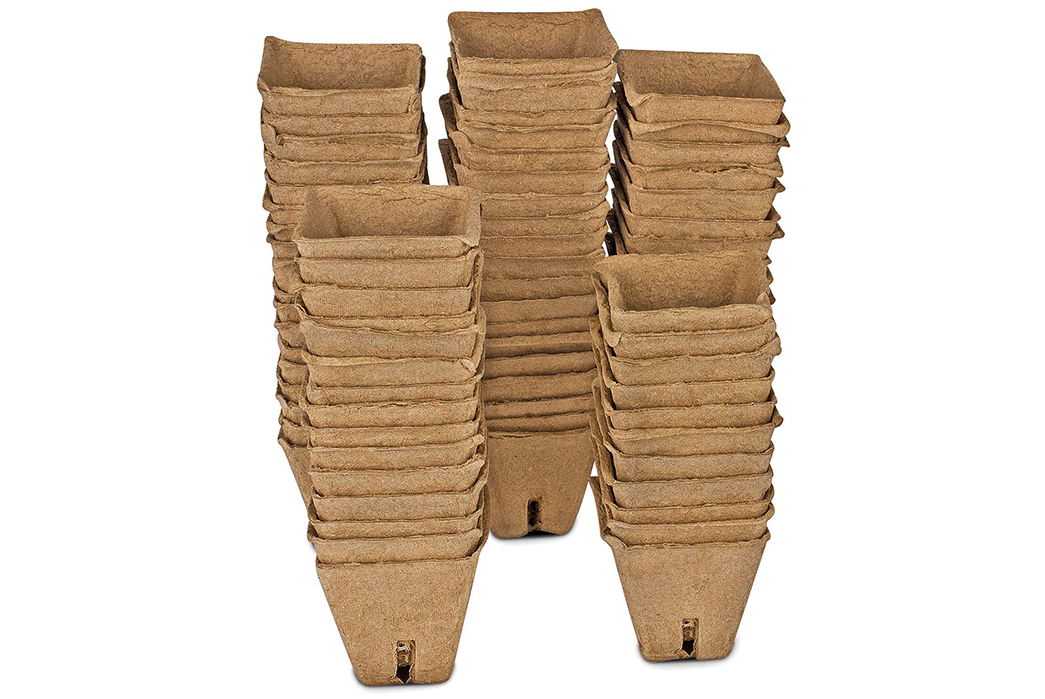
Jiffy Pots, Pack of 102 available from Amazon for $27.99
- Pots – To begin planting and replanting, you’ll need some pots. You can use anything you have lying around – yogurt pots, cans, etc. – but actual plant pots are the most effective for consistent and successful growth. You can get small plant pots and trays of seed starting pots, which allow you to plant multiple seeds or cuttings. If you do for a can or a yogurt pot, drill or stab some small hole in the bottom to facilitate drainage.
- Water Trays/Dishes – To put under your pots to catch the drainage
- Compost / Potting Soil – Unfortunately, you can’t really use just any old soil from your yard or local park, you’ll need some nutrient-rich potting soil. As we’re working with offcuts and scraps and not seeds that are tailored for optimum growth, the potting soil will act as the perfect medium for your seeds or cuttings to grow.
- Scissors – If you have some secateurs (fancy plant scissors), great. If not? Normal scissors will be okay for taking some cuttings to grow.
- Patience – Growing any plant from seed or cutting takes patience. Sure, some plants like herbs and sprouts grow super fast, but others will take much longer. Just chill and let the plants do their thing.
Four Easy Grows
There are endless amounts of plants, vegetables, and herbs you can grow indoors, but we’re sticking to a quick primer focussing on some simple home grows that can be started from your food waste. These are incredibly simple home grows that you can predominantly grow on your kitchen windowsill and get straight into your skillet.
Tomatoes
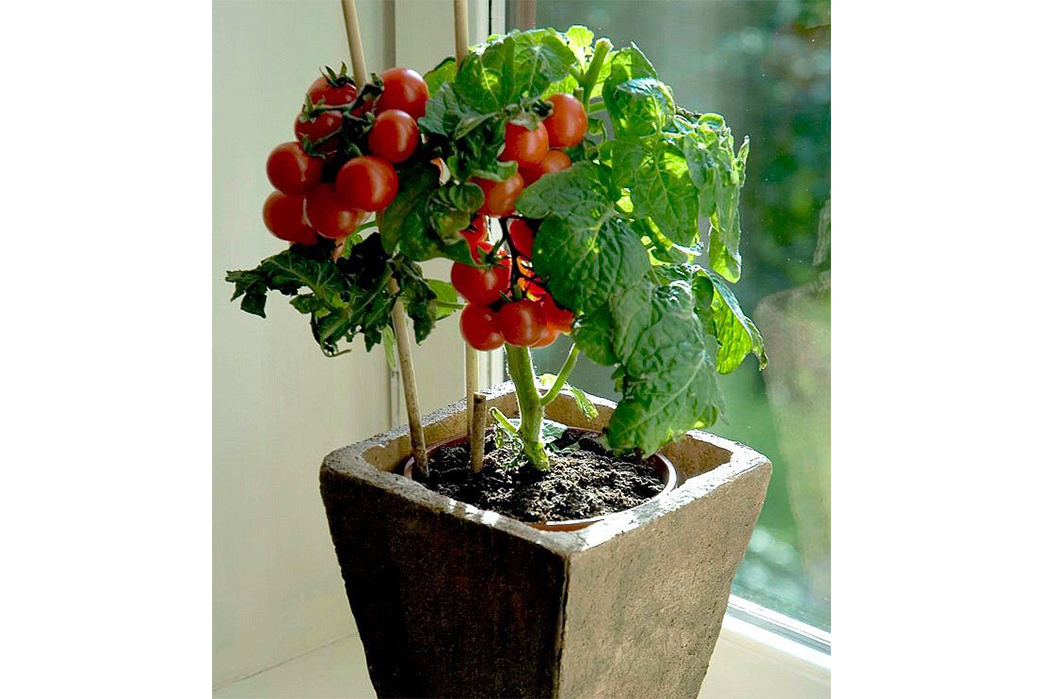
Image via Etsy
- Save the seeds from a tomato.
- Rinse the seeds off and allow them to dry thoroughly on a piece of kitchen towel or a dry cloth.
- Plant the seeds in rich potting soil in an indoor planter. Spacing each one out evenly with at least 2cm between each.
- Dampen the top of soil using a spray bottle filled with clean water. if you don’t have a spray bottle, just pour some water in just super gently, giving even coverage. Don’t completely saturate the soil.
- Keep the soil moist. It should stay relatively moist for 2-3 days at a time. Just give it a feel every now and then. If it feels dry to the touch. Water until the soil is visibly wet.
- You should start to see sprouts after 3-4 days depending on the tomato seed. Once the sprouts are a few inches tall, transplant them outdoors. Be sure to plant the tomatoes in a sunny area and water them a few times a week.
- Tomatoes will come in time. Be patient and take a look at them each day. Pests can be an issue depending on the plants around your tomatoes (if any). If you experience this, look up the symptoms on google and find a (natural) solution!
Herbs
Probably the easiest home grow! Each herb grows differently but most can remain on your windowsill, so herbs are a great option if you have zero outdoor space. They’re also a great way to really up your cooking game, and can be a constant source of flavor if you look after your herb plants properly.
For an easy example, we’ve gone with cilantro:
- Place cilantro stems in a bowl of water in a sunny area. A small mixing bowl is perfect, preferably a glass one.
- Change the water every other day, being gentle with the stems.
- Once the stems sprout plenty of visible roots, plant them in a small pot of potting soil. Simply fill a pot with potting soil, create a well around 2cm deep, and place the sprouting stem in. Cover until the soil is level.
- Within a couple of weeks, you should have a pretty active cilantro plant! The key is monitoring the plant and repotting when necessary to ensure adequate drainage and space for roots to spread.
- Harvest leaves for cooking as needed, but be sure not to strip a stem of all its leaves at one time.
Chilis/Peppers
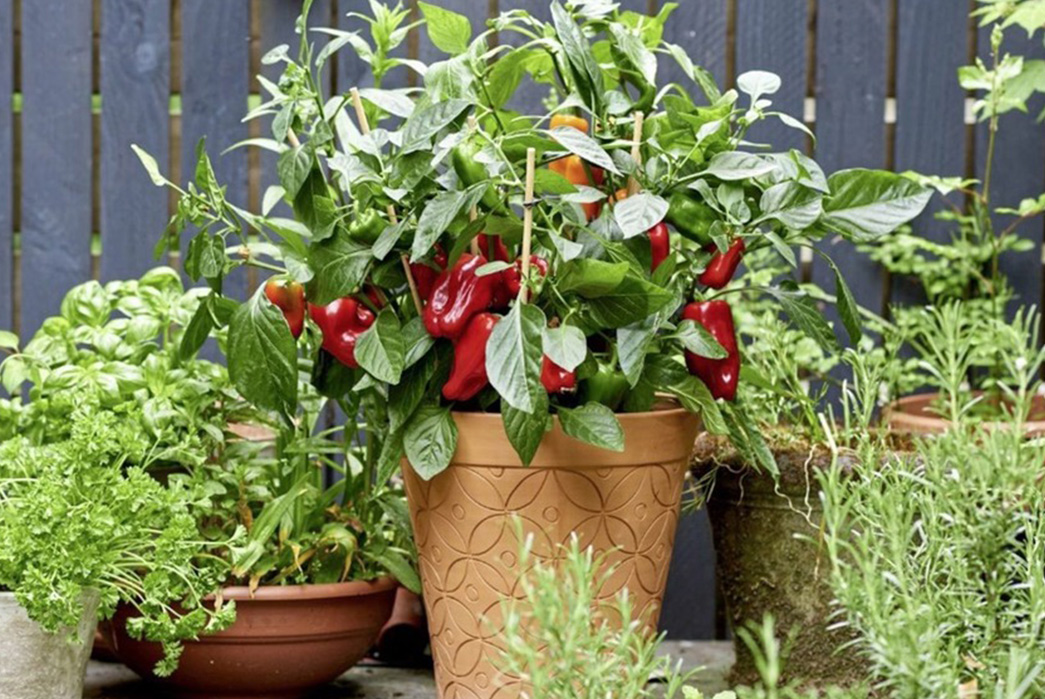
Chili Plant via Irish News
One of the simplest and most rewarding home grows is a hot pepper plant. Fast-growing and varying in heat/intensity, these are fun and impressive plants.
- Harvest the seeds from your favorite spicy peppers and plant them in potting soil in a sunny area. It’s best to plant each seed in a small pot to allow them to germinate successfully. To make this easier you can buy/order a potting tray which is a tray of small, typically 4cm pots.
- Keep the germinating seeds indoors in a warm area like a sunny windowsill or on top of a refrigerator.
- Once the seeds have sprouted, move each sprout into 13cm (5in) pots filled with general purpose compost.
- When plants are about 20cm (8 in) tall, or before if they start to lean, stake with a wooden stick and some string.
- You can transfer hot pepper plants outside int he warmer months or keep your strongest one indoors and keep harvesting the seeds of the resulting peppers.
Scallions/Green Onions
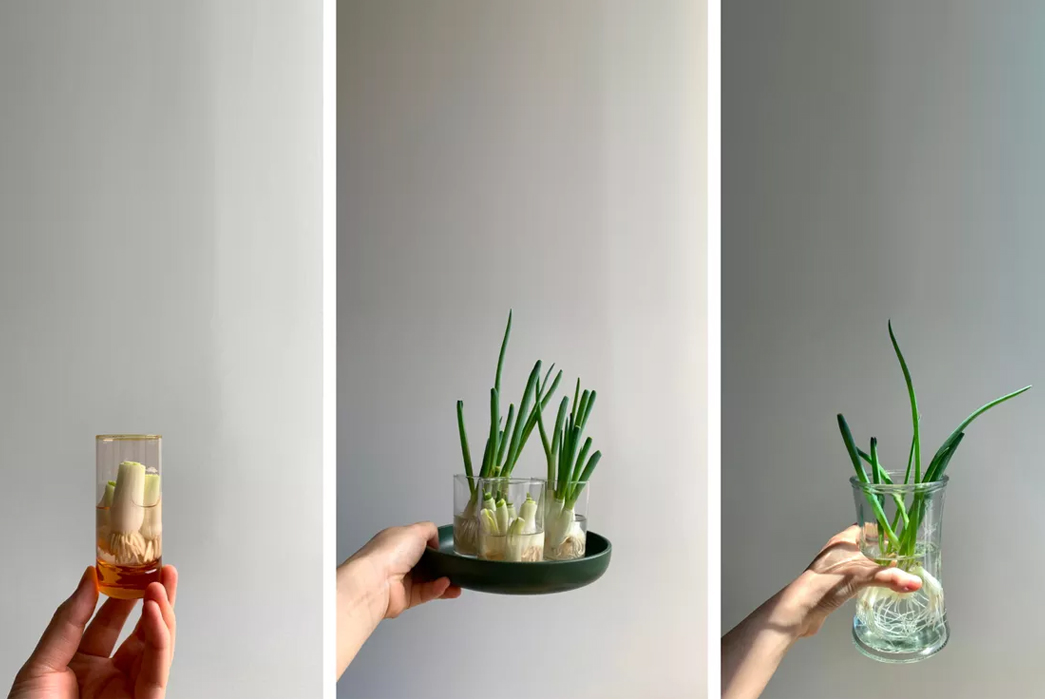
Image via Curbed
Instead of tossing the green part of an onion, use it to grow new scallions! A savory cornerstone, you can always use some scallions -especially fresh, organic, homegrown ones.
- Place the discarded greens in a cup or jar filled with water.
- Put the cup or jar on a windowsill and change the water every other day.
- In about a week, you should have a new scallion
- Only harvest when fully grown to ensure you leave the roots in the water for more scallions!
Share your home grow projects with us! Whether you’re just starting out or if you’ve been doing it for years, share on Instagram with the hashtag #GROWantine!

