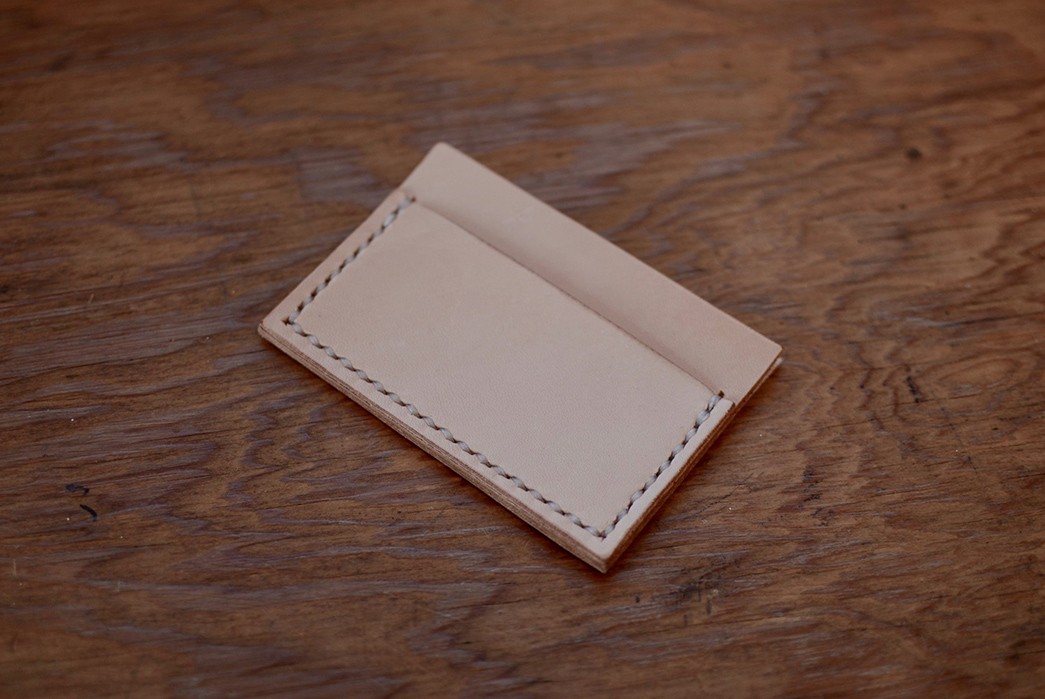
A sturdy leather wallet is an essential part of a lot of people’s daily carry. They last forever and are not all that hard to make yourself if you’re up to the task. All you need is a few small pieces of leather, a few leatherworking tools, and a tabletop to get started.
If our mass immigration to indoor-living has or rekindled your desire for a new hobby or left you craving a way to break the monotony that doesn’t involve sourdough bread, then this how-to guide may help nudge you into the leathercraft doorway. We went into a little more detail with leathercraft in our Beginner’s Guide to Leatherwork, but in this how-to guide, we’ll be showing you how to make a super simple two-pocket cardholder.
What You’ll Need
Below we’ve listed the materials and implements you’ll need to complete the project. Not all the tools are necessary, but this guide presents a basic hand-cut and sewn leather cardholder, complete with edge finishings. If you’re not familiar with any of the below you can check out our guide on The Tools You Need to Get Started in Leatherworking.
Materials required:
- Leather (2-3 oz. per square yard)
- Graph Paper and pencil
- Knife/scissors
- Cutting mat
- Mallet/hammer/maul
- Heavy gauge leather needles and thread (waxed linen or poly work best)
- Chisels/holepunch
- Canvas/cotton Fabric
- Glue/leather adhesive
- Lighter
- Leather groover (optional)
- Leather edger (optional)
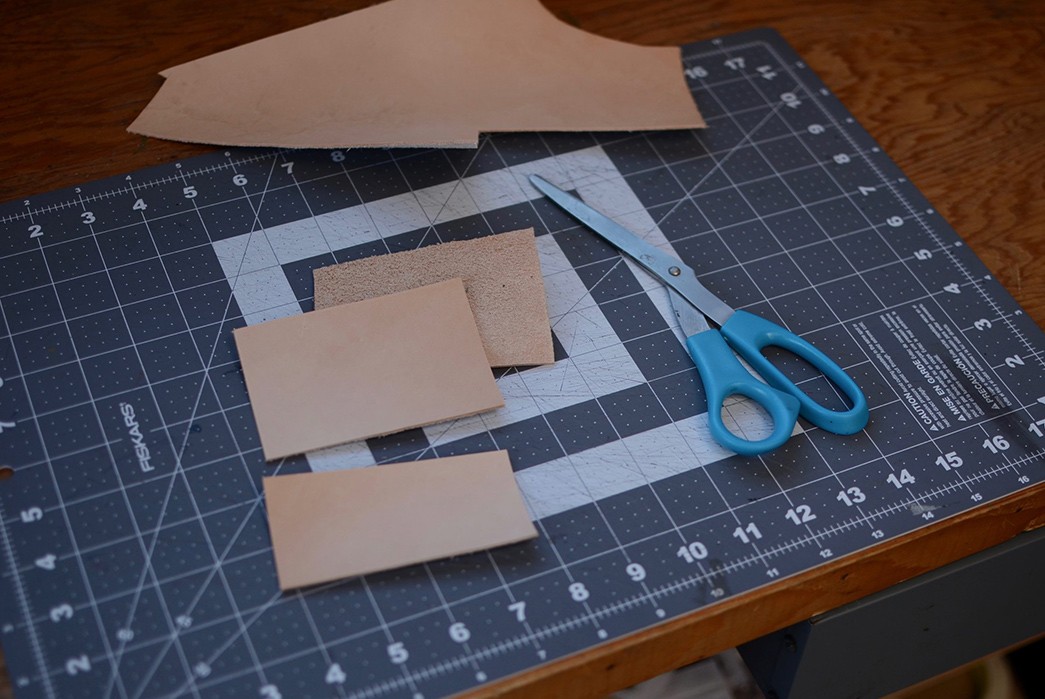
Create a Pattern

Draw the shape of the cardholder out on graph paper according to your desired dimensions, use a ruler (or square ruler) to ensure straight lines and square corners. For this basic cardholder, we’re cutting out two pieces of leather measuring 4″ x 3″, and one card pocket measuring 4″ x 2.75″. You can cut your paper with any craft knife, or a pair of scissors. Your paper pattern can be glued to non-perforated card stock if you want it to last for a long time.
Next, take your pattern and lay it on your leather, try to find areas on the leather that you want to see on your finish product, for this project we’re aiming for a tight grain with as few marks as possible. You can trace the shape of the pattern with a pencil on either the grain or flesh side of the leather.
Depending on what kind of leather you’re using, it might be easier to mark the pattern on the grain side. Press the pattern in place firmly with the hand you won’t be cutting with, or you can weigh it down with a paperweight or a glass cup if you want to.
Cut Out the Pattern

After you’ve marked the shape of the cardholder pattern out on leather, you can remove the pattern— it’s time to cut. You can lay a ruler down against the edges of the pattern and press it down firmly to guide your blade in a straight line, or if the leather’s thin enough, grab a pair of scissors. If you’re using a box cutter or a craft knife, keep the blade straight, and make your cuts with as few strokes as possible—this ensures a clean cut and will help you finish your edges a lot easier, which we’ll get to later.
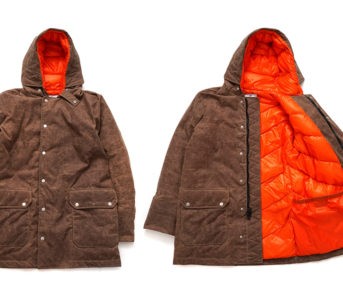
Like this? Read these:
Double-check that your card pockets line up on the edges before continuing, if there is a significant difference in dimensions, you might consider cutting out another piece.
Glue and Punch Leather
Now that you have your pattern pieces cut out, it’s time to burnish your first edge. Grab the small card pocket, a small cup of water, and your piece of fabric. Dip the cloth into the water, wring most of the water out until it’s just damp, and rub the pocket-side edge in one direction. You can spend as little or as much time slicking down the edge as you want to. Use your leather edger to take off the excess on either side of the card pocket (optional).
Grab your glue, any water-based glue should work, and you can even use rubber cement. Lightly apply glue to the three edges of the small card pocket, and lay it against the three edges of one of your larger card pockets. Do your best to line the edges up exactly. Let the glue dry for 5-10 minutes before gluing the second and third card pockets together.
Punching and Stitching
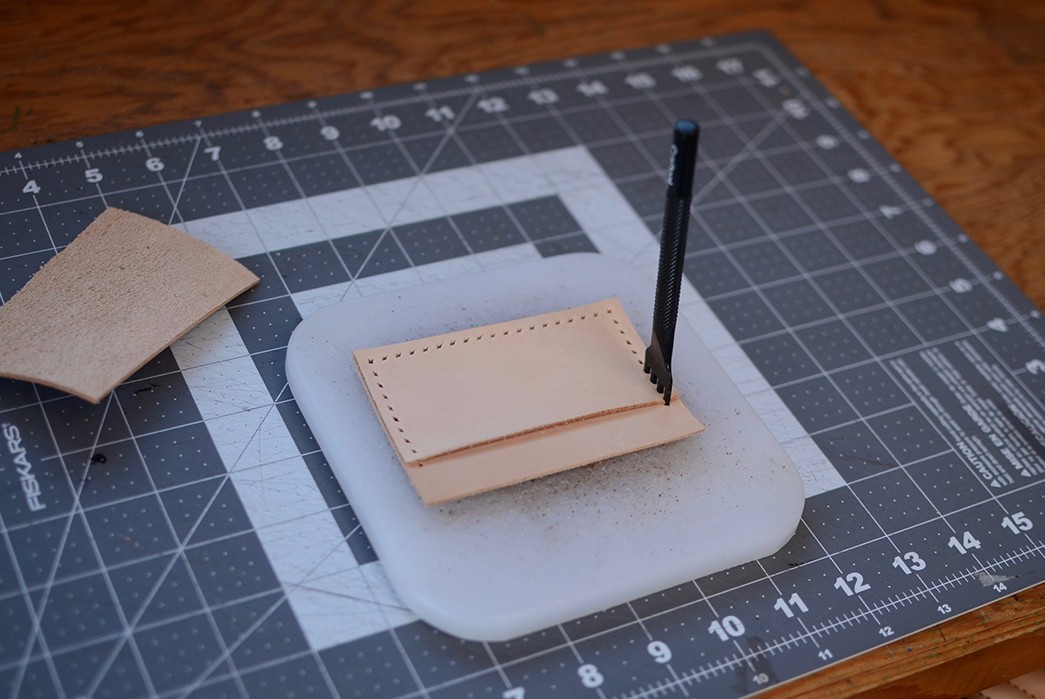
Once the card pockets are glued together, you can mark your stitch lines with a leather groover, you can also use a compass from math class if you’ve still got one. We want a 1/4″ seam allowance on this project, but as long as you’re not too close to the edge, something slightly larger should work fine. As long as cards and cash can fit in and out of your pockets, that is.
Now it’s time to punch. Take your hammer and chisel, or hole punch, and start punching from the top edge of the cardholder. Punch through the leather until the chisel has just passed through the material, remove the chisel, and move onto the next set of punches until you’ve punched around the entire edge of the cardholder.
Take your thread, and measure the length of your project with it, multiply that length by four, and snip the end with your scissors for the proper amount of thread you’ll need to stitch it.
Thread your needles, and at the third to top hole on either side of the project, start stitching. In this project, we’re reinforcing the top seams, which is why we start at this hole. Make sure the thread length is even before continuing, move the needle through the above hole one needle at a time, when both needles have passed through, pull the thread ends tightly.
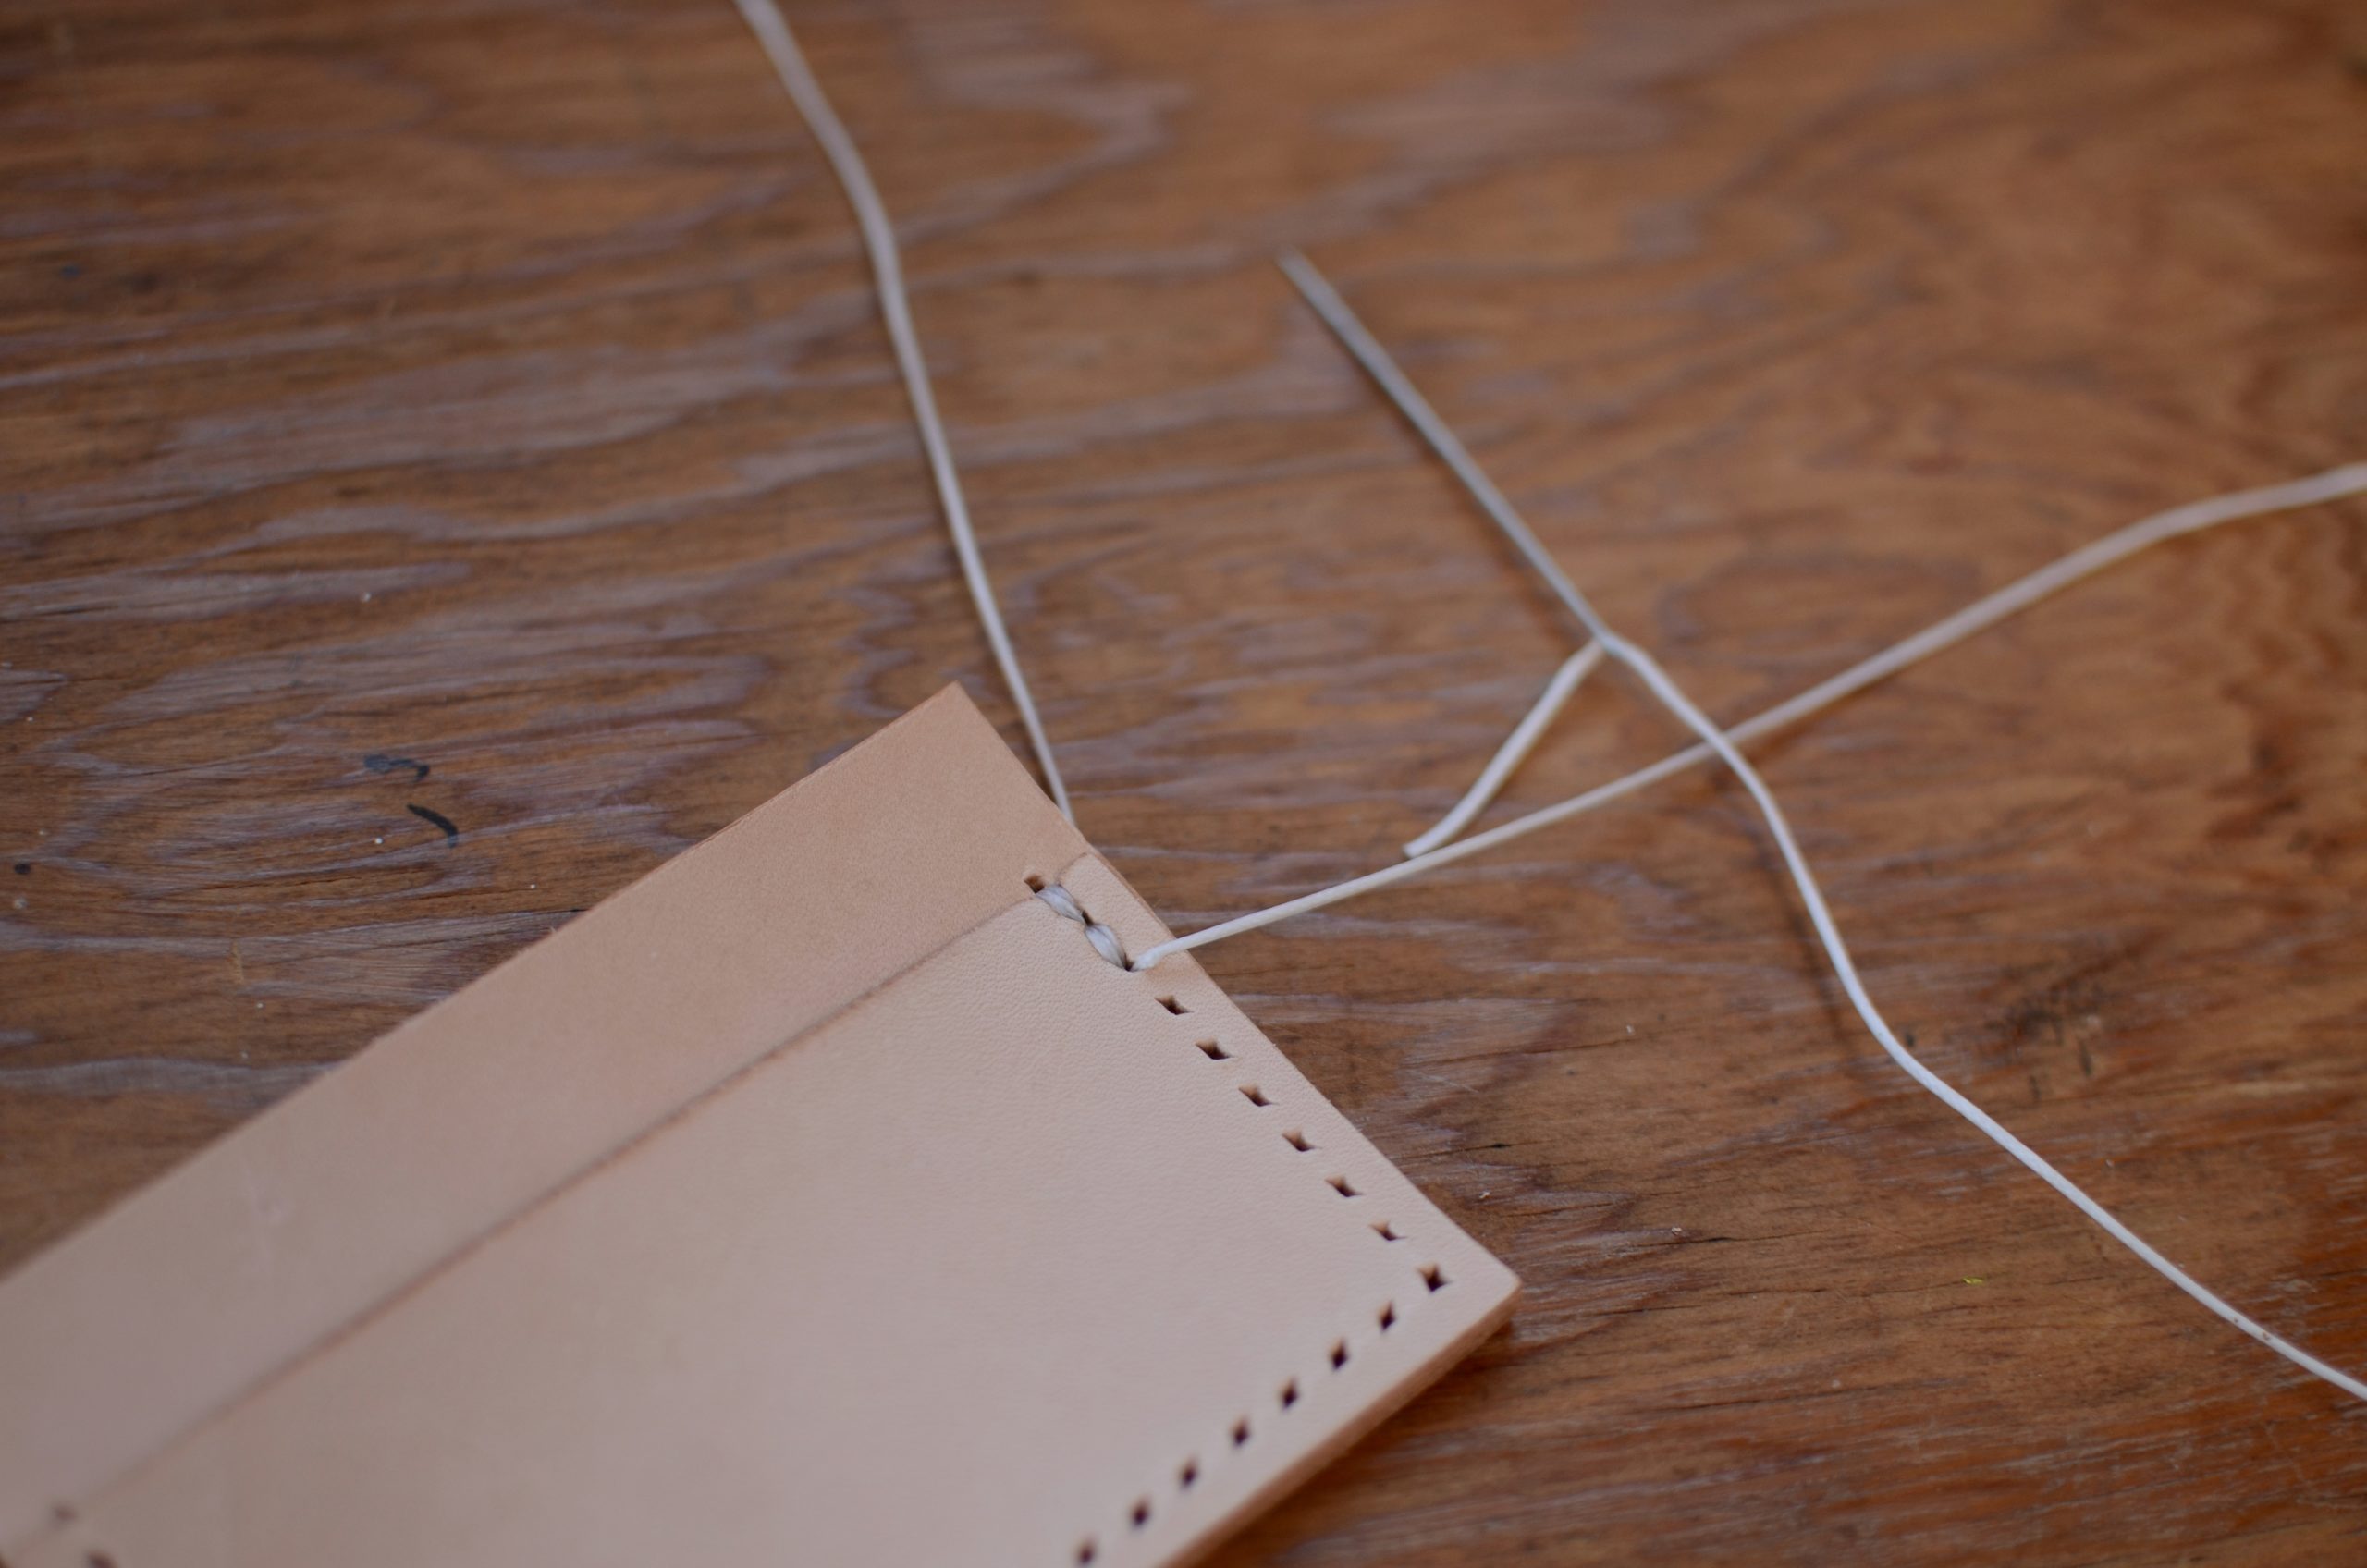
Wrap the thread around the top hole and edge with both needles before continuing back down. You’ll pass through a few holes you have already stitched to secure the edges. Continue stitching the length of the wallet, one needle at a time, pulling tightly (but not so tight that you bust a stitch), until you’re done. You’ll do the same reinforcing stitch on the last 3 holes on the opposite top edge. Pull the thread ends through to the same side of the top edge and snip them just above the seam, then burn the thread ends with a lighter.
Finish the Edges
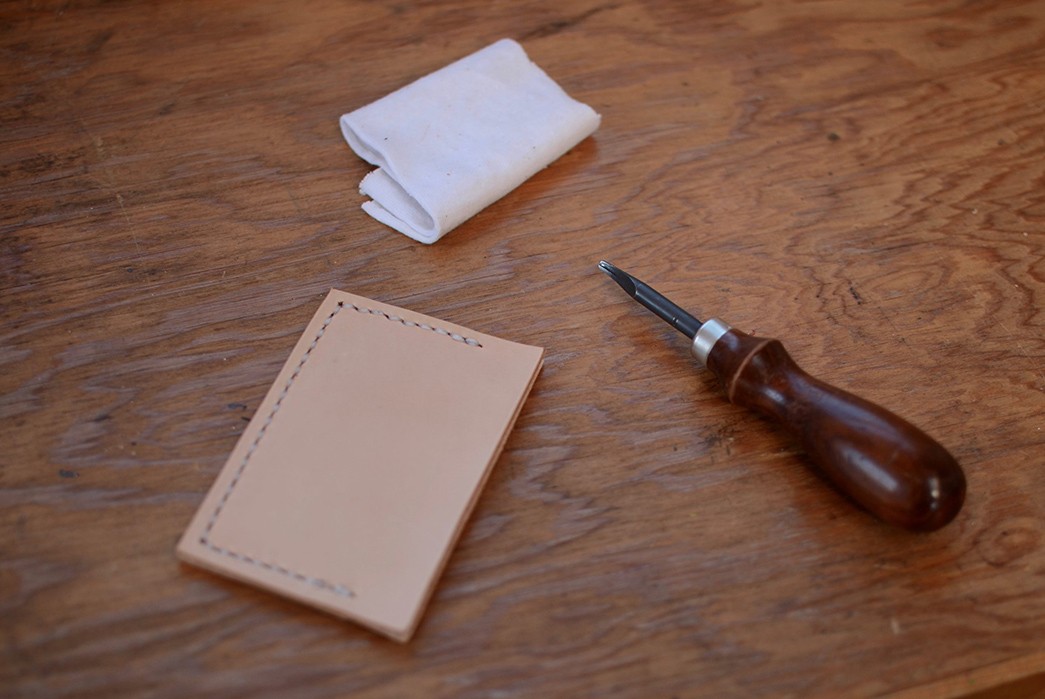
The next step puts the finishing touches on your cardholder, while it’s optional and doesn’t affect its functionality, a finished edge is a nice touch that can make your look a little more complete and professional. You’re repeating the edge finishing technique you did in step 2, wetting and slicking back the leather fibers on the edges of the wallet, then optionally removing the excess from the edges with a leather edger.
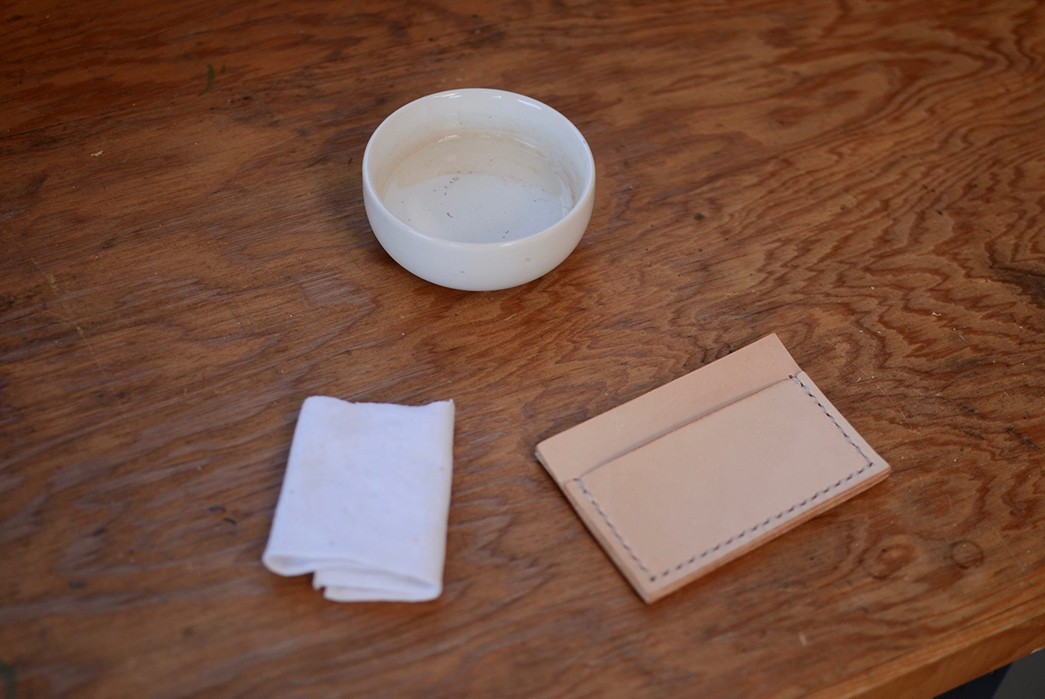
Try to wet the edges evenly, too much water will soak into the visible sides of the cardholder, so try and air on the side of less water to start. You can use beeswax or leather conditioner to burnish the edges after you’ve done some slicking with water to help seal the edge. Be patient.
Admire & Use
All that’s left to do is test out your cardholder. Throw some cards and wadded up cash in there, slip it into your pocket, and enjoy.
We’d love to see your efforts at making this cardholder. If you try your hand at some DIY leathercraft, share it with us by using the tag #heddelsDIYleather