
Leathercrafting is one of those arts that can seem so daunting, you don’t even consider taking the plunge and giving it a go. The reality is leathercrafting is fairly accessible, especially when you have some time on your hands to take on a new hobby or project. Whether you become a master of belts, bags, and wallets or even just making a simple cardholder is up to you, but you’ve not got much to lose.
If you’ve been looking to delve into the world of leathercraft but haven’t quite got there, take this beginner’s guide to leatherwork as a gentle nudge towards getting started. We’ve covered the tools you’ll need, but this article will delve into the fundamentals of leatherwork and things to consider before you make your first cut.
Things to Consider Before Starting
If you just want to make something functional, you could start (and possibly finish) today. Small projects won’t take you more than a few hours to complete no matter what your skill level. Knowing what you like and what you want from your project goes a long way to getting started.
Making something functional is easy. Slap two pieces of leather together and you’ve got a cardholder. If your glue is strong enough, you might not even need to stitch it up. But if you’re looking for something that’ll last your whole life and beyond, you’ll definitely want to learn how to hand-sew.
If your sewing machine has a big enough needle, you can machine stitch your goods, just make sure you have the correct set-up to do so before potentially breaking a bunch of needles and ruining your leather goods in the process, we’ll cover this setup later on.
Depending on your standards of beauty, it might take a few attempts to nail down the design, and maybe a few attempts more to be happy with your execution, so. be patient with yourself. Use leatherworkers or leather articles you admire as a reference, but don’t compare your work to theirs, it might take a few months, possibly years of tinkering before you feel like your output is “professional” looking.
Getting Started
Tooling Up and Finding a Workstation
You don’t need much to get started:
- Leather
- A knife
- A mallet
- A few punches
- Needles
- Thread
Of course, you might need some other things if you want to take it semi-seriously. But don’t go springing for that Barry King maul quite yet.
You’ll also need a place to work. Whether that’s at a heavy-duty workbench, or at a simple desk, the choice is yours. Something heavy with an even distribution of weight is ideal, you’ll be hammering away on top of it, after all. Almost any table will work for a beginner, you can even cut and hammer on the floor if you need to, you’ll soon find that the more space the better.
Like this? Read these:


Sketching and Pattern Creating
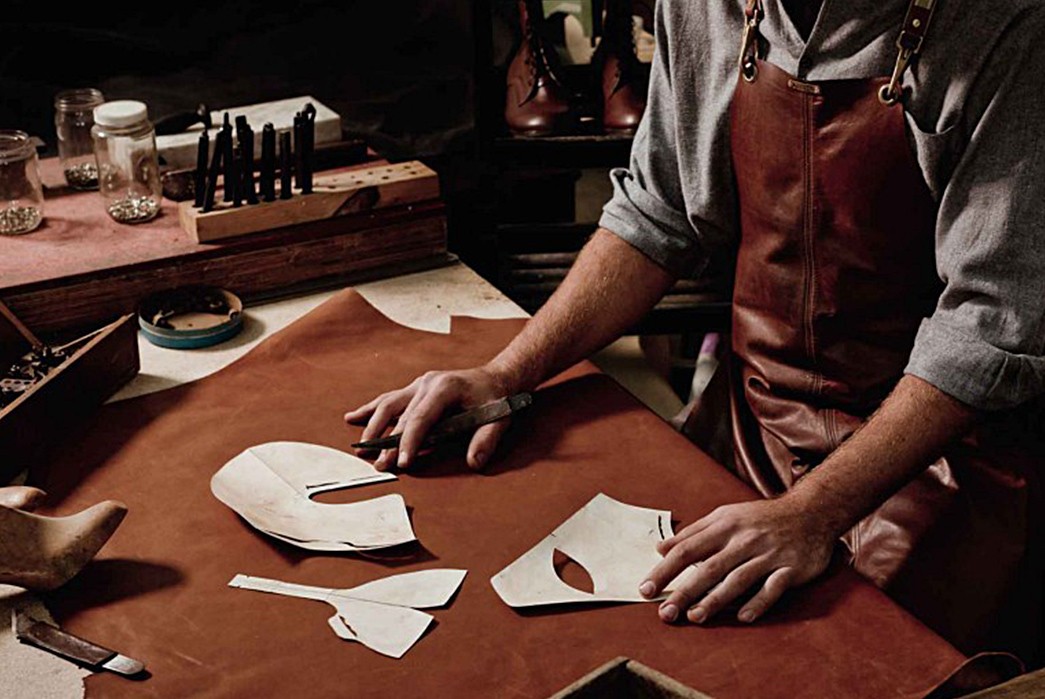
Leather pattern cutting via via Euce
The first part of the process is to design and create a pattern, so get to sketching! Graph paper is great for pattern-making, as it ensures perfectly square corners every time, and it helps to dial in the measurements. Glue that piece of graph paper to cardstock to allow your pattern will last a lot longer and easier to trace out on leather. Make sure the card stock/board you’re using is non-perforated so it’s a lot less likely to bend and wear down over time. Use a cereal box if you don’t have card stock on hand.

A card wallet pattern via Weaver Leather Supply.
Keep your small patterns in a protected box or folder, lie your bigger patterns flat in a box, or in an oversized folder/portfolio for safekeeping. Don’t have a pattern in mind but want to get started anyway? There’s a lot of free patterns online like the one above.
Selecting Leather
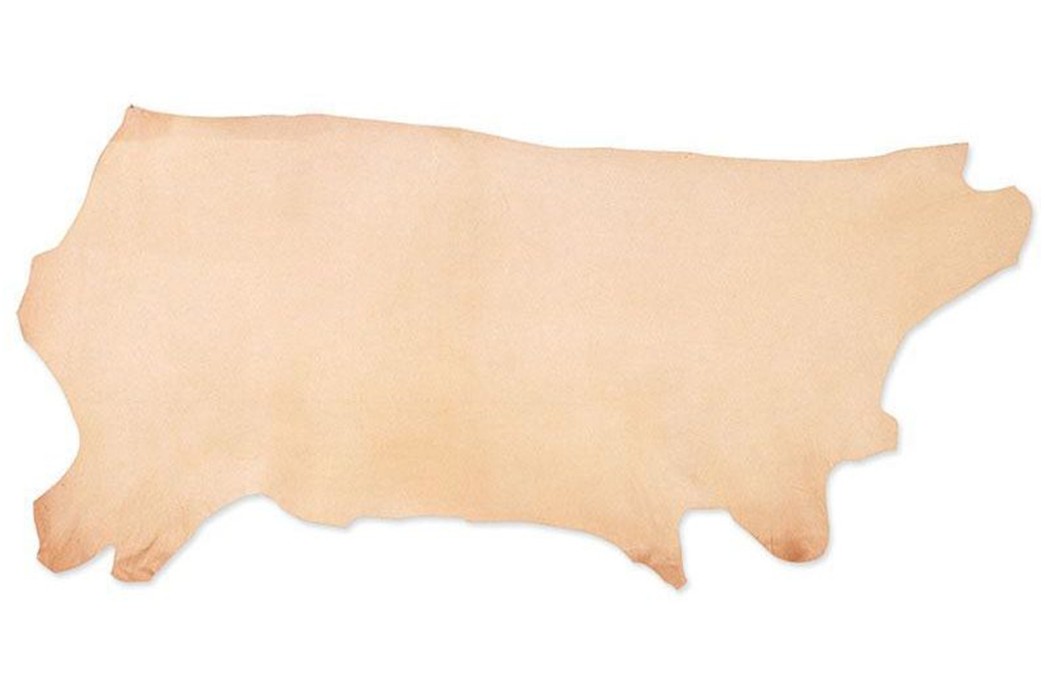
a side of leather via Tandy Leather
Selecting the leather you’re going to use is a big part of starting out. You might be using a big side of leather (the entire hide of an animal) for a lot of your first projects, so choose wisely. Hand-selecting a side might be in your best interest, so if you can head down to your local tannery, or to your local leather craft shop – like Tandy in the States (the Wal-Mart of leather craft). If you don’t want to spring for a full side, Tandy sells half sides (pictured above), shoulders, and a lot of other cuts of skin can be found in their retail stores- and many other tanneries and leather suppliers.
You want to make sure you’re getting the right shade of leather you like, and that the side (or half-side) of leather you’re picking up is mostly free of markings, bug-bites, brands, etc. Or maybe you don’t! If you’re a fan of the rugged look, go forth and stitch.
Leather is leather to some, and if that’s you, just make sure you’re getting the right weight for the project. Weight is measured by the thickness of the material, the smaller the number, the thinner the leather. 2-3 oz. will work for small goods like wallets. 4-5 oz. works too, but can be better purposed on something like a bag, and anything heavier than 8oz. would be best for a strap or belt.
Try to avoid light, garment-weight leather with a loose grain if you plan to make something for high-friction situations like your back pocket or being scuffed. It will fall apart and wear out far faster than a sturdier, thicker cut of leather.
Thankfully a lot of online leather retailers are great with communicating the quality and appearance of their leathers, so don’t hesitate to reach out to them for a swatch, or if you need any other assistance. Leather is expensive, so you’ll want to make sure you’re getting the right stuff before spending a few hundred dollars on leather you’re not sure you can use, or that you’re even excited about. Maybe don’t splurge on a side of Horween until you’re a bit more confident in your abilities.
An Overview Guide to Leather Grades
Cutting Out Your Pattern
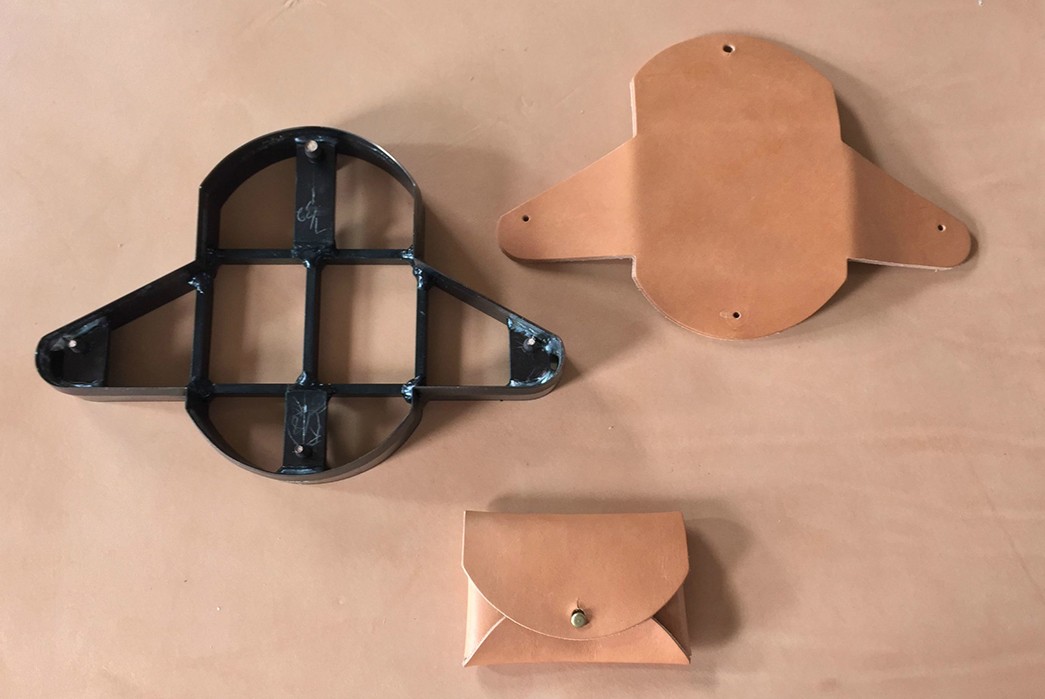
A cutting die for a leather pouch. Image via Reddit
Patterns are key to uniform, replicable designs in leather craft. Taking the time to produce a proper, durable pattern will pay off when it comes time to replicate the design, and it’s going to get you thinking more like a leather designer.
Once you’ve got your leather, pattern, and an appropriate cutting implement, set yourself up at a sturdy work table with a cutting mat. Trace the pattern out with a pencil, awl, or leatherworking stylus, and carefully cut the piece out. You can try practicing on some scrap pieces before committing to the big projects, and don’t be afraid to do a light scoring of the leather before committing to cutting through the grain completely.
The cleaner your cuts, the cleaner the edges will be. Use a ruler for straight lines, coins work great as a makeshift round-corner template, and like any good carpenter will tell you- measure twice before cutting.
Don’t wanna use a box-cutter, exact-o, or a knife for leather? Heavy-duty scissors work, but only at the appropriate leather weight—don’t try to cut a belt strap with a pair of shears. Professional leatherworkers often employ the use of a clicker to ‘click’ out their pattern pieces using cutting dies on a hydraulic press, but that’s a high-end tool that you don’t need to get started. You’ll save a ton of money by resisting the urge to order fancy machines, dies, etc.
Gluing and Punching
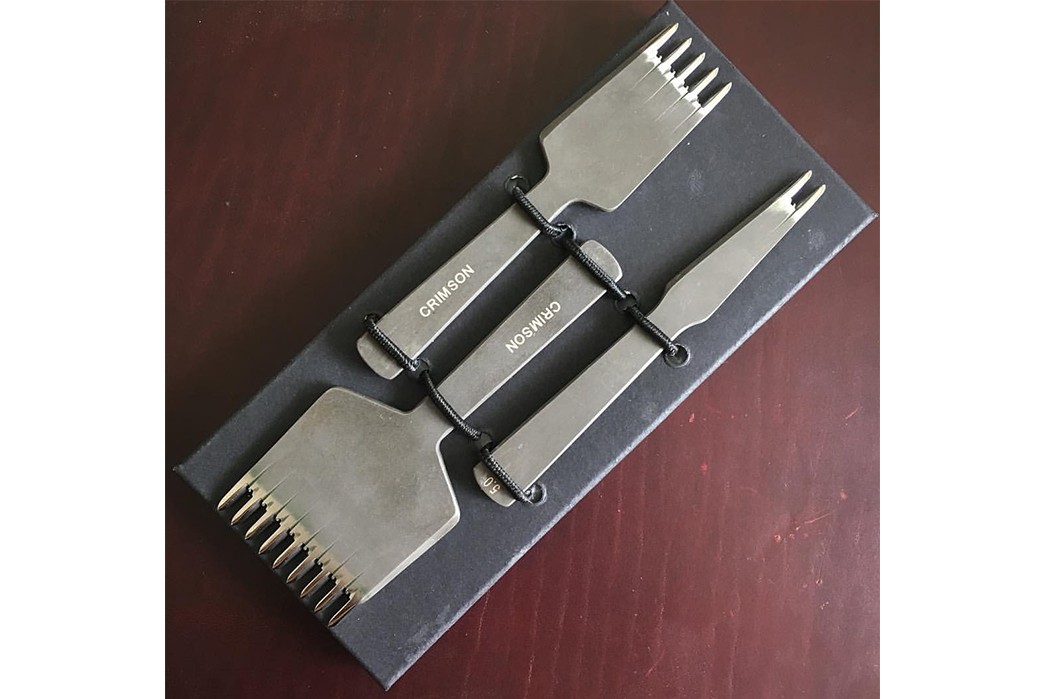
Punching tools via CrimsonHides
The next part of the process is gluing and punching your leather. While gluing is optional, it helps a lot with getting clean edges and stitching, which you may or may not care about if you’re just starting out and want to make something functional.
Once your pieces are cut out, you can punch your holes with a leather hole punch or some chisels/pricking irons if you’ve got them in your arsenal. A hammer works to punch the holes, but specially made mallets and mauls will go a long way to protect your punching implements over time, and will also help to produce clean punches.
Mark the stitching lines with a groover to make things a little easier. Try gluing the pieces together before punching to ensure clean, uniform stitching, rubber cement works well for as adhesive for beginners. Skiving the edges of leather where they’ll be glued together helps if you want to keep the thickness of sewn areas down, but likely not necessary for a Beginner.
Stitching
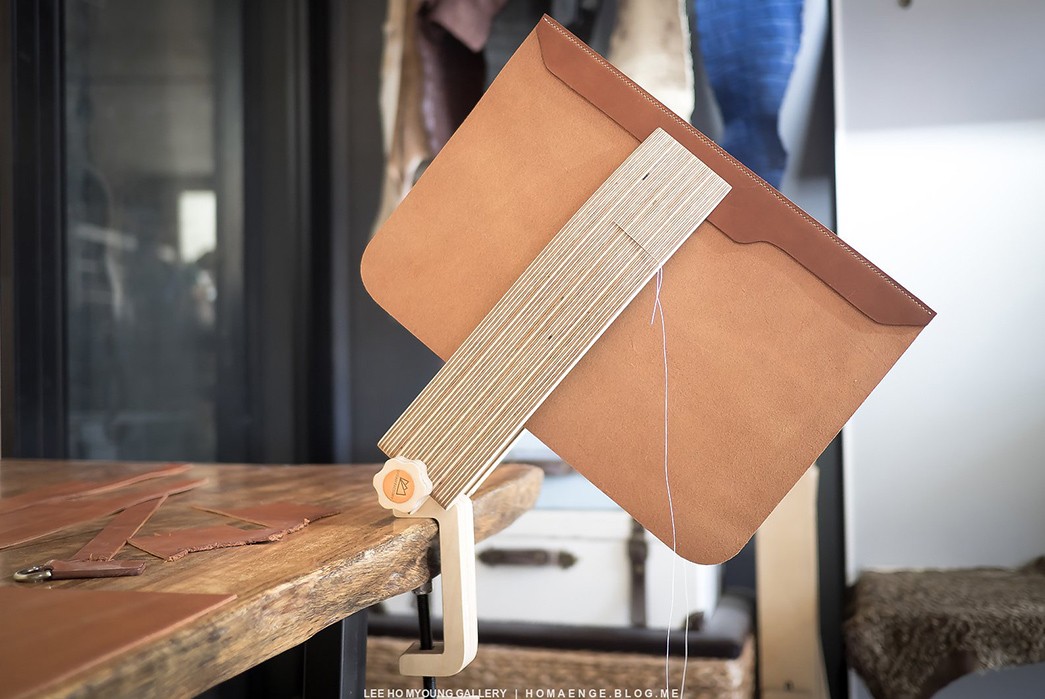
A stitching pony via DreamFactory
Stitching is the part of the leathercrafting process that keeps the layers of leather together on your handmade goods, and when it’s done well, looks quite handsome, too.
Do yourself a favor and familiarize yourself with the ancient technique of saddle-stitching, it allows for the signature overlapped stitch that you often see on small hand-sewn goods. If you don’t really care about a saddle-stitch, just make sure your thread is long enough, and stitch back and forth until you’ve covered the longest length of your project, stitching back over your thread to reinforce points of stress.
Pull the thread tight so it doesn’t come apart easily, but not so tight that you break the leather. Stitching can be a time-consuming process, a stitching-pony as pictured above helps a lot to hold the item you’re sewing in place, as does listening to music/watching TV to soothe the monotony.
Edging and Burnishing
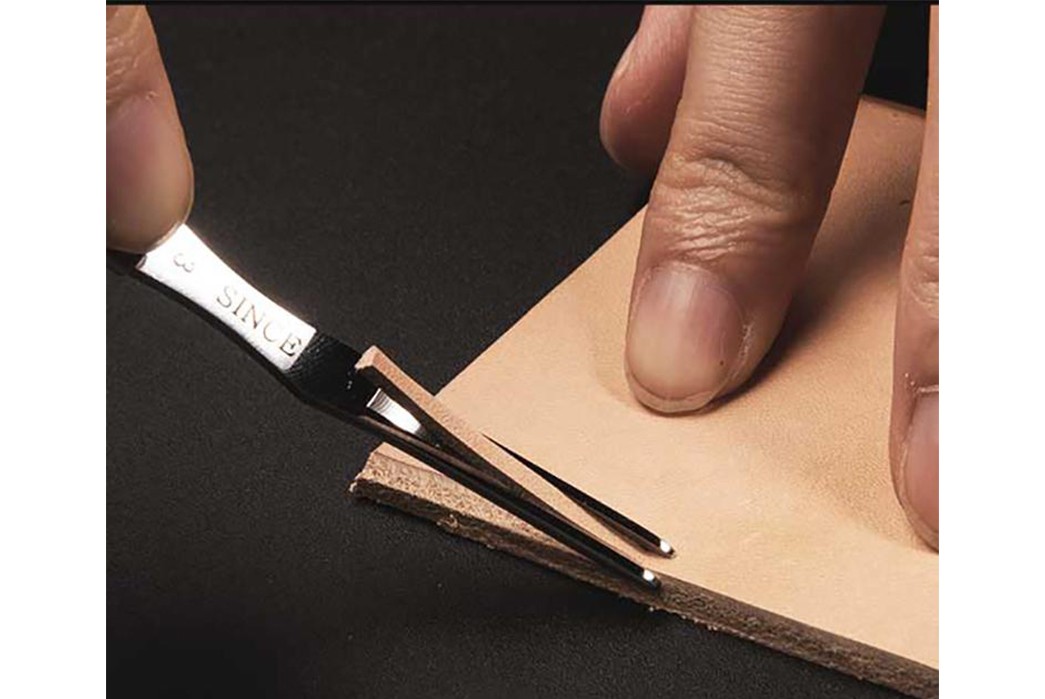
An edger via Leather Mob
Pieces all sewn together? You’re done. Well, maybe you’re done, you can now begin the process of cleaning up those edges through edging and burnishing. This helps to beautify your leather good, if that’s a quality you’re going for, but some people like a rugged edge, just ask any Chromexcel enthusiast. Some leathers have edges that will show some of their fibers over time, no matter how much burnishing you do.
If you’re just starting out, don’t worry if your edges aren’t perfect, you’ll get there. Cut your pieces as uniformly as possible, make sure the edges line up as close together as possible, this is where gluing helps- you can glue your pieces together with some runoff around the material that can be trimmed off, producing a nearly perfect edge.
Take off the excess leather around the edges to round off the edge with a leather edger.
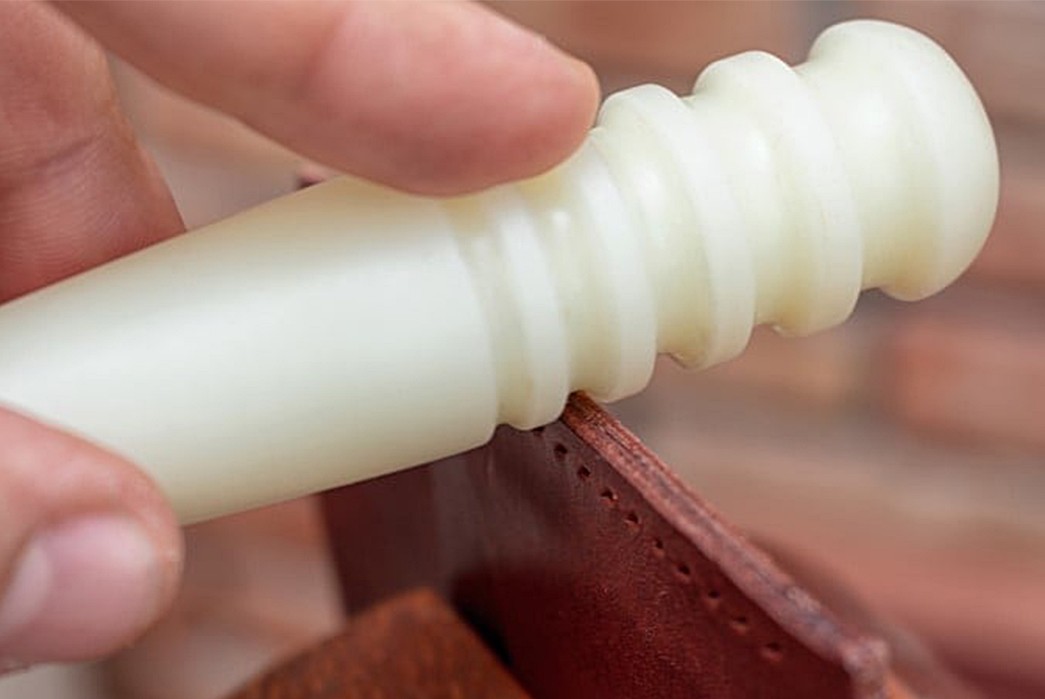
Burnishing is the process of wetting the edges of your leather good and applying pressure, which results in a nicely formed, usually shiny edge. The grain of leather is usually rough and hairy, and it’s the job of burnishing to keep those grains at bay from fraying and exposing themselves outside of the edge.
When you’re ready to burnish, take a cup of water, some densely-woven fabric like canvas, denim, or cotton- or a wooden burnishing tool if that’s your cup of tea. Wet the edges of the leather, and burnish the edges using your fabric of choice, burnishing, or
‘slicking’ the fibers of the leather down against itself. creating a glassy, smooth edge in the process. Patience goes a long way in this part of the process.
A Final Word
A burnishing tool Via Leatherious
Take this intro to leatherworking and make the process your own. Look into leather dye, paint, and tooling leather. As any artist or crafter will tell you, there’s a lot of finesse that goes into making, be it a leather pouch or a painting – so keep trying, and with time, you can make something you’re pleased with.
Try to have fun throughout the process. To quote David Lynch, “Enjoy the doing.”

