Despite all of the developments toward sustainability in the clothing industry, the world hasn’t really found an answer to the sock question. Most people buy cheap socks, wear them until a hole develops, and toss them in the trash with a one-way ticket to landfill.
Now, technically, socks are repairable – especially the high-quality socks we feature here at Heddels. In an ideal world, everyone would be mending the holes in their socks and wearing them for triple, maybe even ten times their normal lifespan. But unfortunately, we’re still in a place whereby if you took a pair of busted socks into a tailor for repair, an eyebrow or two would be well and truly raised. The good news is, you can save yourself money and awkwardness by learning to darn your socks.
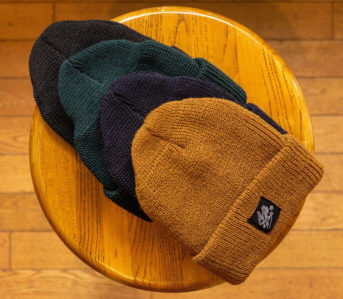
In this how-to guide, we will be teaching you how to mend holes in your socks by hand darning. We’ll show you what you need and how to repair those pesky holes in your favorite socks. The guide uses a pair of higher-quality, Japanese-made socks by Anonymous Ism, but can be applied to most socks.
This guide is written by our very own Jack Van Leeuwen, who is a bit of a maestro when it comes to garment repair. He actually has his own business that specializes in the mending of vintage garments, which can be found on Instagram @luckylostrepairs.
Can You Repair?
Generally, as far as the repairability of a sock goes, any hole smaller than a couple of inches in diameter is attainable, in my opinion. The gauge of the knit will give you some wiggle room, as well. A finer gauge will prove more challenging, but if you’re working with a chonky Anonymous Ism or RoToTo sock, you may even be able to repair a hole 3” in diameter and beyond.
Knits also have a habit of stretching at wear points as they age, so if you’re dealing with a hole where yarns are stretched and misshapen, consider addressing it sooner because you will need a larger repair to reinforce or cover the weakened yarns.
To that end, the best time to darn your socks is at the onset of damage. You won’t want to pre-reinforce your socks, as this will add unnecessary points of tension —reminiscent of posts made by Rain of Indigo Proof in our 2014 interview — but once a hole reaches a quarter of an inch in diameter, feel free to begin mending.
The beauty of hand-darning knits is you can stack these mends over time, so nipping them in the bud will give your socks more yarn to build off of as you concatenate repairs.
What You Need
The main items you’ll need to hand darn are:
Like this? Read these:

- Needles
- A darning egg or a mug
- Thread
- Scissors
- Good lighting
Needles

Lion Brand Large-Eye Blunt Needles and Darning Needles Set
For needles, I recommend picking up a set of sashiko needles. I find the eyelets are large enough to accommodate most medium gauge knits and the sharp points are useful for anchoring, which we’ll get into later. Here are some links to Lion Brand needles.
Darning Egg or Mug
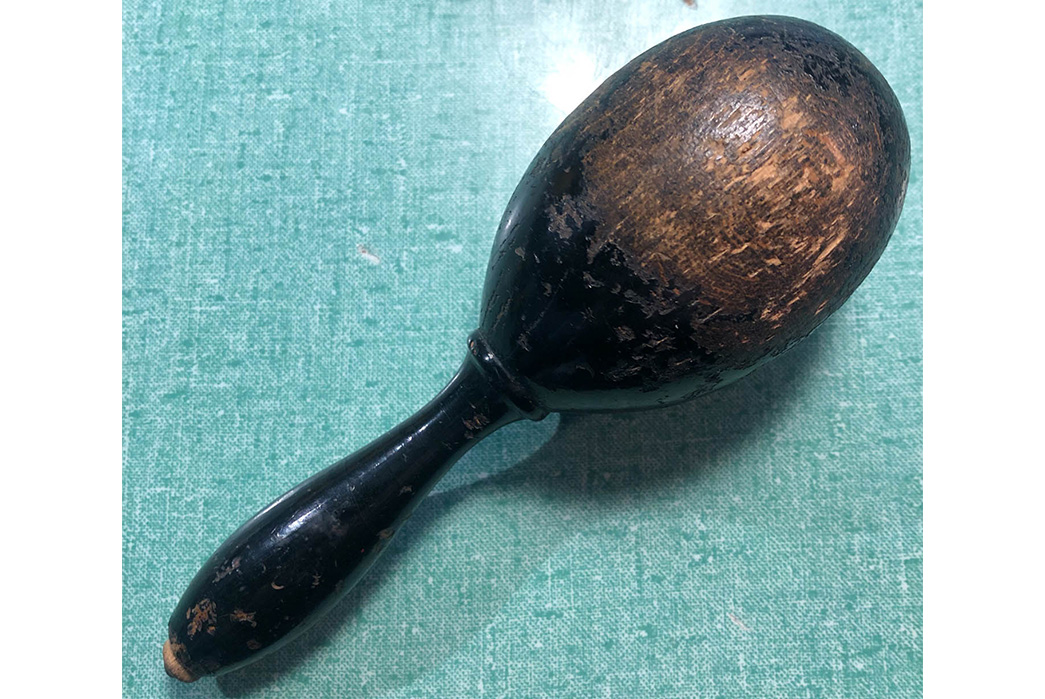
With regard to a darning egg, you can find them at pretty much any craft store but I’m partial to the vintage ones, above is an antique one I found pretty affordable on eBay – well used so you know it works! Alternatively, I find the base of a mug works equally well and is sometimes better for tight corners in socks.
Thread

Sashiko thread via Fancy Tiger Crafts
Thread is a space where you can be a bit more creative. I used all cotton sashiko thread for this project because the weight lines up nicely with the sock gauge and the white works well for illustrative and beginner purposes, as using a thread that matches can be a bit more difficult to see. That said, I generally recommend matching the thread colorway to your sock as best you can unless you’re intentionally going for a high-vis mend.
Beyond using matching or contrasting thread colorways, you can also play around with using different gauges or materials. For example, darning heavy-weight wool yarn into your mid-weight cotton socks to make for a bit of extra warmth and texture. For sashiko thread, I like to source from a local craft shop here in Denver, Fancy Tiger Crafts, because they have a large selection of colorways. For wool and cotton yarns, I like Lion Brand again, similarly, for the large selection.
Scissors

Scissors can be of any make so long as they’re sharp, but I am partial to the black thread snippers like the above from Amazon.
Lastly, I’d recommend setting up near an adjustable lamp in a space with lots of natural light so you can clearly see every stitch you make.
And in all, while you can buy any of these materials, my favorite method is to thrift or find them secondhand. There is something gratifying about digging a unique thread or strange darning egg out of a bin in an upcycling craft store. It will make your mending more unique, save you money, and perpetuates the ethos of repairing and making do with what you have or can easily find.
Steps
Step 1:

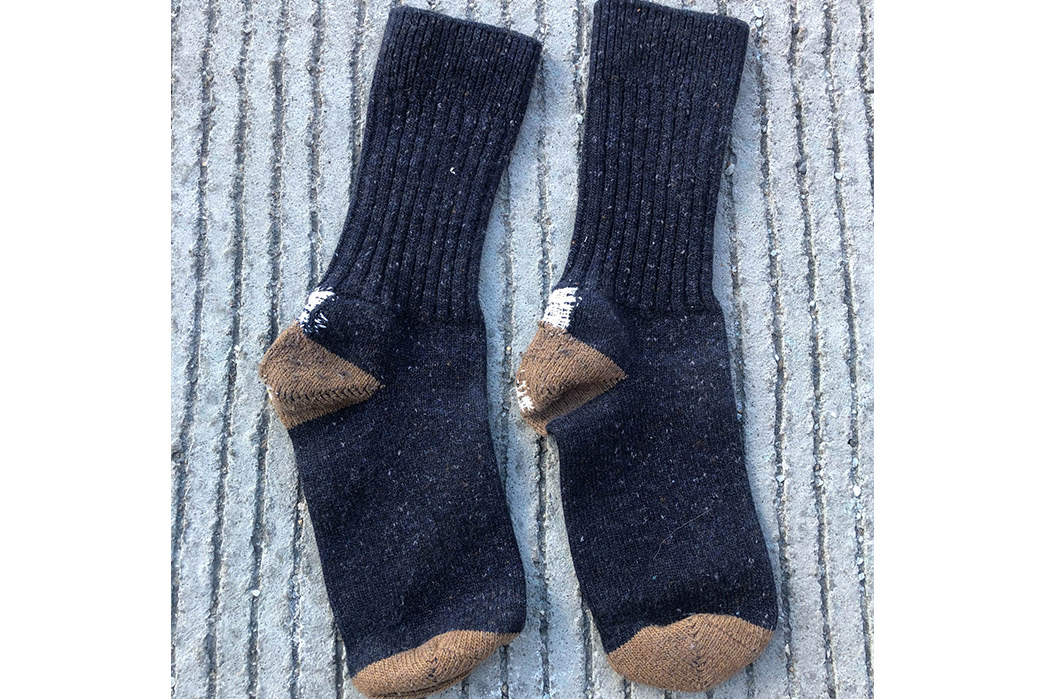
Now for the nitty gritty. To start, identify the hole or worn area you wish to mend. Is your sock-looking threadbare on the heel? Has a small hole developed in the achilles area? That’s the case with these Anonymous Ism socks and likely with yours too, as these areas take the majority of the strain when worn.
I’m extra excited to mend these socks as they belong to our own David Shuck. They have some original repairs he’s conducted, too, which I intend to keep and build off of.
Step 2:
After identifying the hole, go ahead and pick the thread you want to use. Again, I chose white all-cotton sashiko thread for this project because the gauges line up well, they’re the same fiber, and the white works well for illustration of the technique.
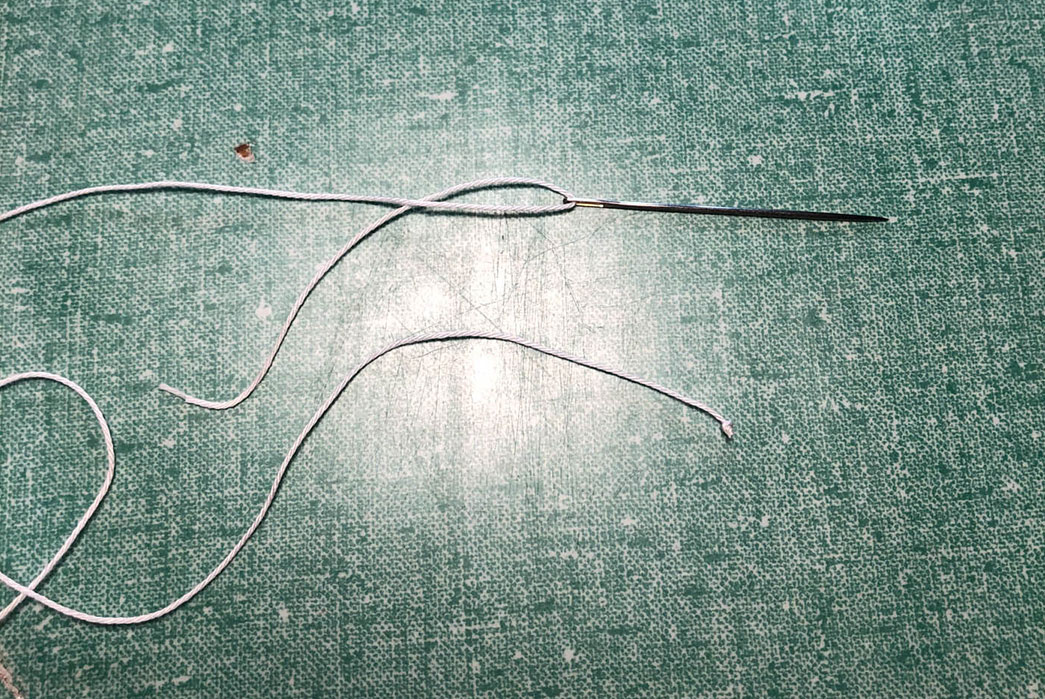
So, I went with the sashiko needles on this one too. I prefer the shorter sashiko needles but use the length you’re comfortable with. I typically cut the thread into two to three feet segments, if you go much longer the thread tends to tangle. To thread the needle, I tie off a knot at the end and loop the other end through the eye and pull it through at least three inches so it doesn’t slip out when stitching. You can double the threads as you often do with hand sewing, but with these heavier gauges of thread and yarn you really only need the single strand, as pictured.
Step 3:

I start by feeding the thread in the bottom right corner, ½ of an inch from the hole.
Step 4:

Once I pull the thread through, I get my darning egg or mug in place and start what I call ‘laddering’, where you weave the weft (diagonal) threads over the hole in the sock,
Now, the main characteristic of hand darning is that you aren’t actually putting your needle all the way through the fabric, you simply use the tip of the needle to nip up a strand of thread and feed it through. I call this ‘anchoring’ but don’t quote me on any of these terms. Example above.
Step 5:

Once you anchor your thread straight across from where you first ran your thread into the sock, you’ll want to anchor your thread again, directly next to the anchor you just placed.
Step 6:


Once anchored, bring your thread back across and anchor it, once again, directly next to where you originally input the thread. It’s a rinse and repeat of this up the length of the hole to create your ladder. As you make your ladder, note to pull your threads tight enough to not be loose but not so tight that they squeeze the hole together. In general, I recommend going a touch looser as these are knits and need some room to stretch and move. And the closer together you get these ladder rungs, the tighter your overall weave will be. Take your time on this section as the weaving inherently comes together well if the ladder is clean.
Step 7:


Once you have a ladder you’re happy with, anchor at the top corner again, but now you start weaving the warp (vertical) threads in an under-over fashion — going under the first thread of your ladder, over the next, and so on until you’re back at the bottom of your mend.
Step 8:


Anchor your thread at the end, place another anchor directly next to it and you’re ready to weave the second line of your warp threads. Make sure to alternate here, if the last strand is over then you need to start by going under. Similar to the ladder, use your anchoring to control where the threads lay. The closer you anchor everything, the tighter your weave will be. Continue weaving until you have a nice grid over your repair. At the end, you can go back and weave extra warp or weft lines into your grid if there are some gaps or sparse areas. And there you have it.
Step 9:

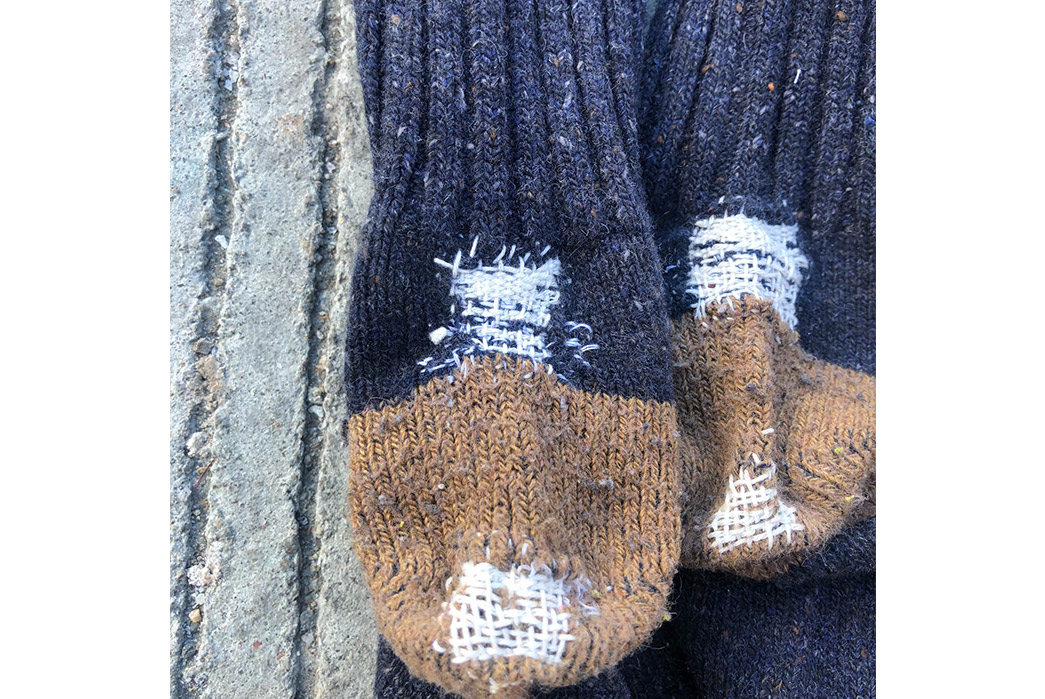
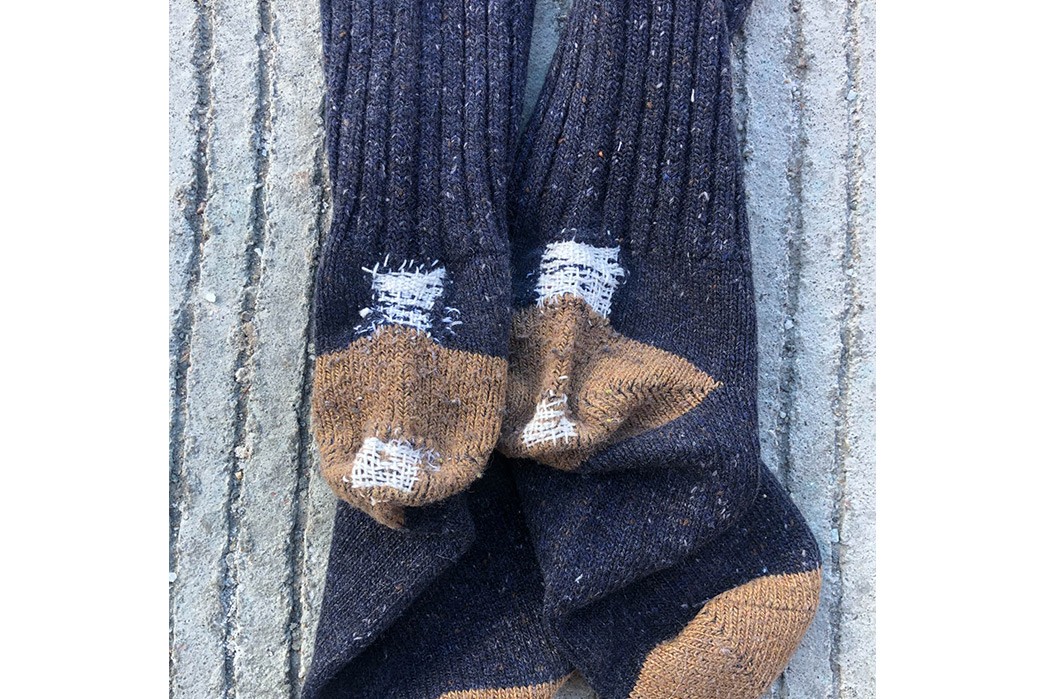
For these socks, I used a tighter grid on the achilles area as larger holes had developed. The heels were more stretched and threadbare than complete holes, so I used a more sparse grid to reinforce the worn area.
At the end, feed the thread back into the inside of the sock, turn it inside out, and tie a few knots at the end. There are more sophisticated ways to tuck the end into the weave but the knot-at-the-end method is the only one I currently know and it works absolutely fine.
Don’t be afraid to redo your mend multiple times until you’re happy with the grid. Hand darning isn’t very invasive so you can easily remove a poor mend and redo it as many times as you like. Overall, it’s a very relaxing practice so have fun and enjoy the added character of your mended socks!
If this piece has inspired and/0r guided you to repair some of your socks, be sure to share your repairs over on the Heddels+ Discord channel!